How to Embed All-in-One Reviews on a Website
Our All-in-One Reviews widget allows you to display real customer reviews and rating badges from various platforms—all in just a few minutes and without any coding. Sounds easy, right? Let’s walk through the steps:
How to publish reviews
Step 1. Add Your Reviews to the Widget
The Content and AI Features tabs let you manage your review sources, manually add and moderate reviews, and enhance them with AI-powered tools.
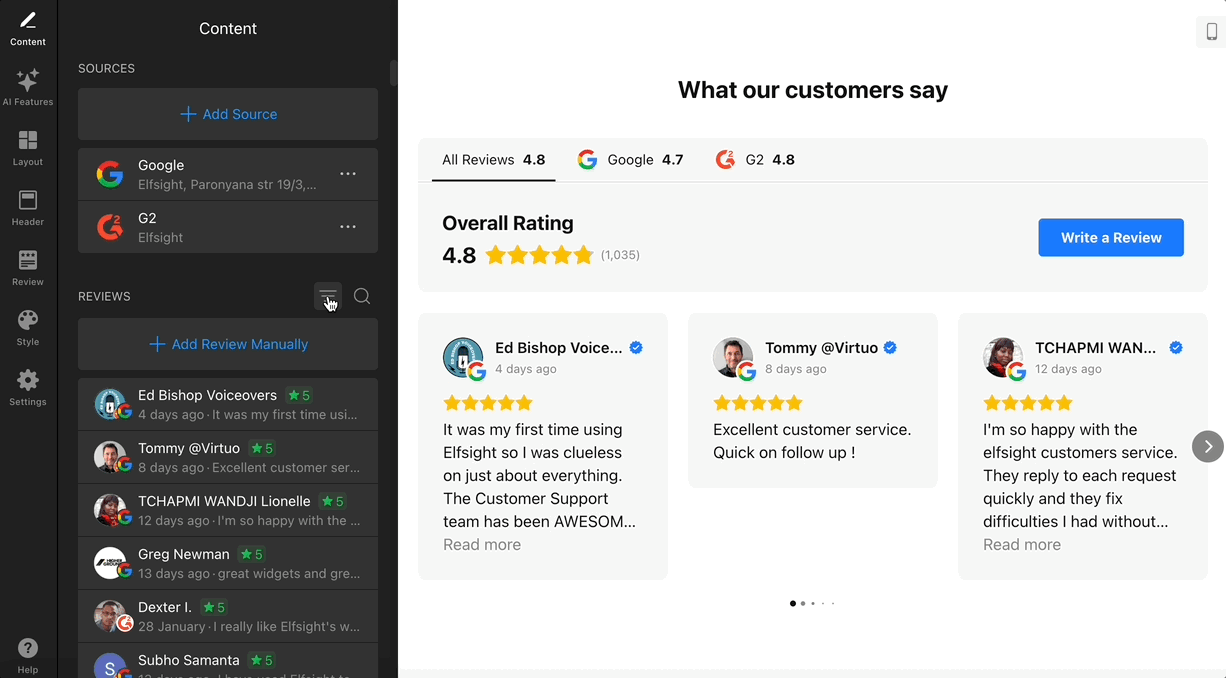
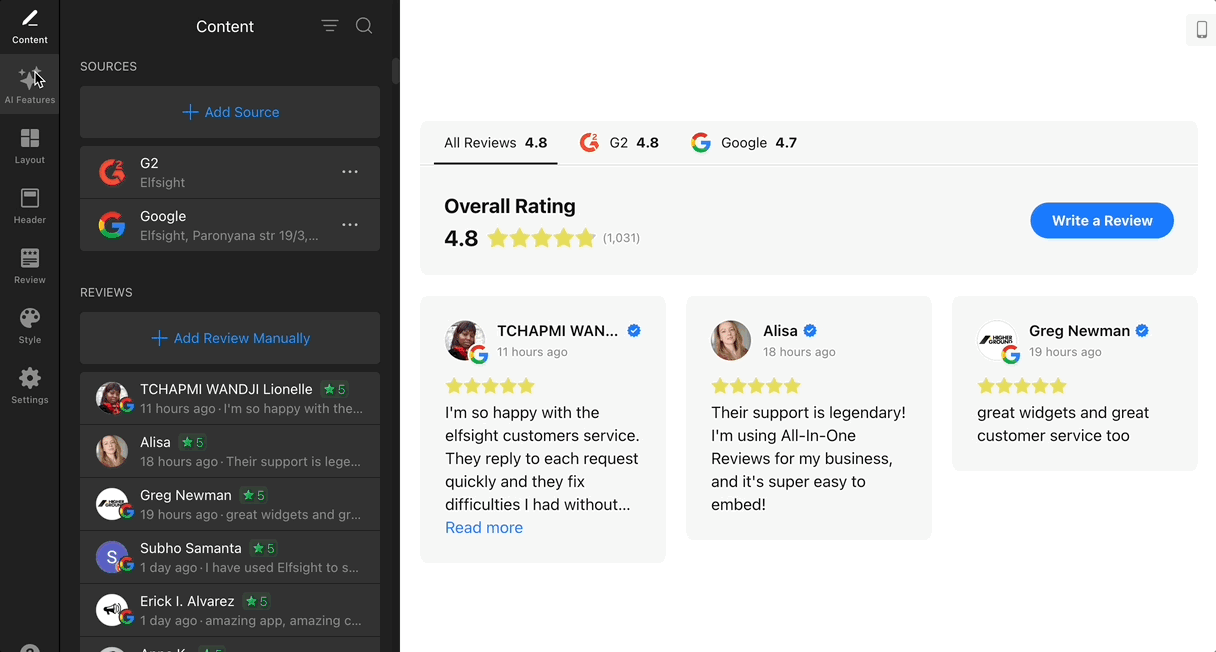
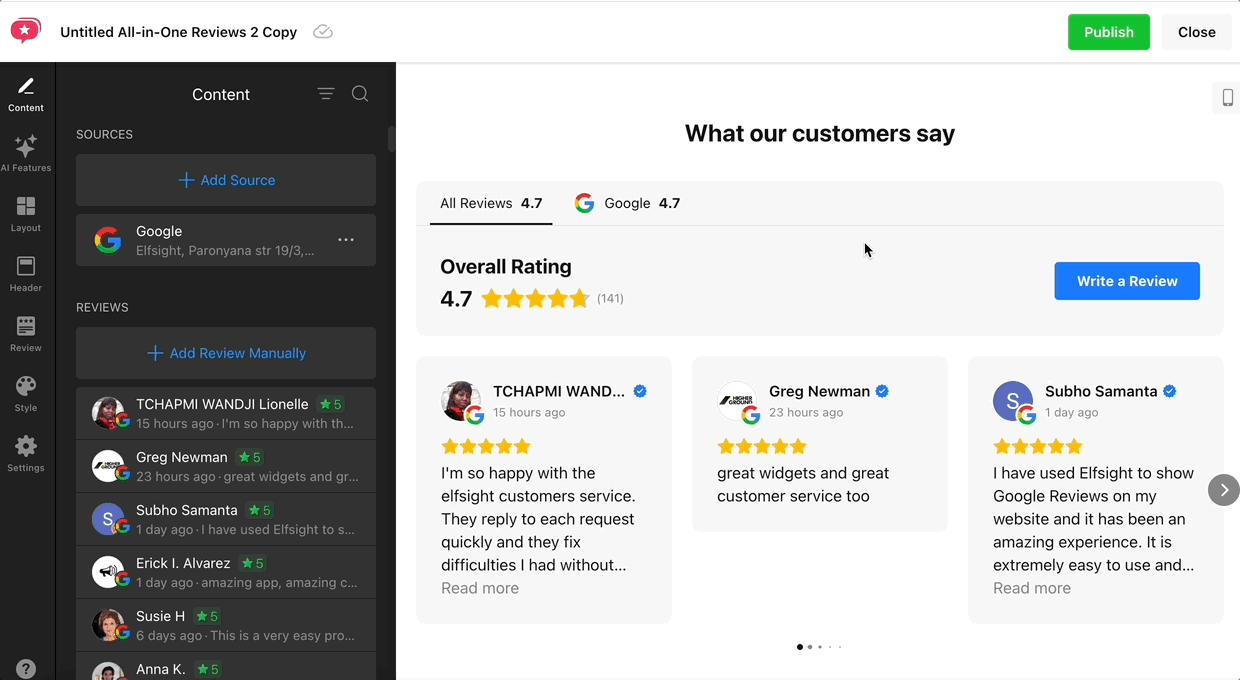
Content
First, open the widget editor and go to the Content tab, where you can connect your reviews:
Here, you can select from 60+ different platforms—including Google, Facebook, Tripadvisor, Airbnb, and more—to display reviews and build trust.
You can also add multiple links from the same platform! Learn more in our guide on Combining multiple sources in All-in-One Reviews widget.
If you can't find the platform you need, don’t worry! You can add reviews and fill in the desired information by clicking + Add Review Manually. Your manually added reviews will be shown under the All Reviews tab:
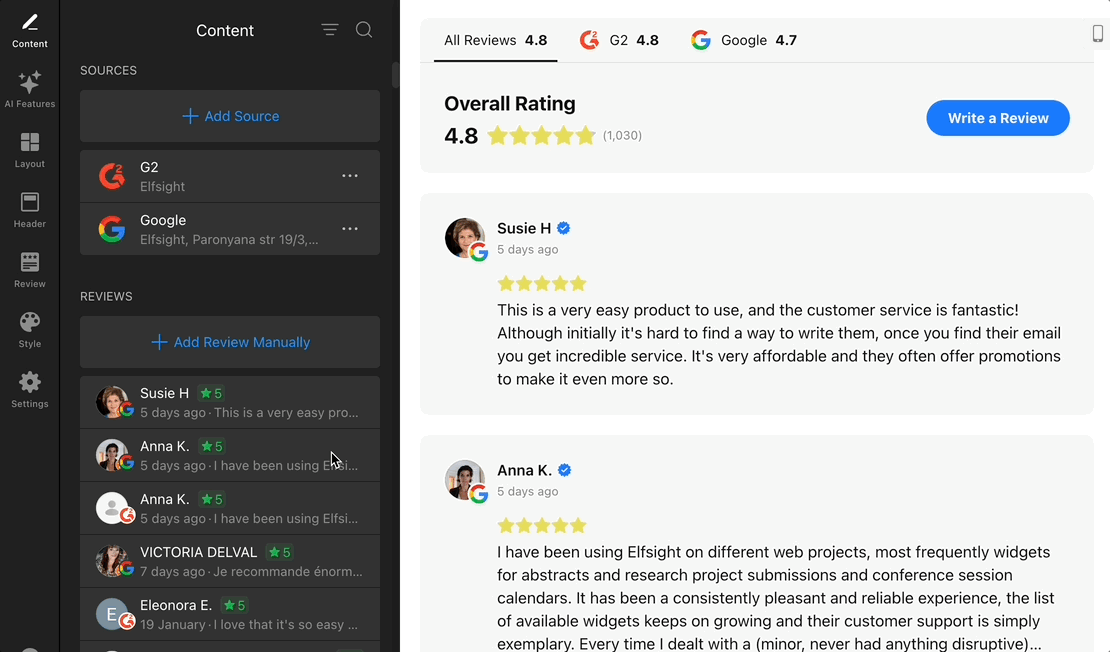
In the Content tab, you can also filter, search, and moderate reviews by hiding specific ones or pinning them to top:
AI Features
In the AI Features tab, enable AI-Generated Summary to automatically generate a short highlight of your reviews. You can also display reviews in your selected widget language (available for Pro plans or higher) by enabling the Translate Reviews with AI toggle:
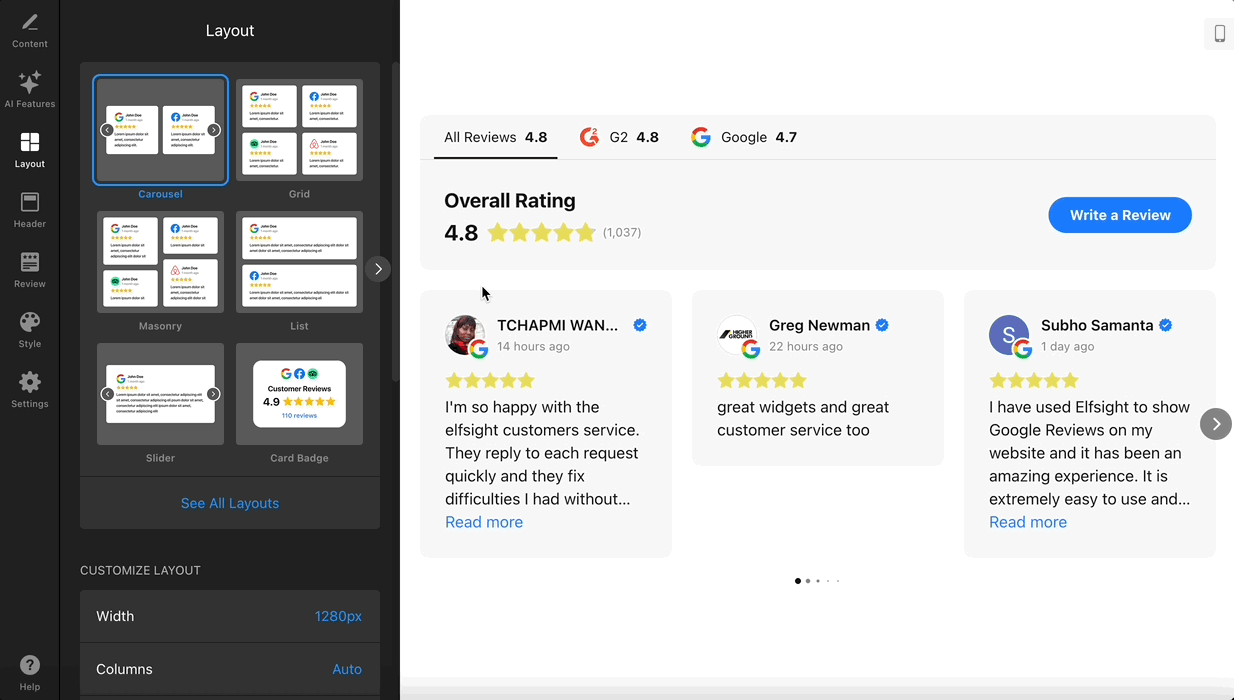
Step 2. Customize the Layout & Style
Use the Layout, Header, Review, and Style tabs to customize the widget’s appearance and ensure it aligns perfectly with your website and brand.
Layout
Pick a layout ( Carousel, Grid, Masonry, List, Slider, or Badges) and adjust the width, rows/columns, spacing, autoplay, navigation, and more for both desktop and mobile:
Header
Choose whether to display the Header, widget title, tabs for different platforms, and toggle elements like the title, rating, and number of reviews:

Your customers can easily leave reviews directly in the widget! 🤩 Just enable the Write a Review button and configure the Collect Reviews via Widget settings in the Settings tab:
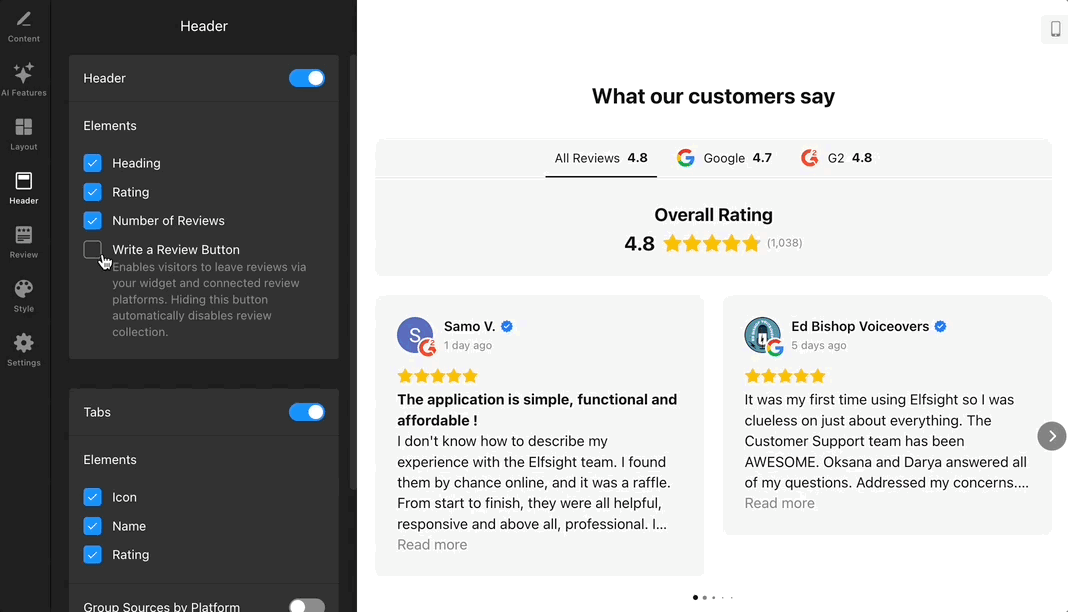
They can upload images and even get AI assistance to help craft their reviews. Plus, you can encourage them to share their feedback across other platforms too!
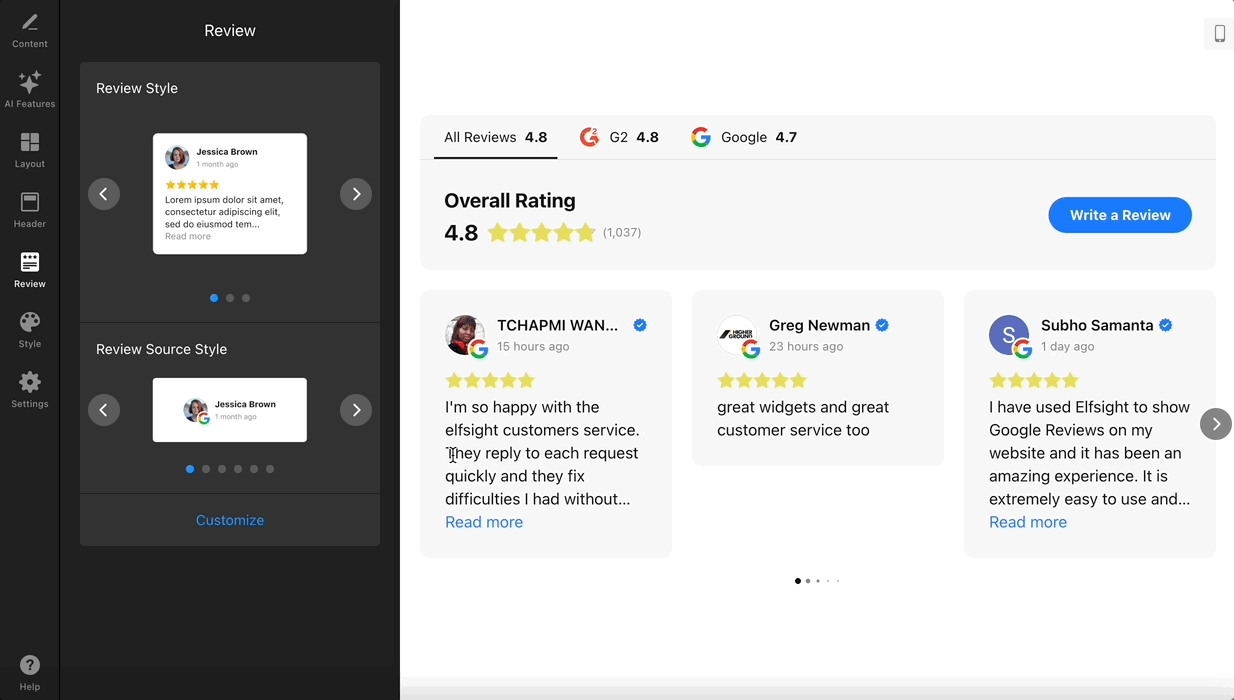
Review
Choose which elements appear in each review, such as the reviewer name or photo, verified badge, source icon, date, rating, images, and more. Select the review card style you prefer:
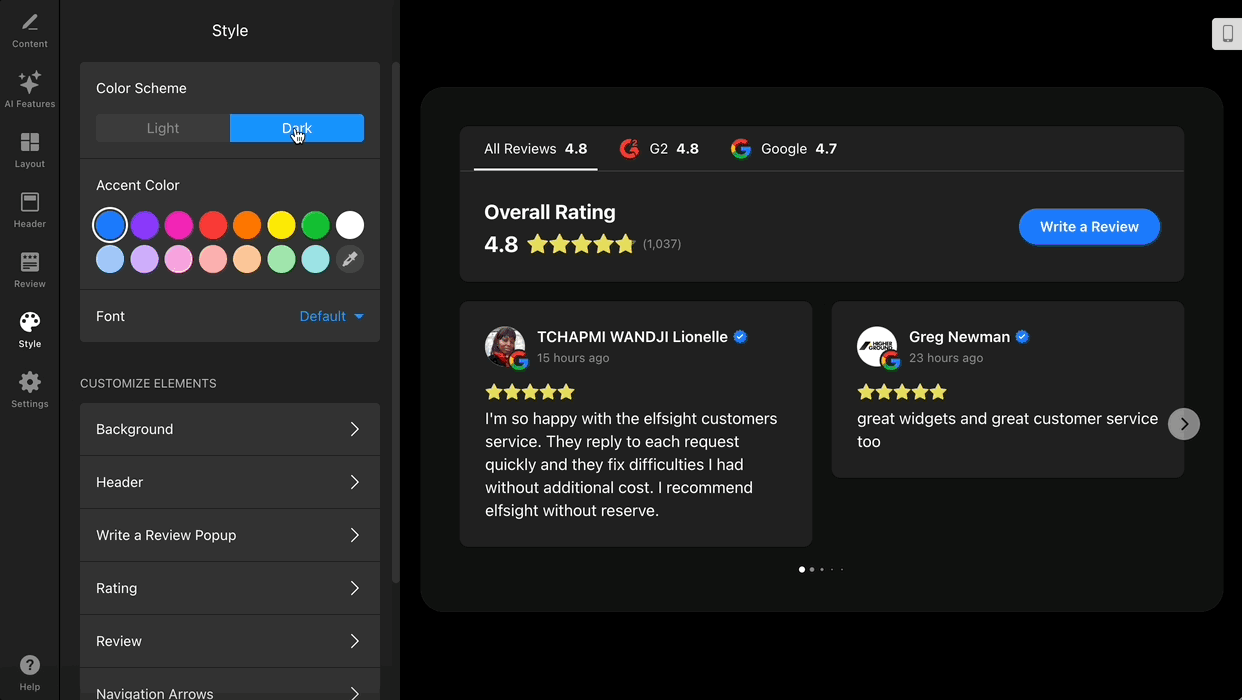
Style
Switch between light or dark theme, set your accent color and font, and fine-tune individual elements (background, titles, ratings, buttons) for a polished look:
Step 3. Configure Advanced Settings
In the Settings tab, adjust options that control your widget’s filters, sorting, language, structured data, and overall behavior:
- Collect Reviews via Widget – allow customers to submit reviews directly through the widget using the Write a Review button.
- Filter & Sort Reviews – display only the reviews you want, based on rating, keywords, and order. For details, see Filtering Reviews: How to Include or Exclude Content.
- Language & Text – choose the display language and edit interface texts.
- Schema – enable Schema.org markup for rich snippets in Google results. For more guidance on structured data, see Troubleshooting Schema in the Reviews widgets.
- External links – allow links to open in a new tab.
- Rating format – choose how ratings appear (e.g., 4.9 or 4.90).
- Custom JS – add JavaScript for advanced integrations or customizations.
Step 4. Install the Widget on Your Website
Once editing is complete, click Publish in the top-right corner. Then, go to your Elfsight Dashboard, and click Install next to your widget.
You'll see an installation window with three available tabs:
- Embed Code — copy the installation code and paste it into your website’s HTML. For platform-specific steps, check out Installation Tutorials by Platform (CMS).
- Share Link — create a direct link to your widget and share it via social media, email, or messaging apps. Learn more: How to Share Widget via Link.
- Request Installation — fill out a short form to have the Elfsight team install the widget for you. See the full guide: Requesting Installation of Your Elfsight Widget.
Now your reviews are live on your website—beautifully styled, auto-updating, and ready to boost your visitors’ trust! 🚀