Adding Elfsight Widget to WordPress Website with WPBakery Page Builder
If you want to add an Elfsight widget to your WordPress website with WPBakery Page Builder, follow this step-by-step guide for a smooth integration. Copy your widget installation code and let's get started! 🚀
Choose how to install your widget
Add a Widget to a Specific Page
To add a widget to a specific page, use the Raw HTML element in WPBakery Page Builder.
- 1
-
Choose a page
Log in to your WordPress dashboard and navigate to Pages: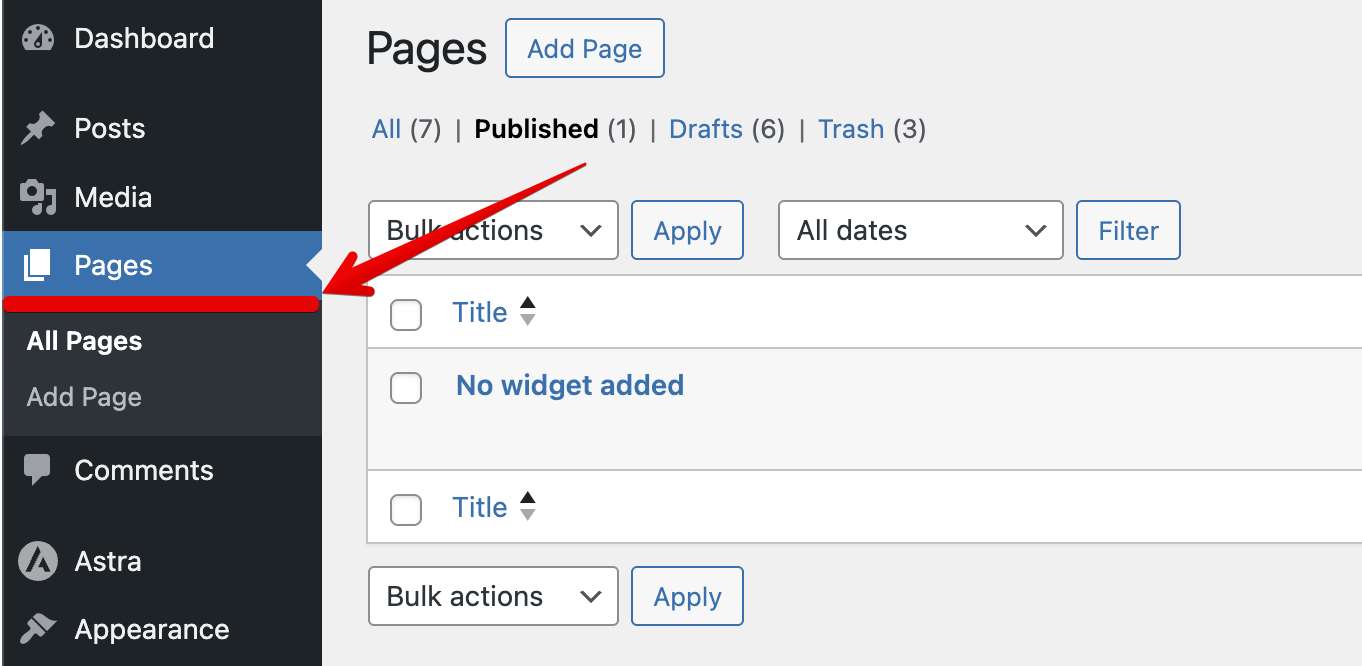 Hover over the page title where you’d like to add the widget and click "Edit with WPBakery Page Builder":
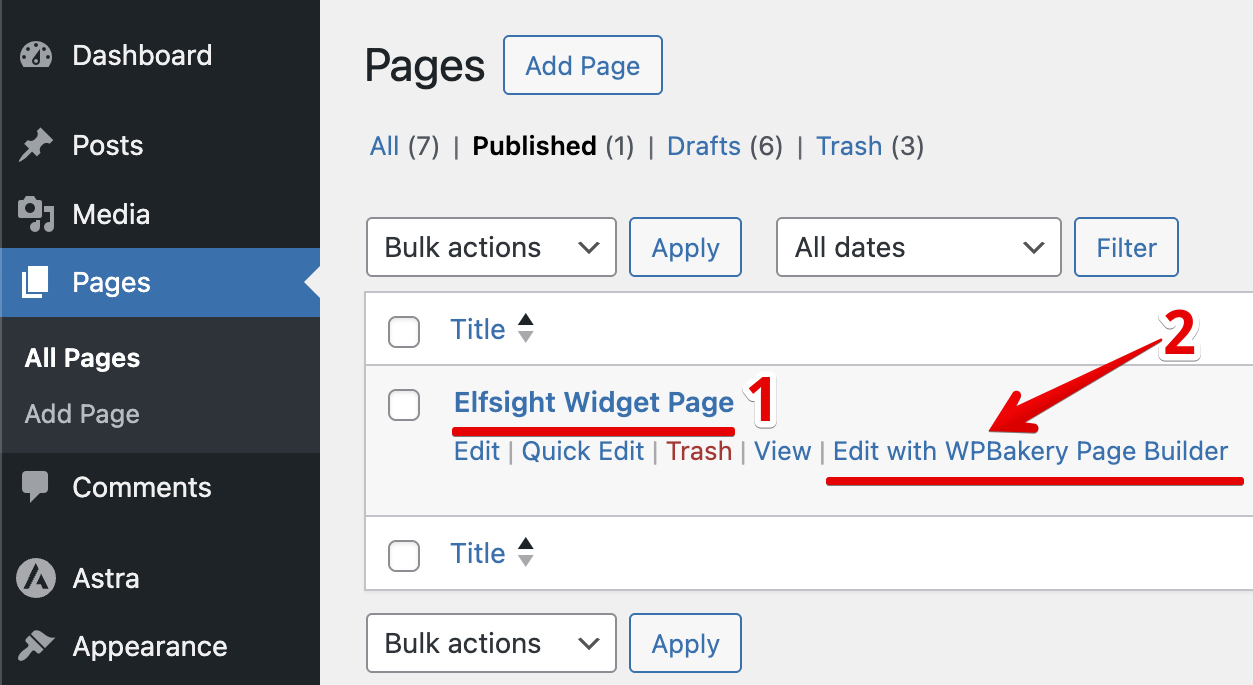
- 2
-
Add Raw HTML element
Locate the spot on the page where you want to place the widget and click the ➕ icon: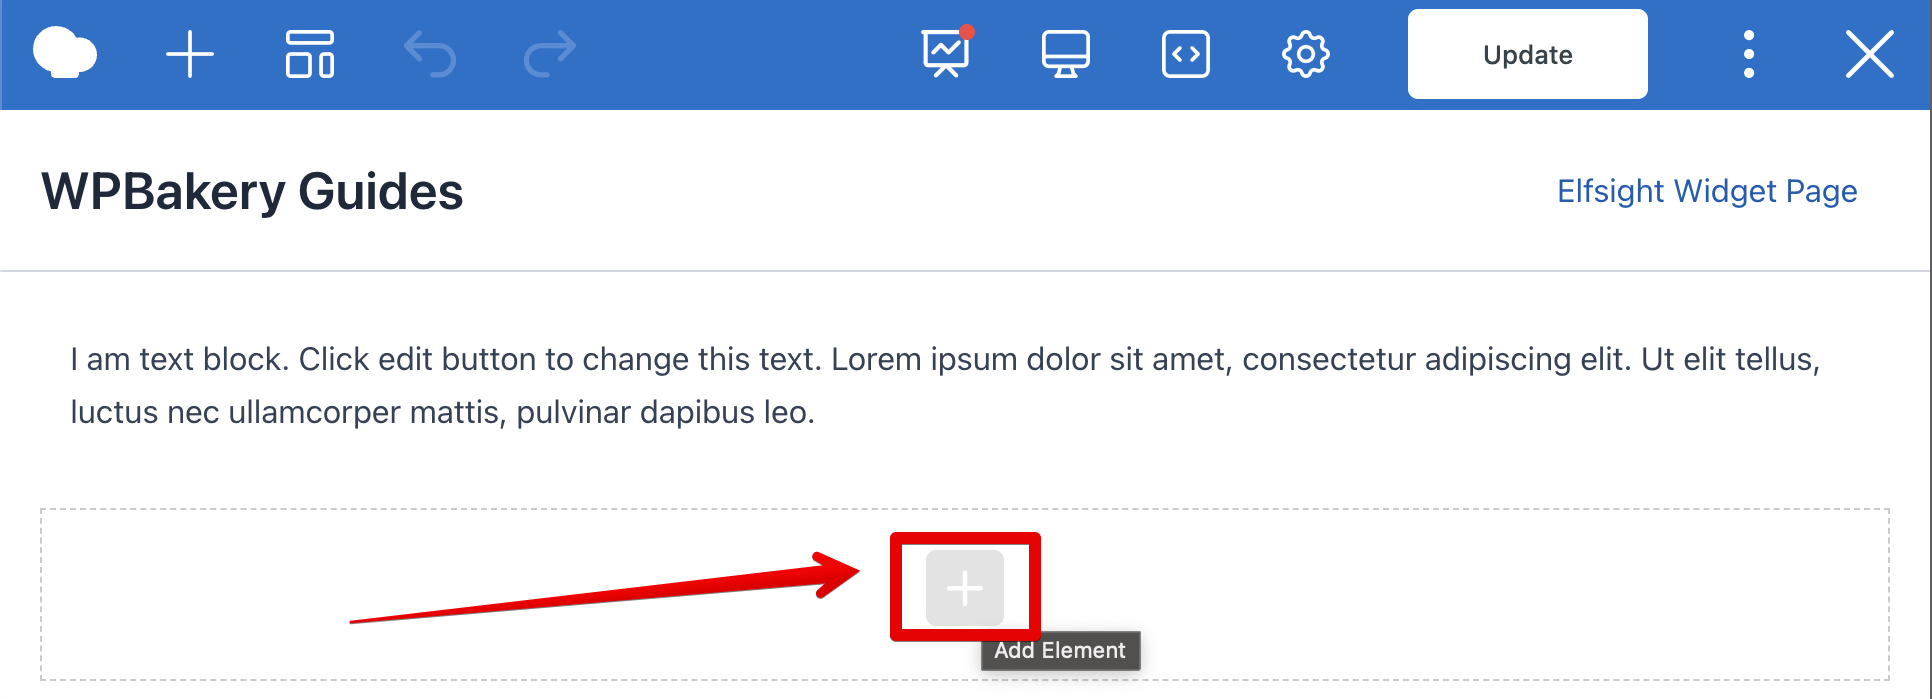 Use the search in the upper-right corner to find the Raw HTML element:
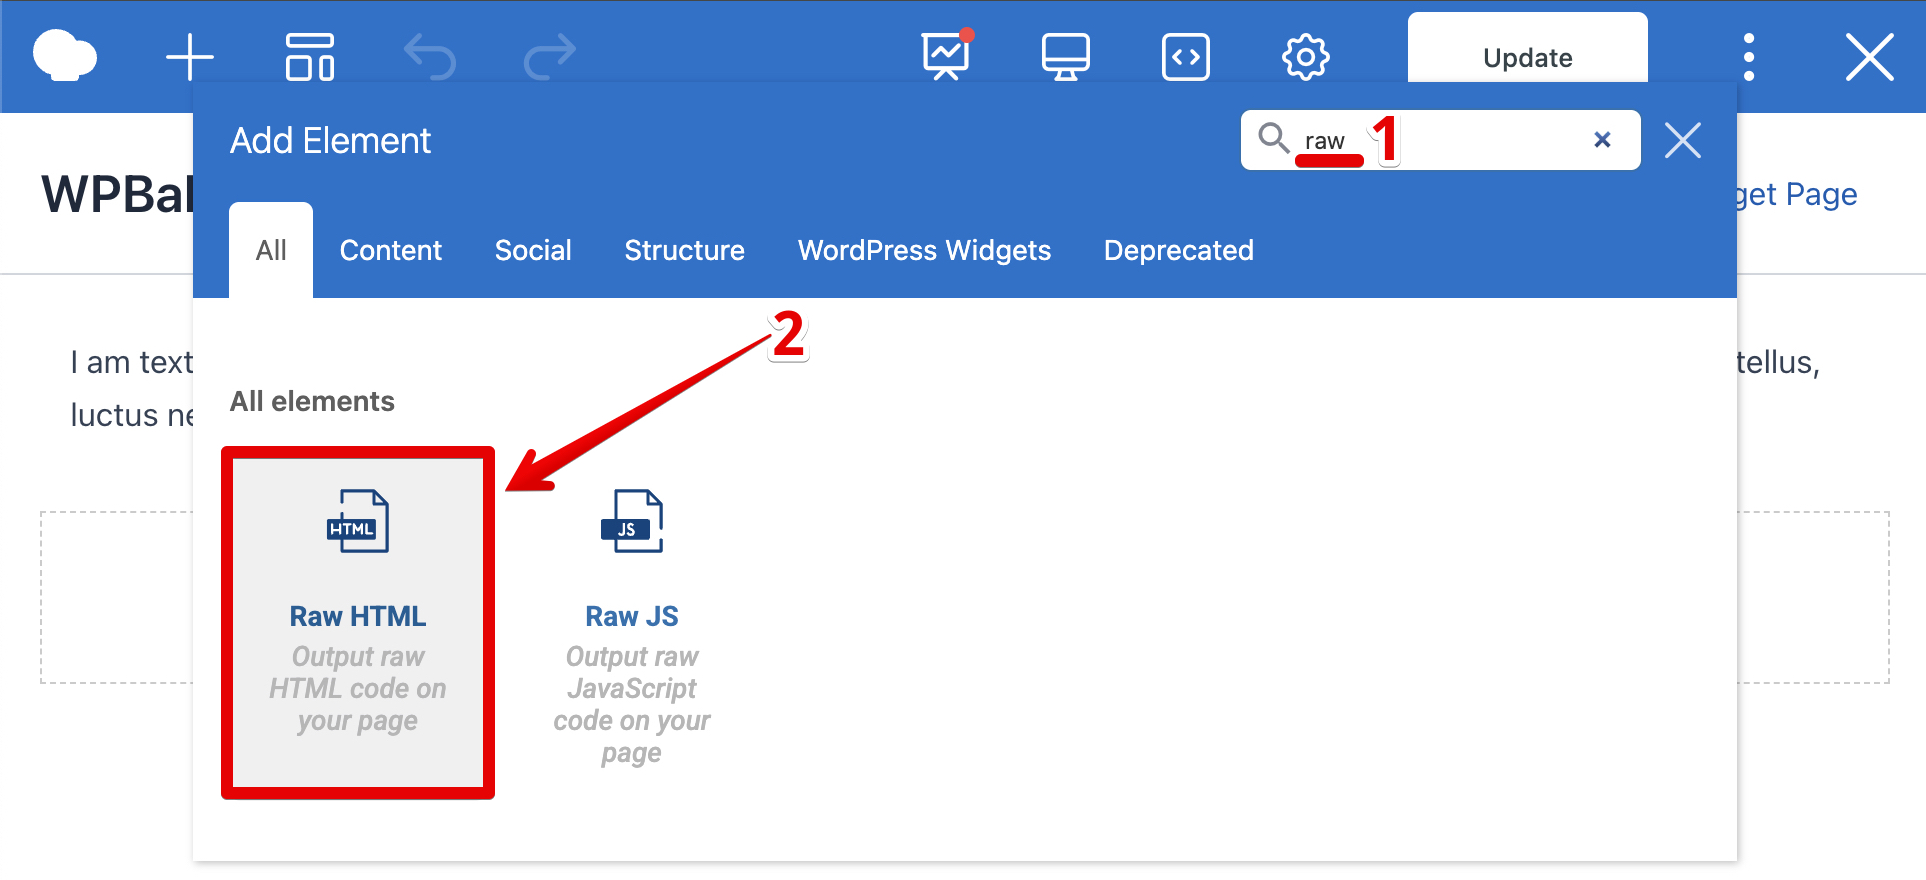
You can also use the Raw JS element, but note that it won’t display the widget in editor mode. Don’t worry — your widget will appear correctly on the live site! - 3
-
Add your widget installation code
Paste the widget installation code into the element box and save the changes: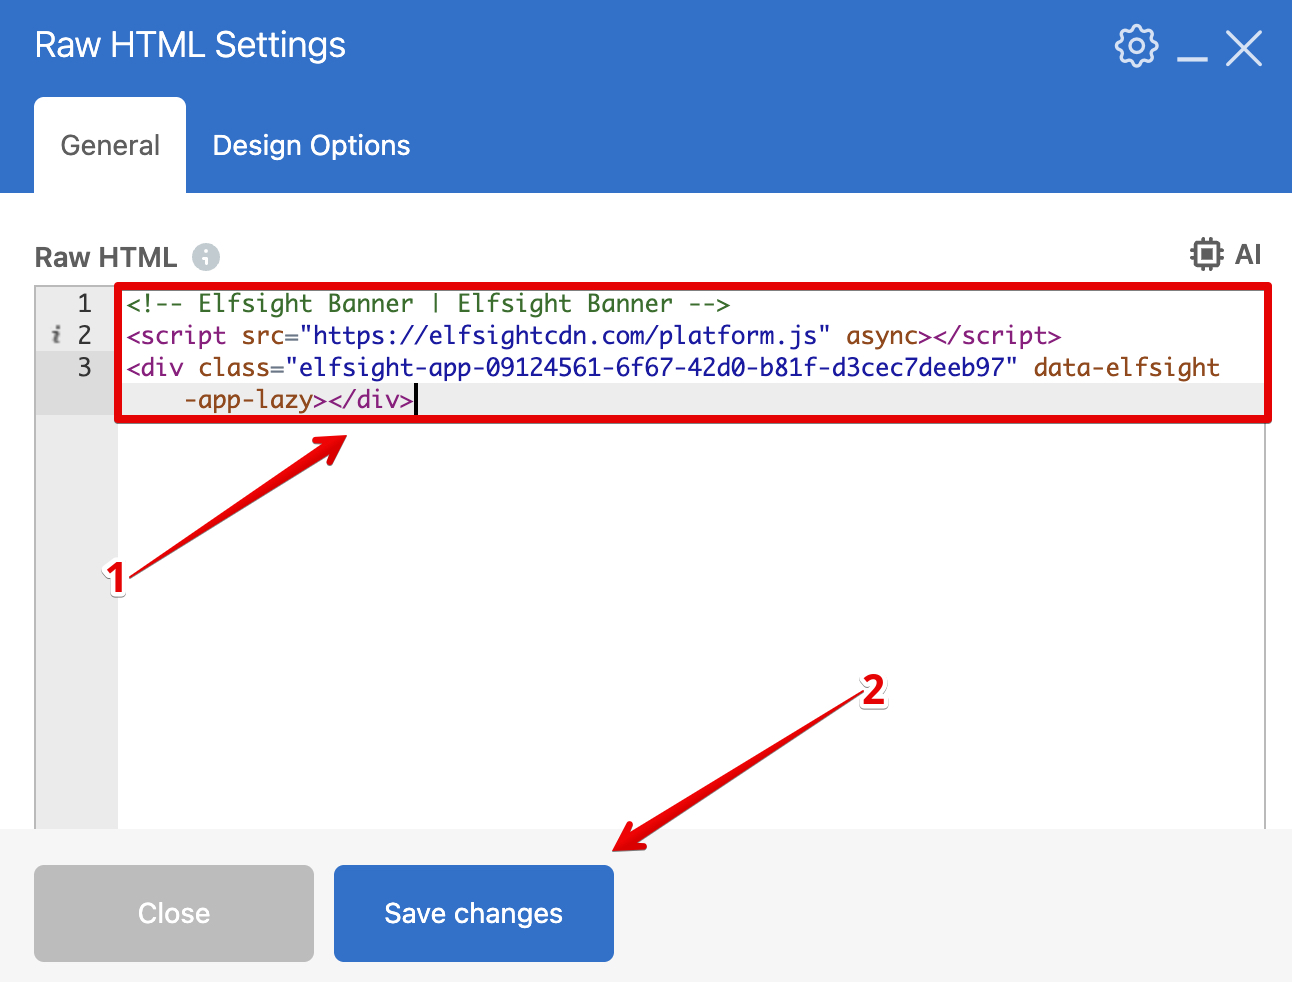 Close the popup box and click Update in the header to apply changes to the live page:
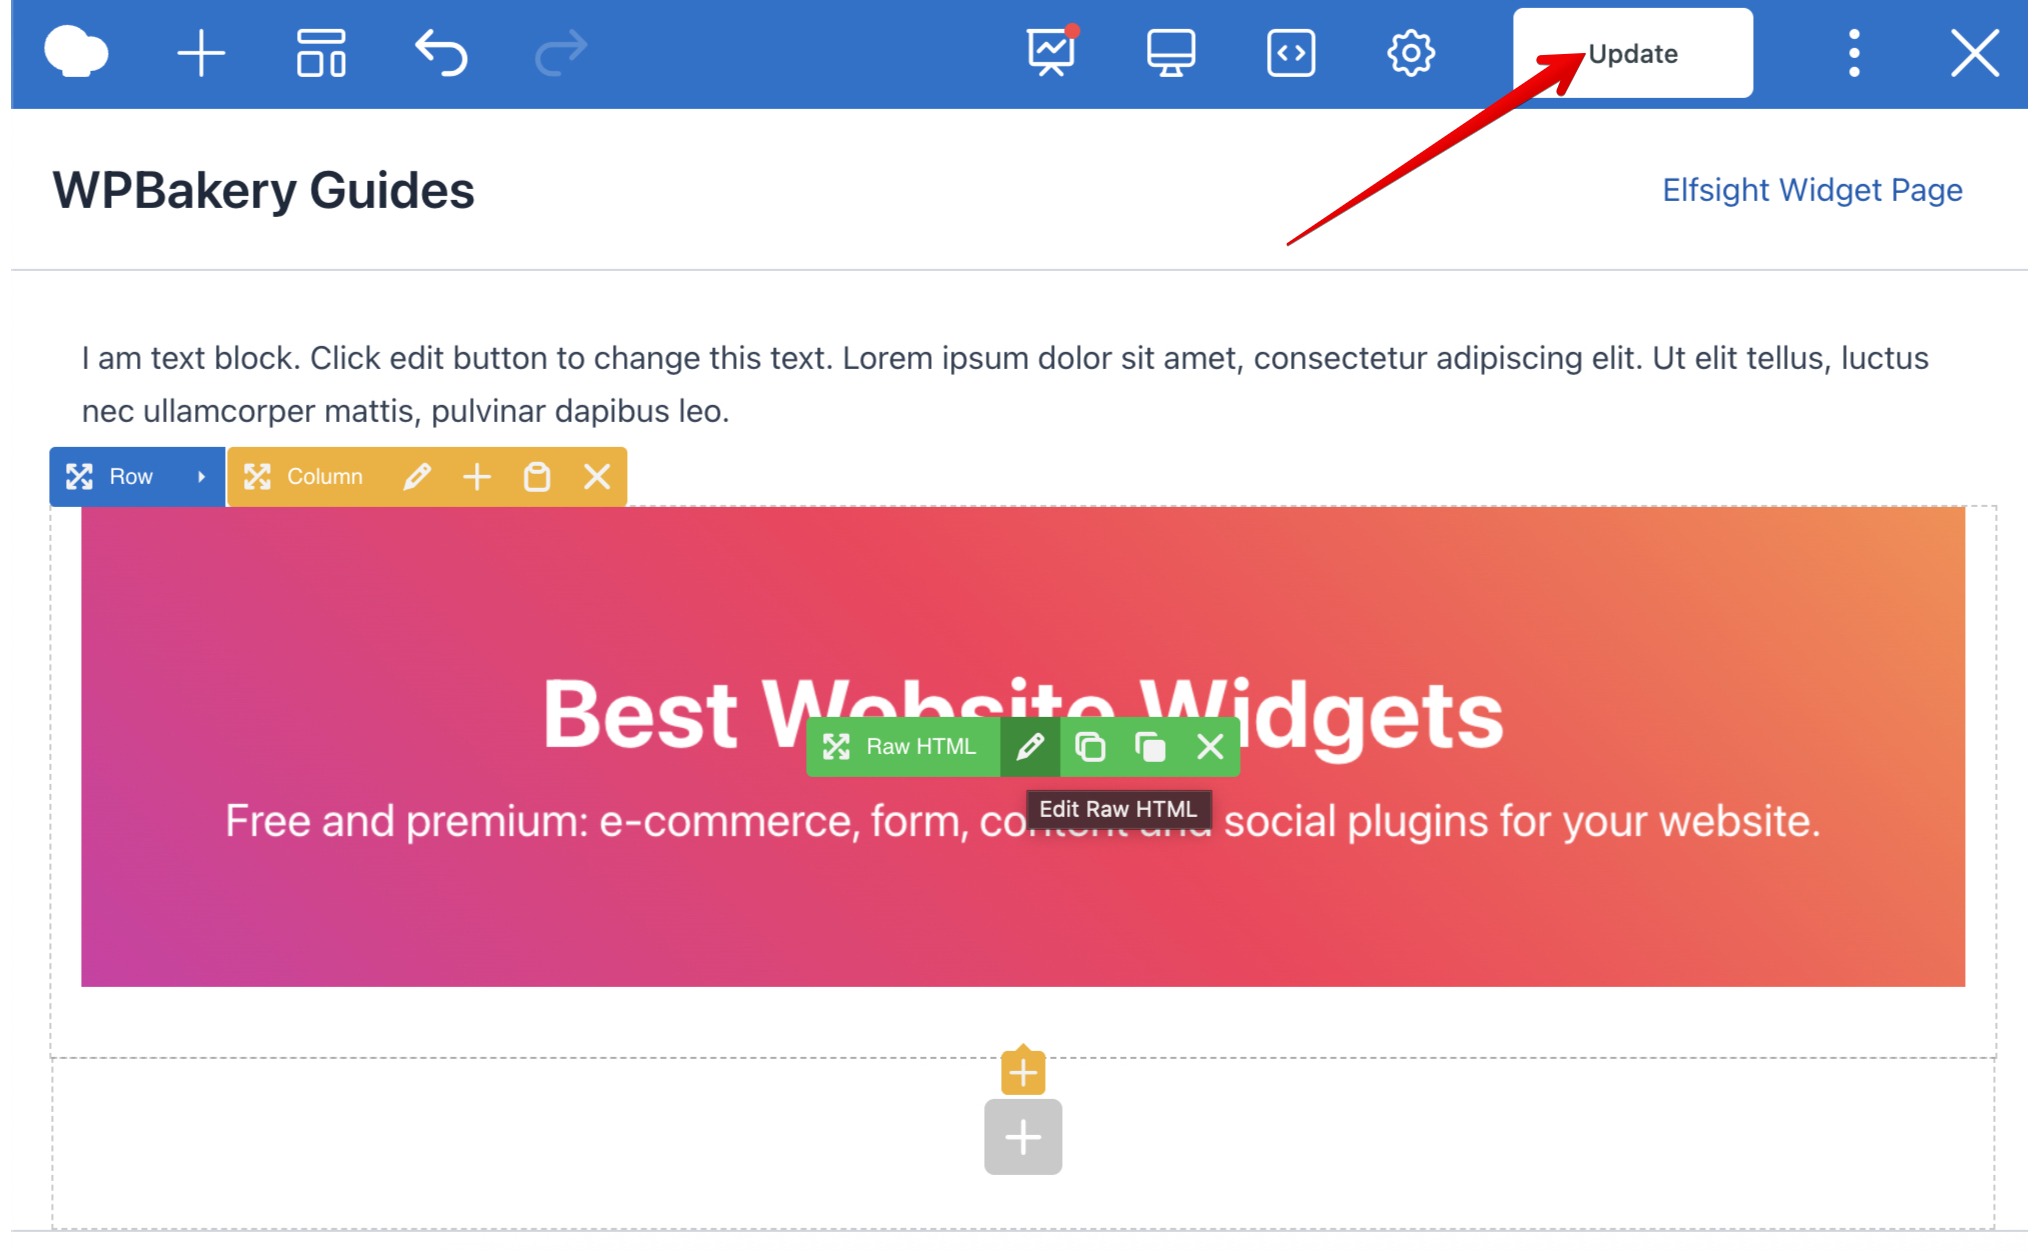
 Hover over the page title where you’d like to add the widget and click "Edit with WPBakery Page Builder":
 Use the search in the upper-right corner to find the Raw HTML element:
 Close the popup box and click Update in the header to apply changes to the live page:
That’s it! You've successfully installed your widget on a specific page.
Add a Widget to All Pages
To add a widget to all web pages at once, use the Custom JS option in WPBakery Page Builder and a special script.
- 1
-
Access Custom JS section
Log in to WordPress, navigate to WPBakery Page Builder left-hand menu, and click Custom JS: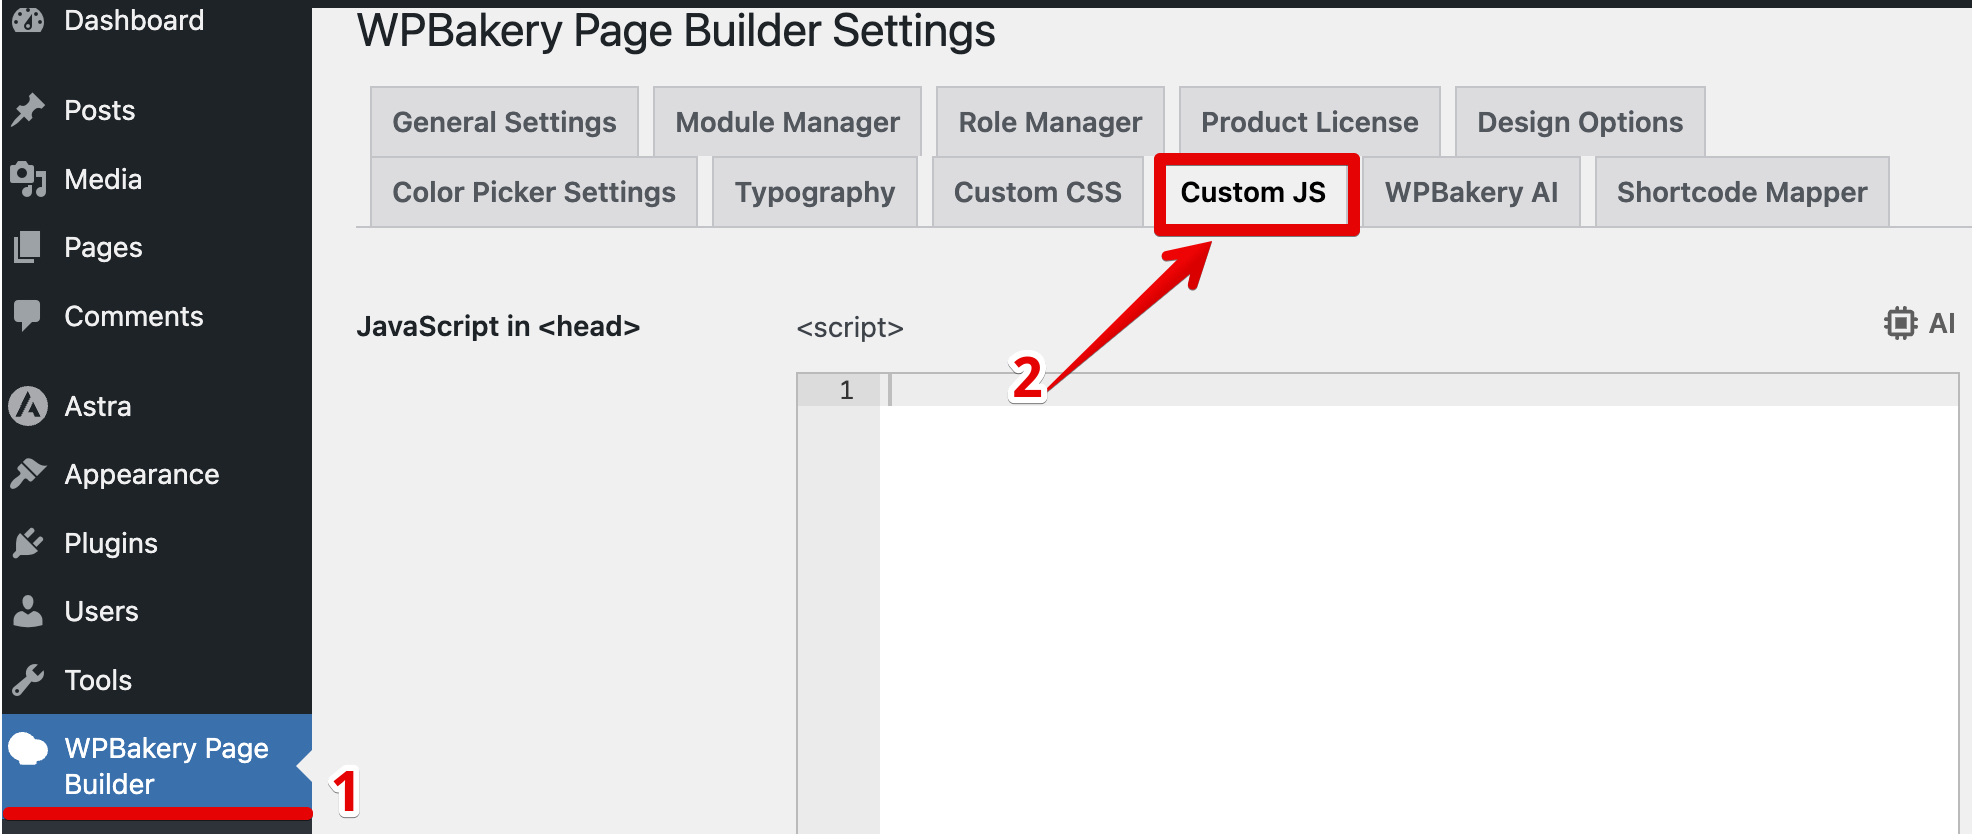 Scroll down to JavaScript before </body> section:
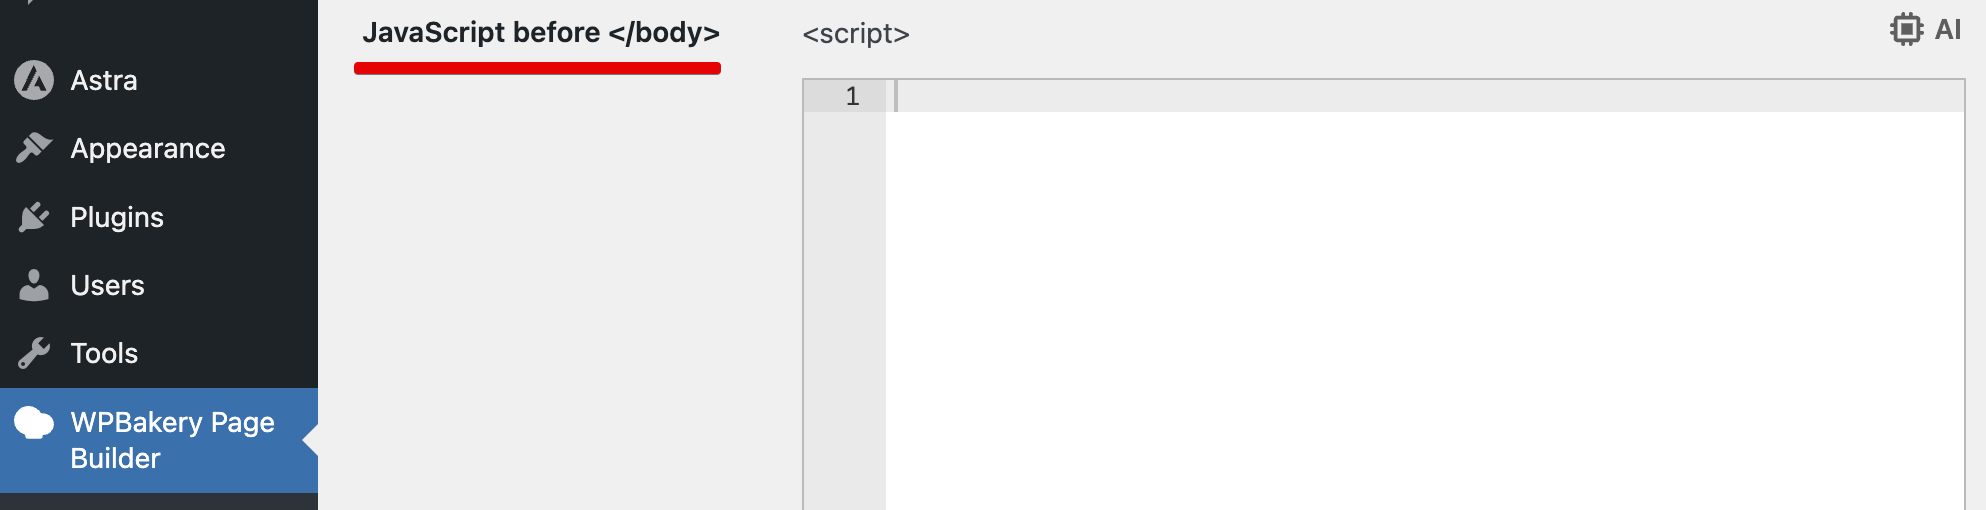
- 2
-
Add installation script
Insert the following code into the <script> window, replacing WIDGET_ID with ID of your widget:
(() => {
  const script = document.createElement('script');
  script.src = 'https://elfsightcdn.com/platform.js';
  script.async = true;

  const widget = document.createElement('div');
  widget.className = 'elfsight-app-WIDGET_ID';
  widget.setAttribute('data-elfsight-app-lazy', '');

  const footer = document.querySelector('footer');
  if (footer) {
    footer.before(widget);
    document.head.appendChild(script);
  } else {
    document.body.append(script, widget);
  }
})();
Here's an example of the final code:
(() => {
  const script = document.createElement('script');
  script.src = 'https://elfsightcdn.com/platform.js';
  script.async = true;

  const widget = document.createElement('div');
  widget.className = 'elfsight-app-bc36c511-3b5d-4d10-a0ab-2b9c961b0fbe';
  widget.setAttribute('data-elfsight-app-lazy', '');

  const footer = document.querySelector('footer');
  if (footer) {
    footer.before(widget);
    document.head.appendChild(script);
  } else {
    document.body.append(script, widget);
  }
})();
If you’re installing a static widget, this script will place it above the footer on all pages. For a different placement, please contact our Support team — our developers will be happy to assist. - 3
-
Apply the changes
Click the Save Changes button: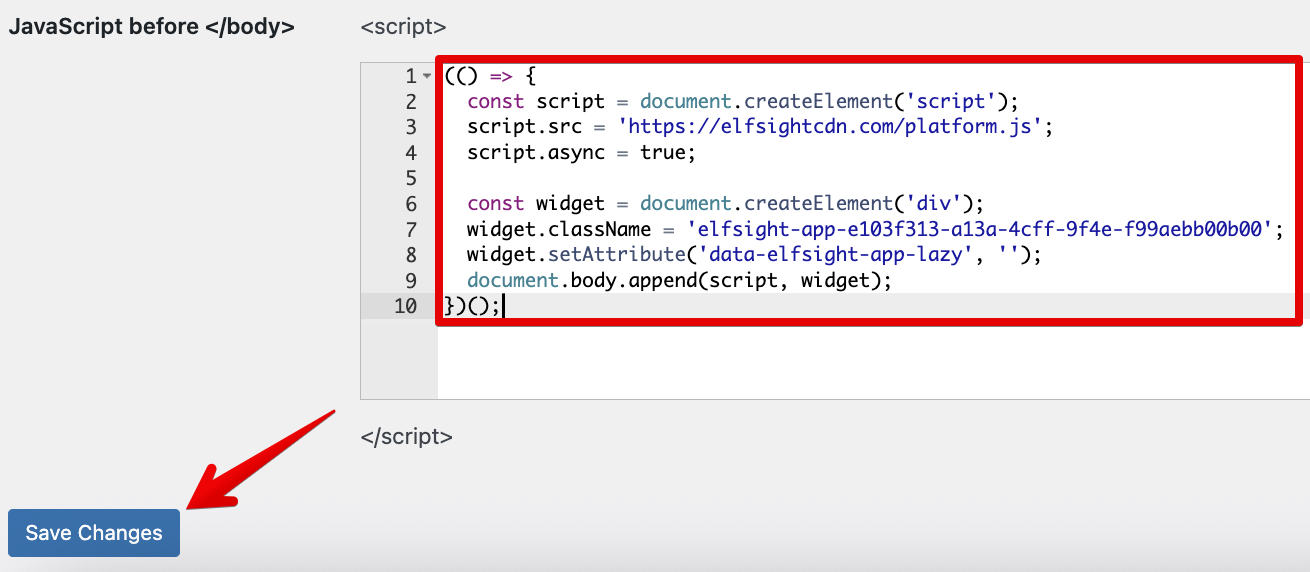
 Scroll down to JavaScript before </body> section:

Don't forget to reload your site to see the changes live. Your widget is now successfully installed on all website pages!
Struggling with the installation or have a different setup? Let us help! 🙌 Request installation assistance, and we'll handle the rest.