Step 4: Adjust Display and Advanced Settings
Now that your form looks the way you want, let’s go over the final step—fine-tuning its behavior behind the scenes! In this step, you’ll learn how to manage post-submit actions, protect your form from spam, set the language, and much more.
- Step 1 – Build Out Your Form
- Step 2 – Set Up Email Notifications & Integrations
- Step 3 – Choose Form Layout & Customize Appearance
- 👉 Step 4 – Adjust Display & Advanced Settings
In this article
Post-Submit Action
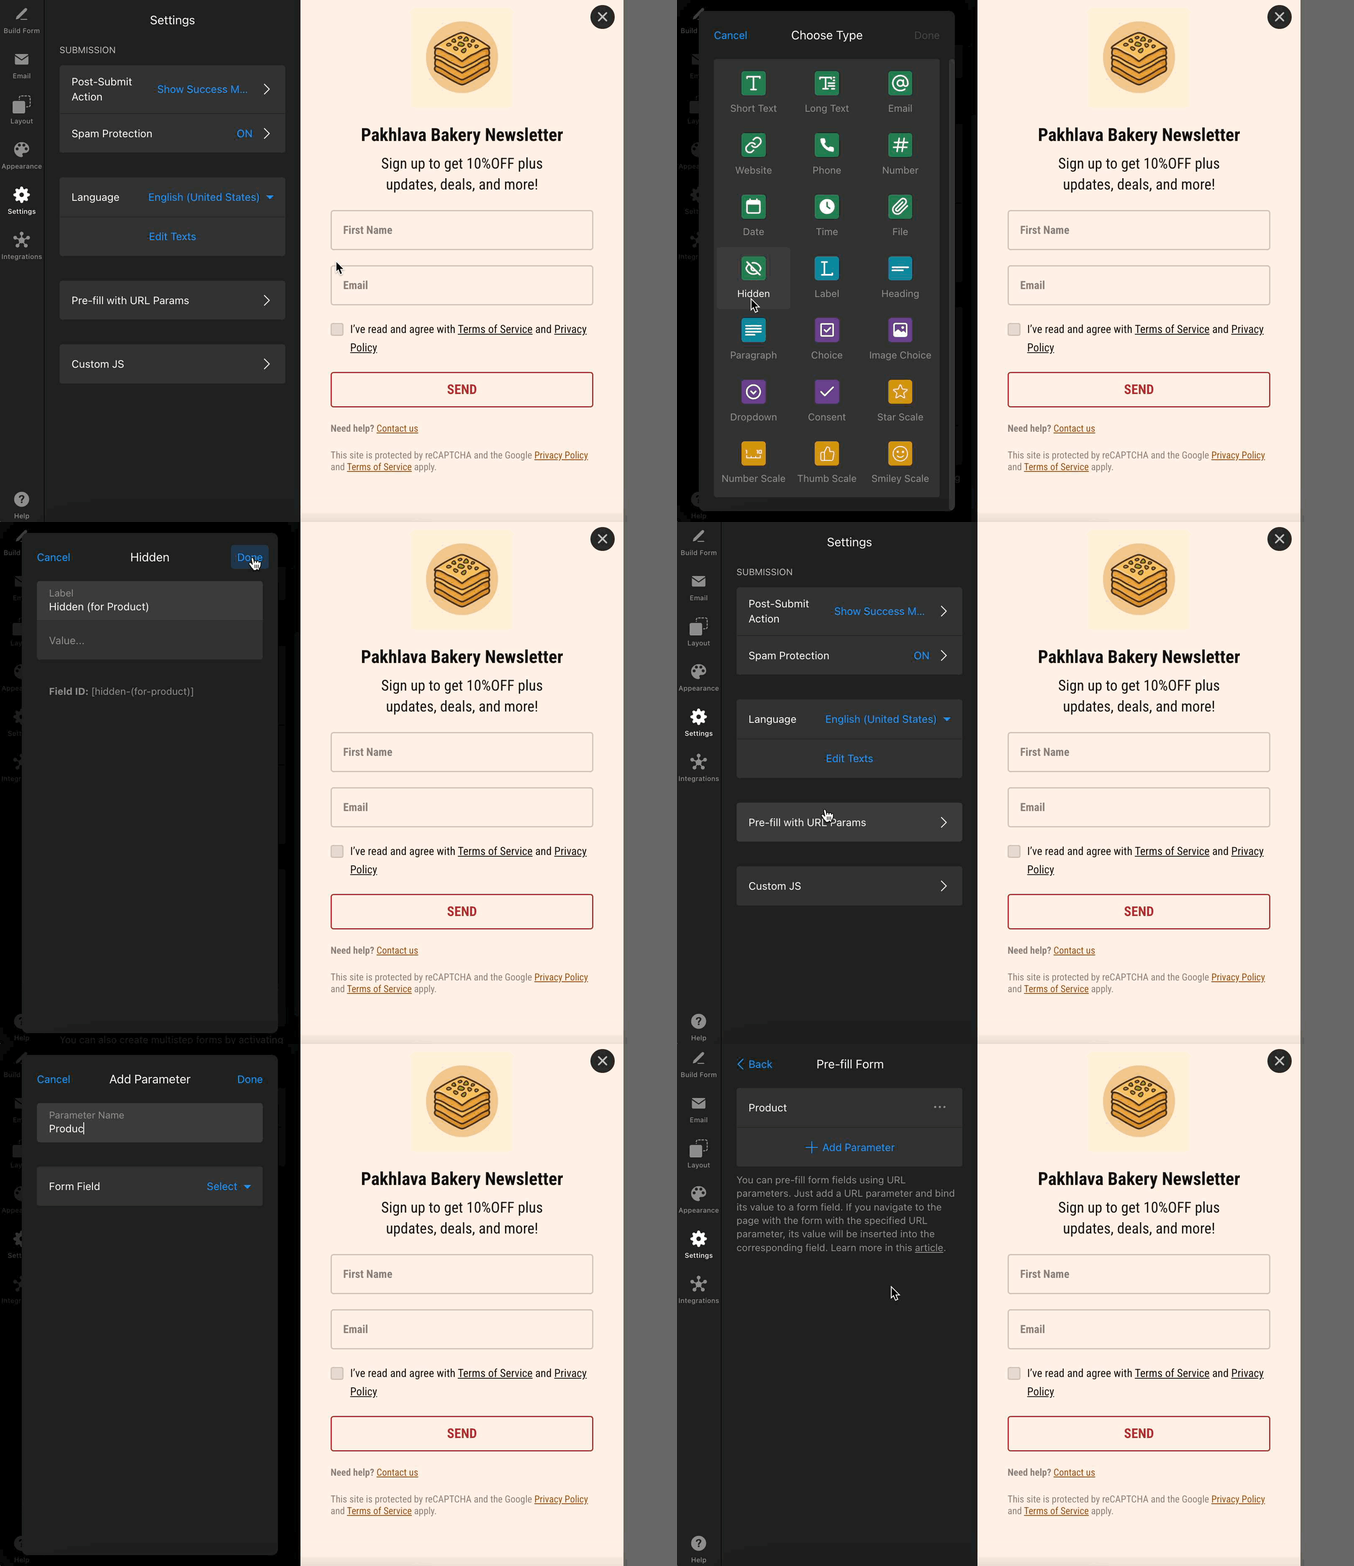
Decide what happens after a visitor submits your form! To set this up, you can go to the Post-Submit Action in the Settings tab: 
Here you can choose from three options: 
- Show Success Message — display a confirmation message on the page.
- Redirect to URL — automatically send the user to a different page (great for “Thank You” pages or upsells).
- Hide the Form — simply stop showing the form after submission.
Spam Protection
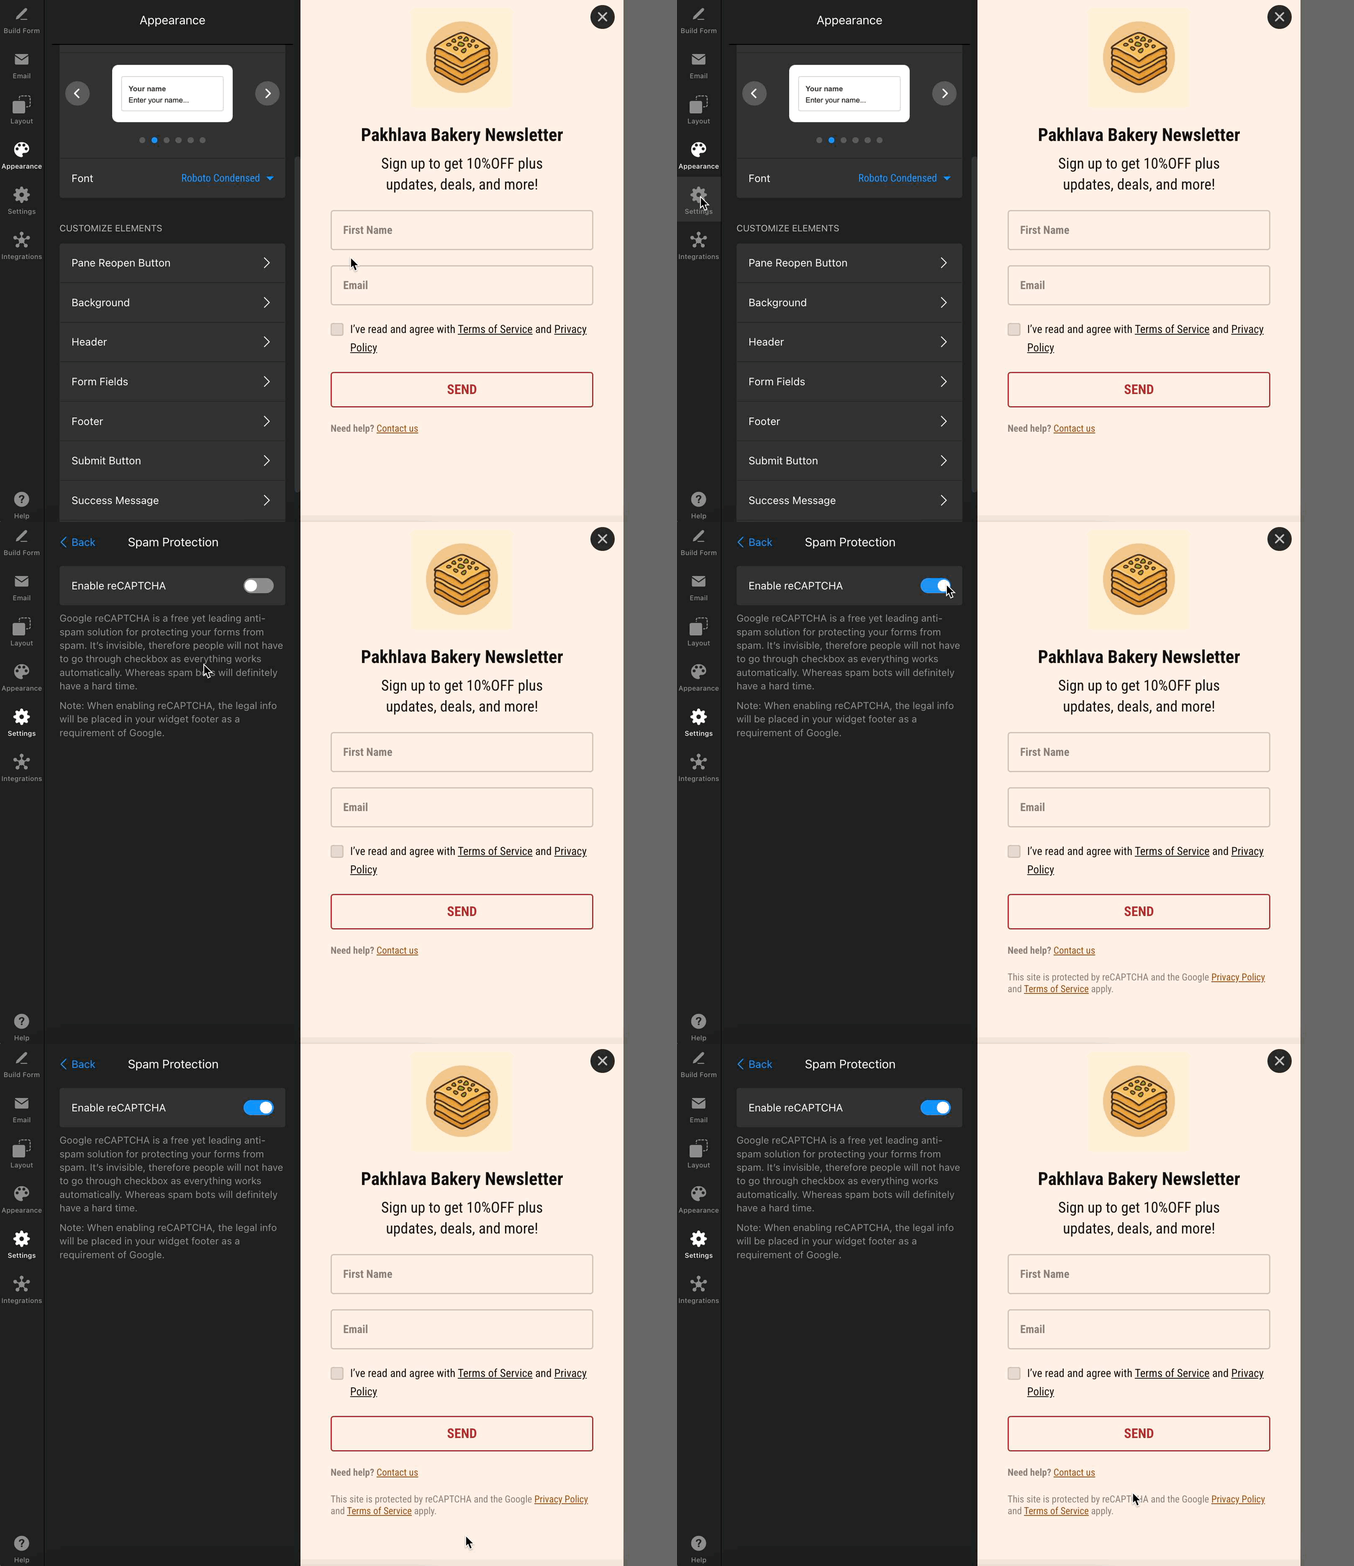
Turn on Spam Protection to enable invisible Google reCAPTCHA for your form. This helps block spam bots while keeping things seamless for real users—no extra puzzles or checkboxes:

Language & Custom Texts
Set your form’s language or fully customize every message, label, and error right from the Language section in the Settings tab. You can pick your preferred language from the dropdown: 
You can also click Edit Texts to rewrite any default text to better match your audience and brand voice: 
Pre-Fill Fields with URL Parameters
Make form filling easier by pre-filling fields using URL parameters. This is great for personalizing forms or when sending form data from product pages!
First, add a field you want to pre-fill in the Build Form tab. You can use a Hidden field if you don’t want users to see it but still want to collect its value. Then, go to Pre-fill with URL Params in the Settings tab and add a parameter for this field:  Finally, append the parameter to your page URL.
Custom JS
For advanced needs, you can add your own custom JavaScript. Use this to integrate with external tools, track events, or apply advanced behaviors. You can find the Custom JS section in the Settings tab: 
Note that Custom JS only works on the live site after the widget is installed—it won’t function in the widget editor. If you need assistance with advanced customizations, feel free to contact our Support team.
That’s it—your form is now fully set up, protected, and customized! 🎉
