Adding Elfsight Widget to Framer Website
Follow this step-by-step guide to add an Elfsight widget to your Framer website. Copy your widget installation code and let's get started! 😊
Choose how to install your widget
Add a static widget to a specific page
- 1
-
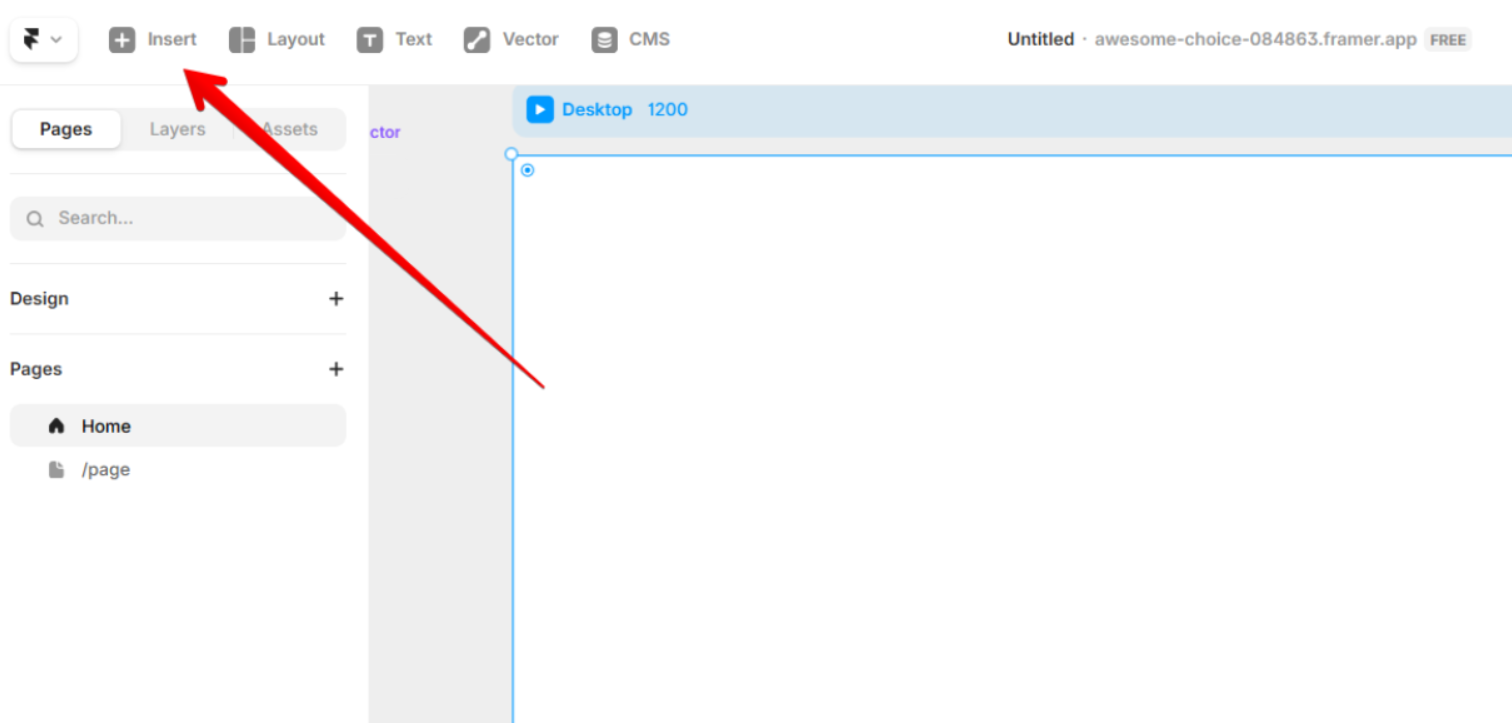
Open your Framer project and click Insert in the top-left corner:
- 2
-
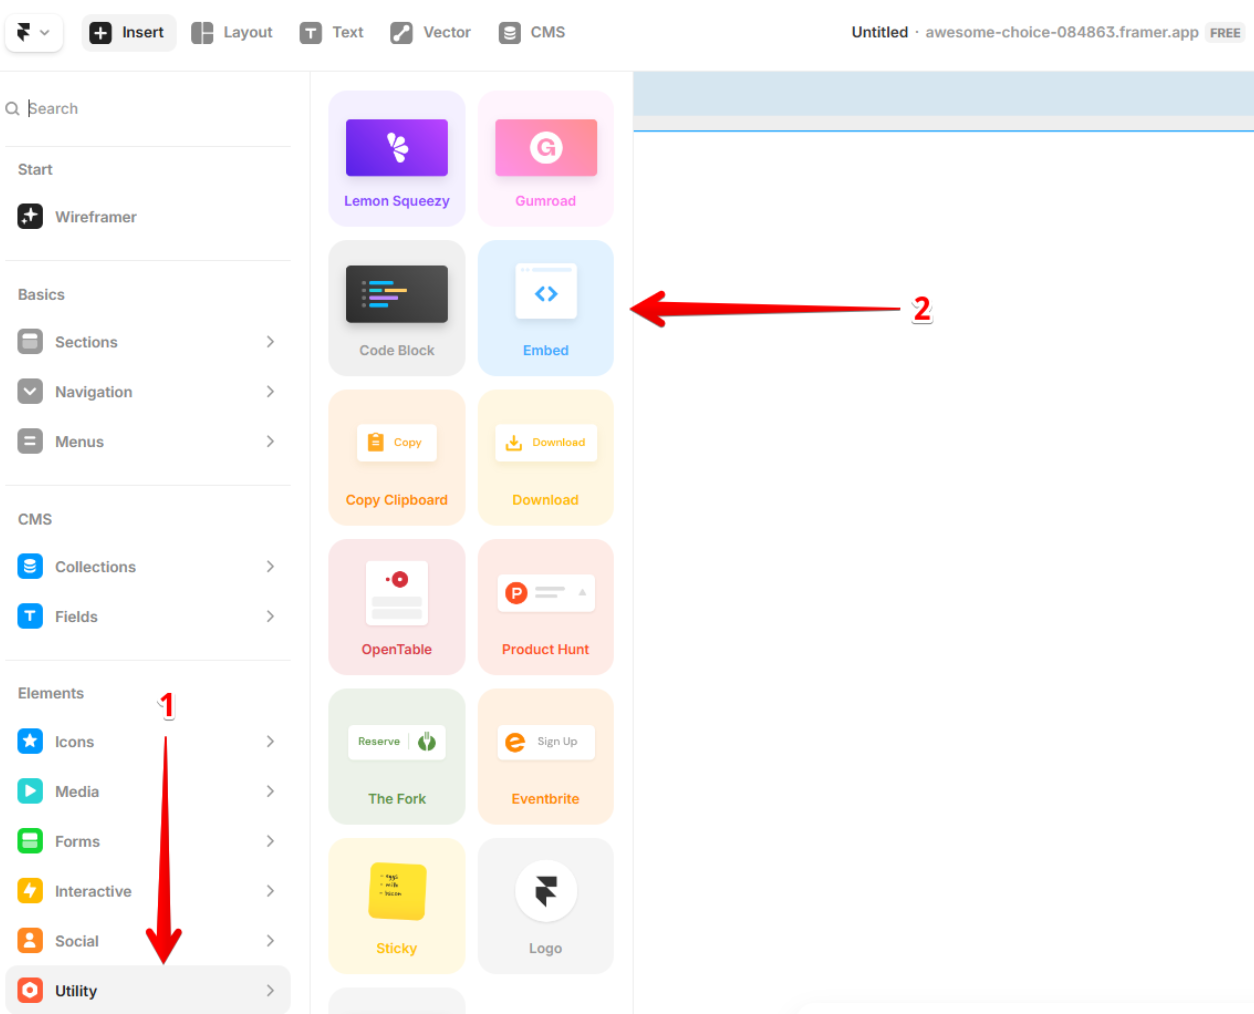
From the Elements section, select Utility and click the Embed block — or simply drag it onto your page:
- 3
-
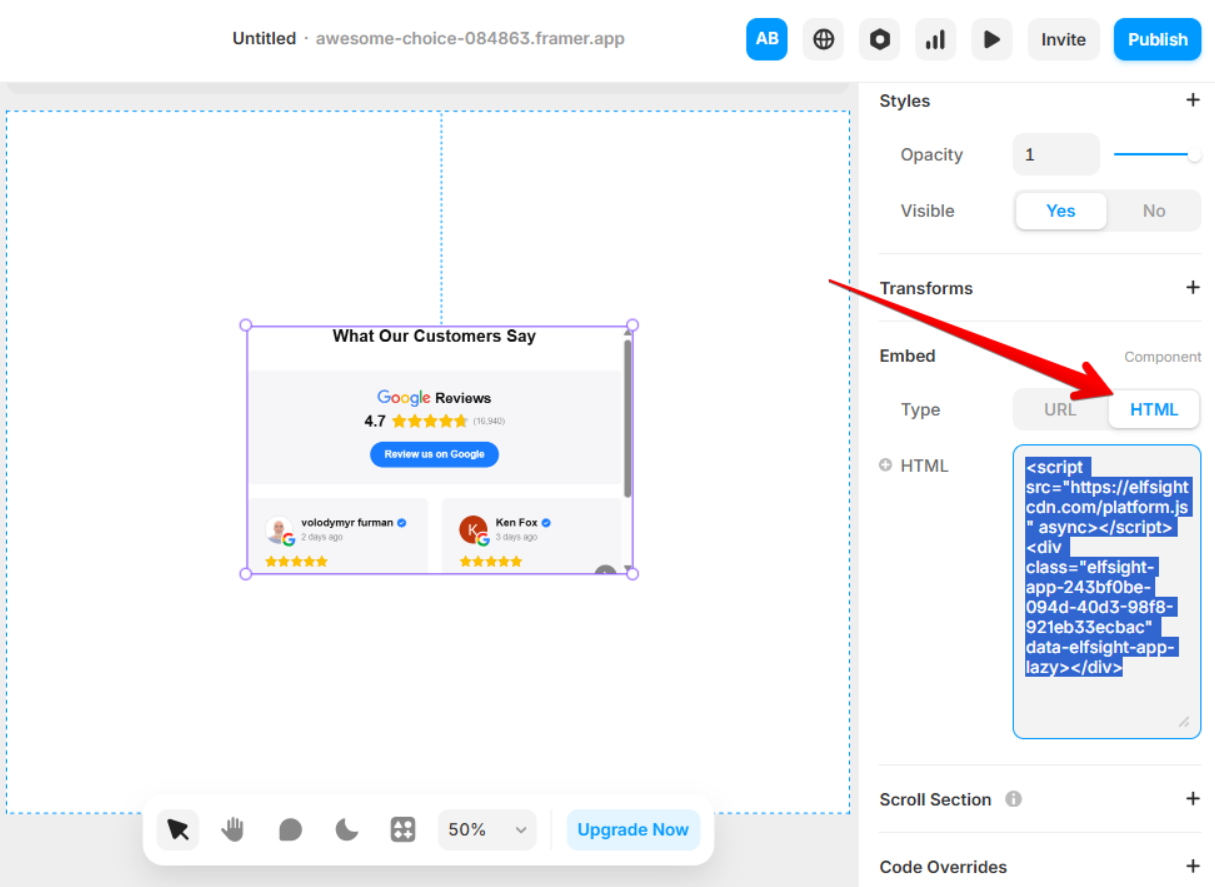
On the right panel, find the Embed section, set Type → HTML, and paste your widget installation code:
- 4
-
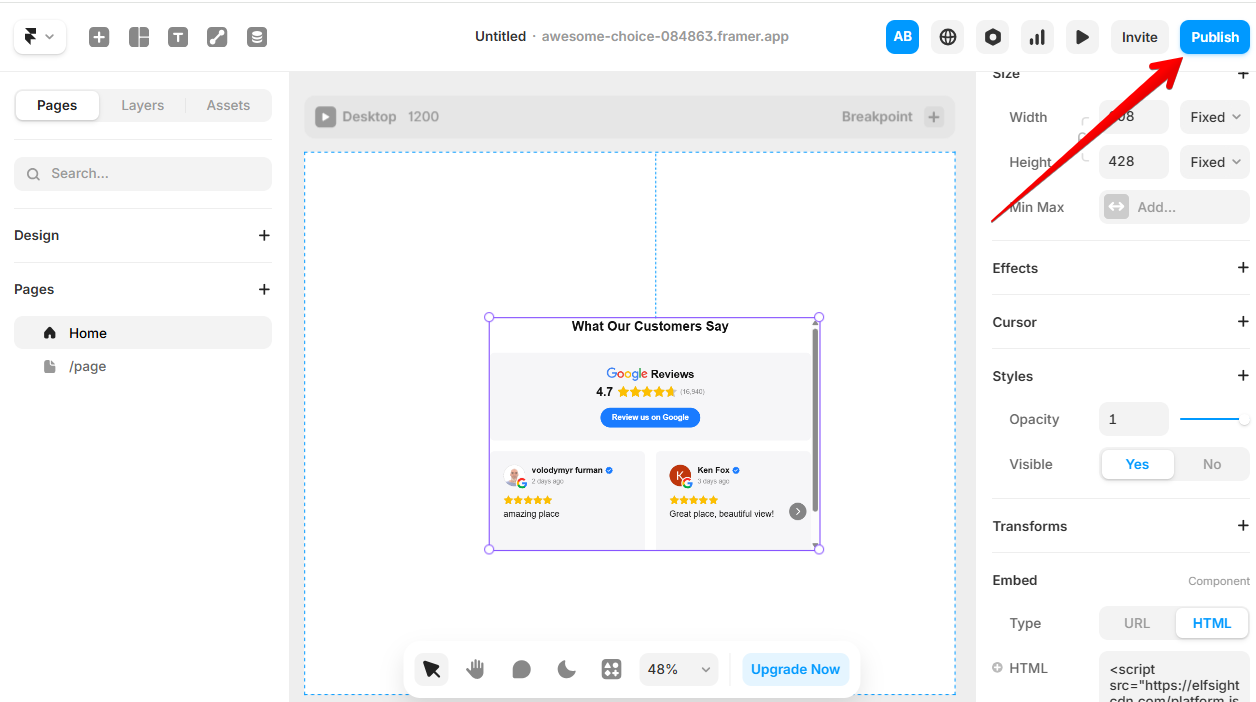
Check how the widget looks on mobile. Select its container and adjust the size manually so it fits the screen properly:

- 5
-
Once everything looks good, click Publish in the top-right corner:


That’s it — your widget is now added to your Framer page! If you want to display your static widget on all pages, just repeat these steps for each page.
Add a floating widget to a specific page
- 1
-
In your Framer project, click the three dots next to the desired page, and select Settings:

- 2
-
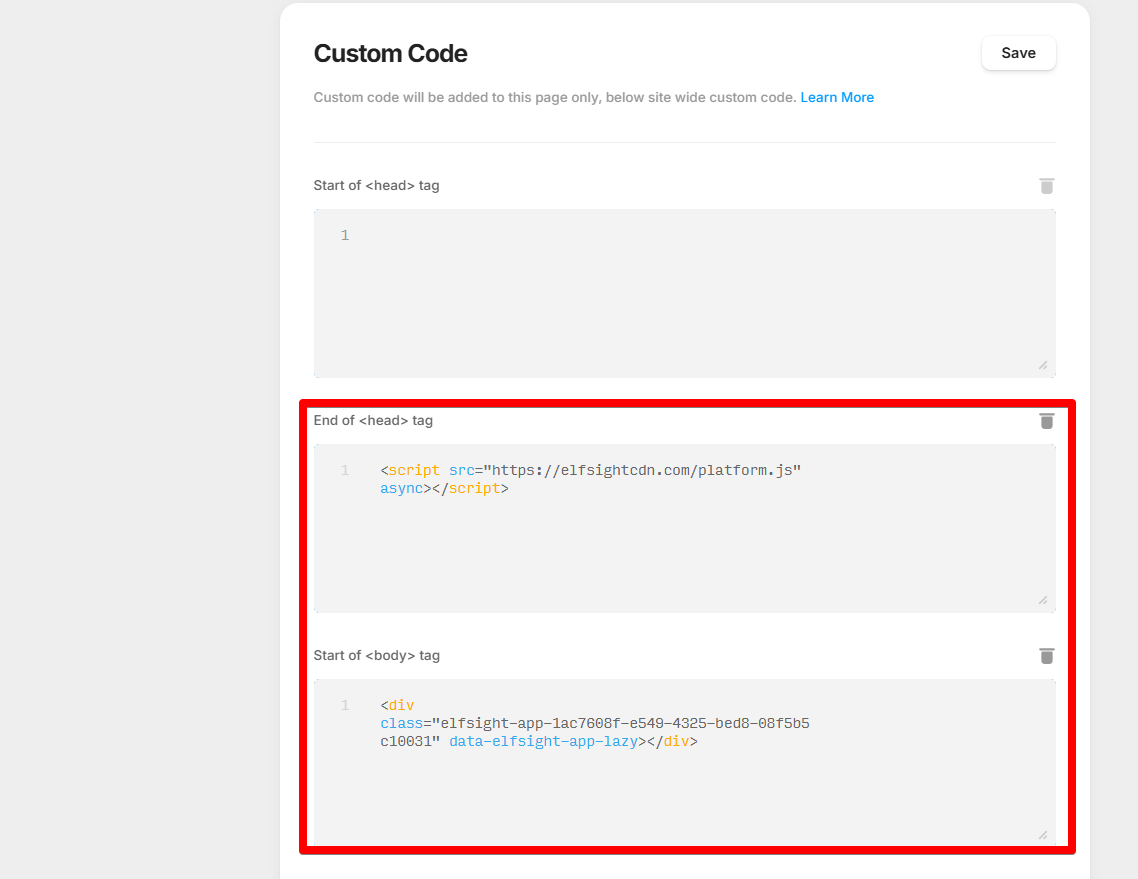
Add your installation code in the Custom Code section. Place the script part of your installation code at the End of the <head> tag:
<script src="https://elfsightcdn.com/platform.js" async></script>
Then, place the div part of the code at the Start of the <body> tag. Here’s an example of how it looks:
<div class="elfsight-app-1ac7608f-e549-4325-bed8-08f5b5" data-elfsight-app-lazy></div>
And this is how it will appear in your Framer editor:
- 3
-
Click Save — your widget is now installed:


Great job! You’ve successfully added a floating widget to your Framer page.
Add a floating widget to all pages
- 1
-
Open your Framer project, click the Menu icon → Site Settings → General:
- 2
-
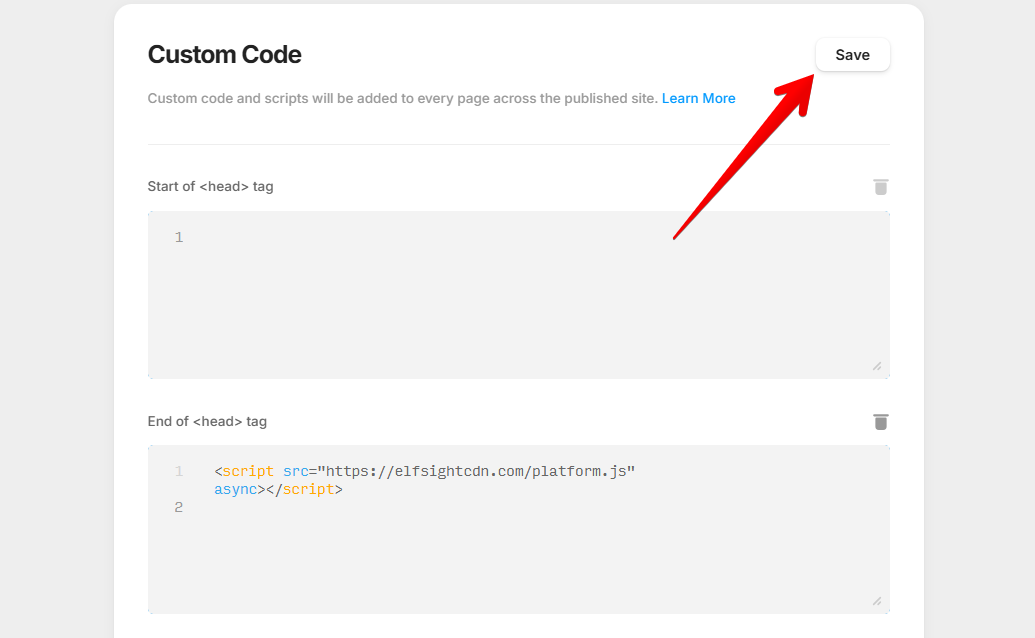
Add your installation code in the Custom Code section. Place the script part of your installation code at the End of the <head> tag:
<script src="https://elfsightcdn.com/platform.js" async></script>
Then, place the div part of the code at the Start of the <body> tag. Here’s an example of how it looks:
<div class="elfsight-app-1ac7608f-e549-4325-bed8-08f5b5" data-elfsight-app-lazy></div>
And this is how it will appear in your Framer editor:
- 3
-
Click Save — your widget is now installed:

Well done! The widget has been successfully added to all pages of your Framer site!
Need a hand with the installation? Send us a quick request — our team will be happy to help you set it up. 🙌