Installing Elfsight widget on Framer avoiding iFrame
Framer typically uses iframes, which may lead to issues like scrollbars, responsiveness problems, and SEO limitations. In this guide, we’ll show you how to install your Elfsight widgets using a Custom Component, bypassing iframe-related issues. Let’s dive in! 😊
In this article
1. Create a Custom Component
- 1
-
Open your Framer project and click Assets in the top-left corner:

- 2
-
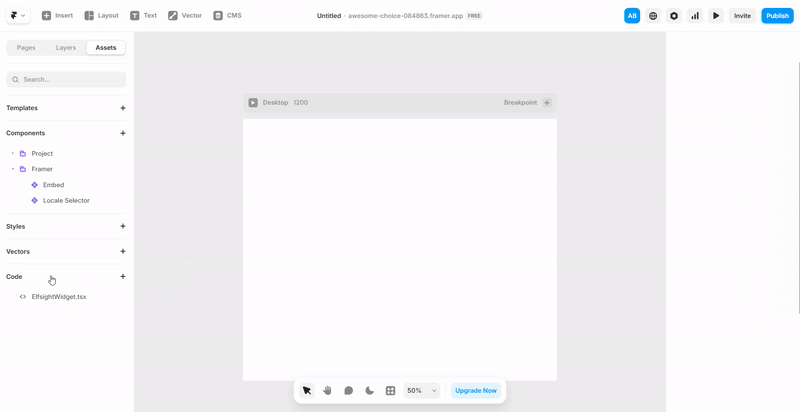
Click the ➕ button next to the Code section and select New Code File:

- 3
-
Name your file ElfsightWidget, select New Component, and click Create:


2. Set Up the Custom Component
- 1
-
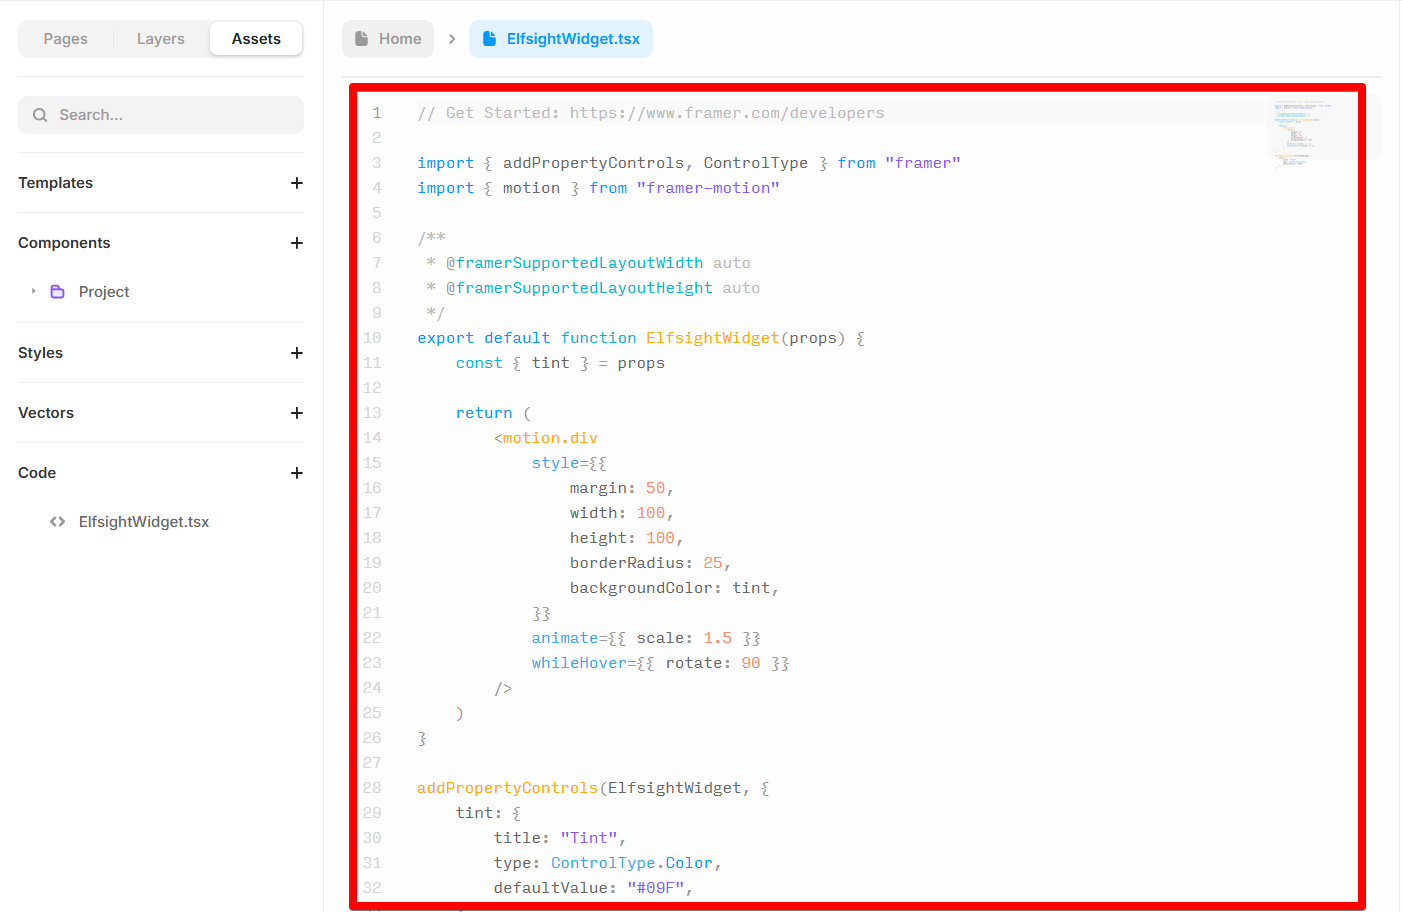
In the ElfsightWidget file, delete the default code:
- 2
-
Replace it with the following script:
import { useEffect } from "react"
import { addPropertyControls, ControlType } from "framer"


export default function ElfsightWidget(props) {
    const { widgetId } = props


    useEffect(() => {
        const platform = document.createElement("script")
        platform.src = "https://elfsightcdn.com/platform.js"
        platform.setAttribute("data-use-service-core", "")
        platform.setAttribute("defer", "")
        document.body.append(platform)


        return () => {
            platform.remove()
        }
    }, [])


    return (
        <div>
            <div className={widgetId} />
        </div>
    )
}


addPropertyControls(ElfsightWidget, {
    widgetId: { type: ControlType.String, title: "Widget ID" },
})
- 3
-
Drag and drop the Component with the code onto your page:


3. Connect the Custom Component to Your Widget
- 1
-
In the Elfsight Dashboard, copy the elfsight-app part with the numeric ID from your widget installation code:

Here's an example of what it looks like:
elfsight-app-3a7c68ad-3e28-48ea-9fe5-090f104bd6
- 2
-
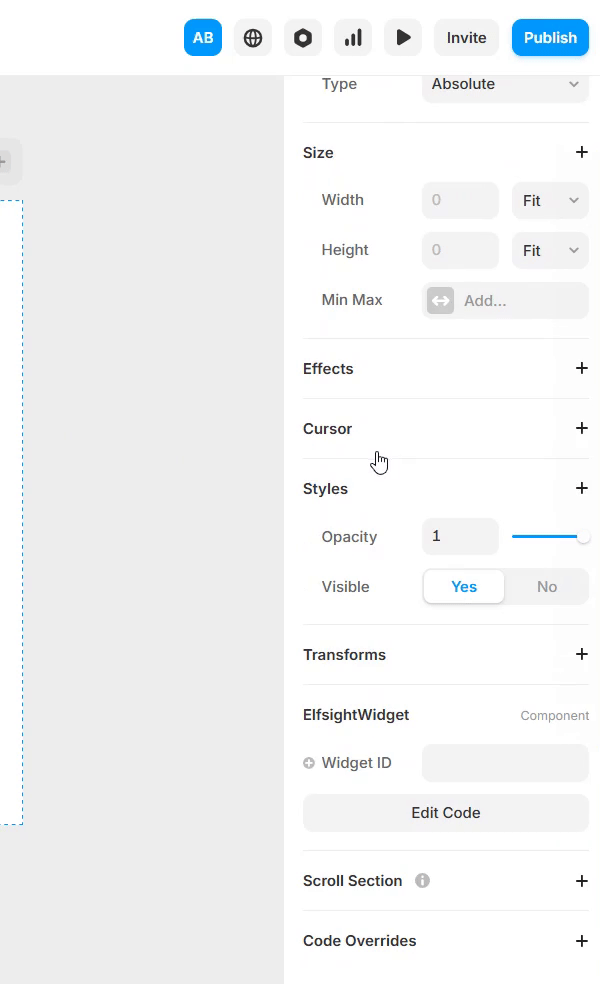
Scroll the right-hand menu and paste the copied part into the Widget ID field:
- 3
-
Click Publish to make your widget live:
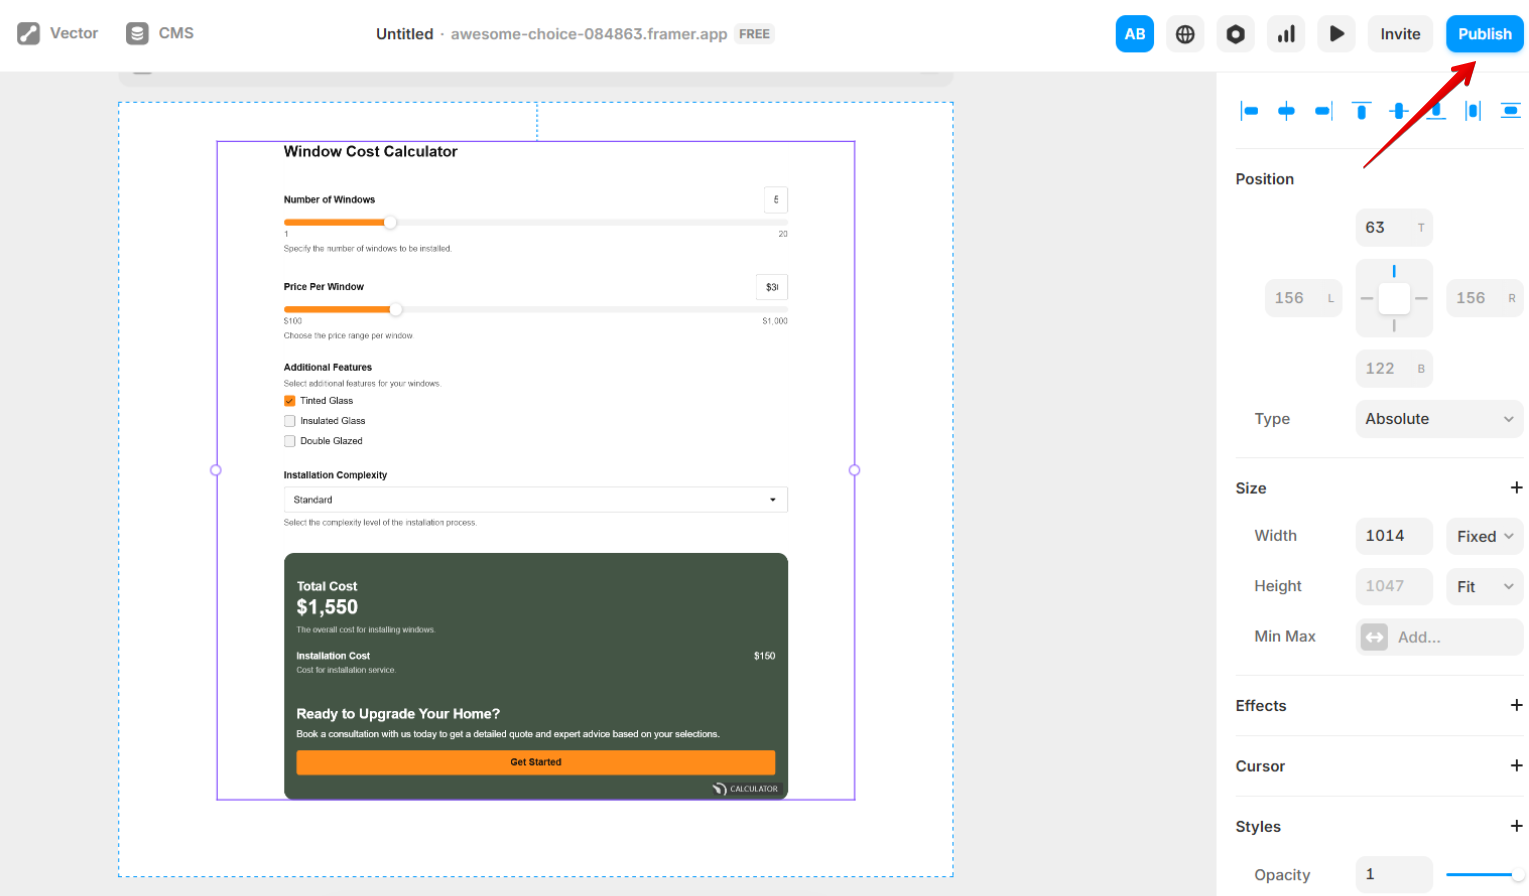
To preview changes in Framer before publishing, simply refresh your editor page.


✅ Great job! Your widget is now successfully installed on your Framer website.
Need help or have questions? We’re happy to assist! Reach out to our Support Team here.