Step 3: Adjust Style & Advanced Settings
After you’ve added events and set up the layout of your Event Calendar, it’s time to move on to the final step — adjusting styles and advanced settings. In this part, we’ll show you how to customize the look of your widget and fine-tune event popups, time zone display, and more.
- Step 1 – Create and Manage Events
- Step 2 – Customizе Calendar Layout & Filters
- 👉 Step 3 – Adjust Style & Advanced Settings
In this article
Customize the Look and Colors
In the Style tab, you can change your calendar’s overall appearance to match your website’s design. You can customize fonts, background colors, event text, headings, and other elements: 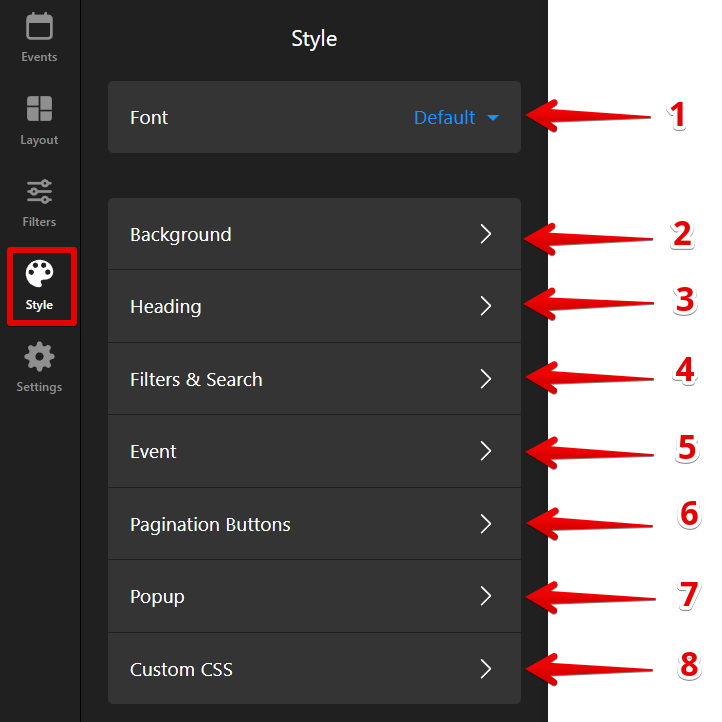
- 1
-
Font — Select the font for your calendar.
- 2
-
Background — Set background color or image and adjust padding.
- 3
-
Heading — Customize title text color and font size.
- 4
-
Filters & Search — Choose the colors for your filters.
- 5
-
Event — Pick event styles and edit event colors.
- 6
-
Pagination Buttons — Style the buttons at the bottom of the calendar.
- 7
-
Popup — Customize the look of the event popup window.
- 8
-
Custom CSS — Add your CSS for extra styling options.
If the design option you need isn't available, check out our community post for handy CSS codes to enhance your widget even further!
For a visual demonstration, check out this screencast: 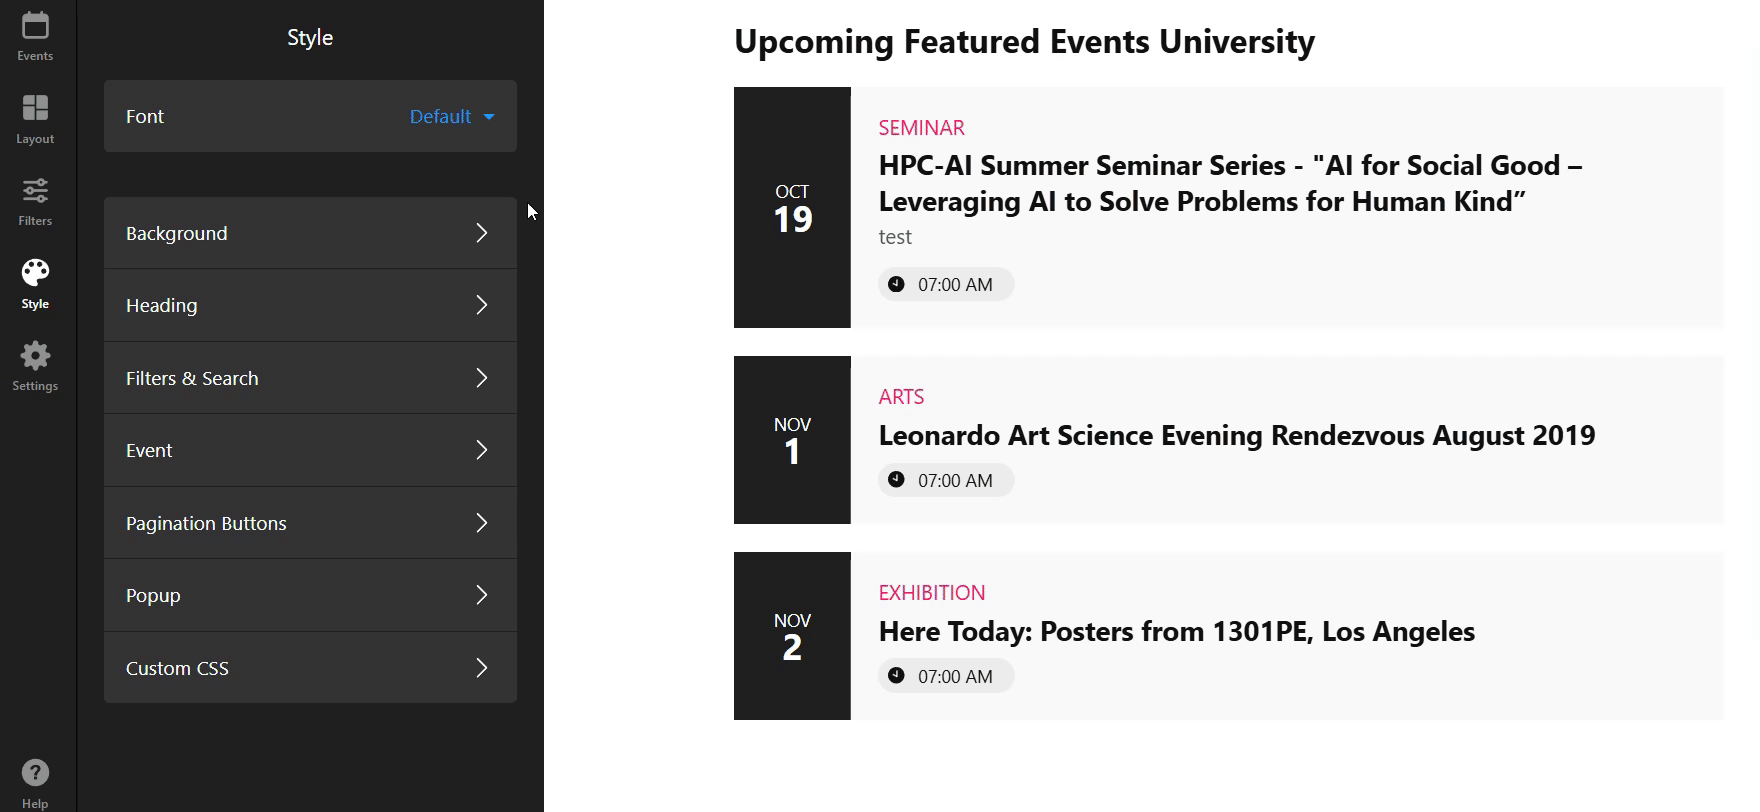
Control Action On Click & Popup
In the Settings tab, you'll find the Action On Event Click feature, which allows you to control how users interact with events on your calendar: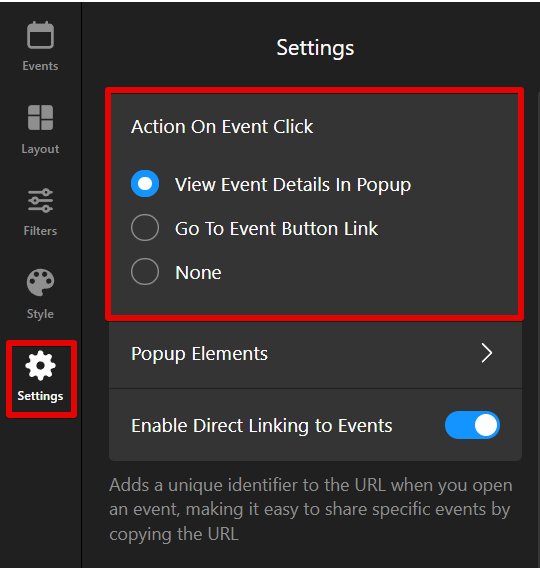
Here, you can choose from three behavior options:
- 1
-
View Event Details In Popup — When clicked, an event opens in a popup with detailed information.
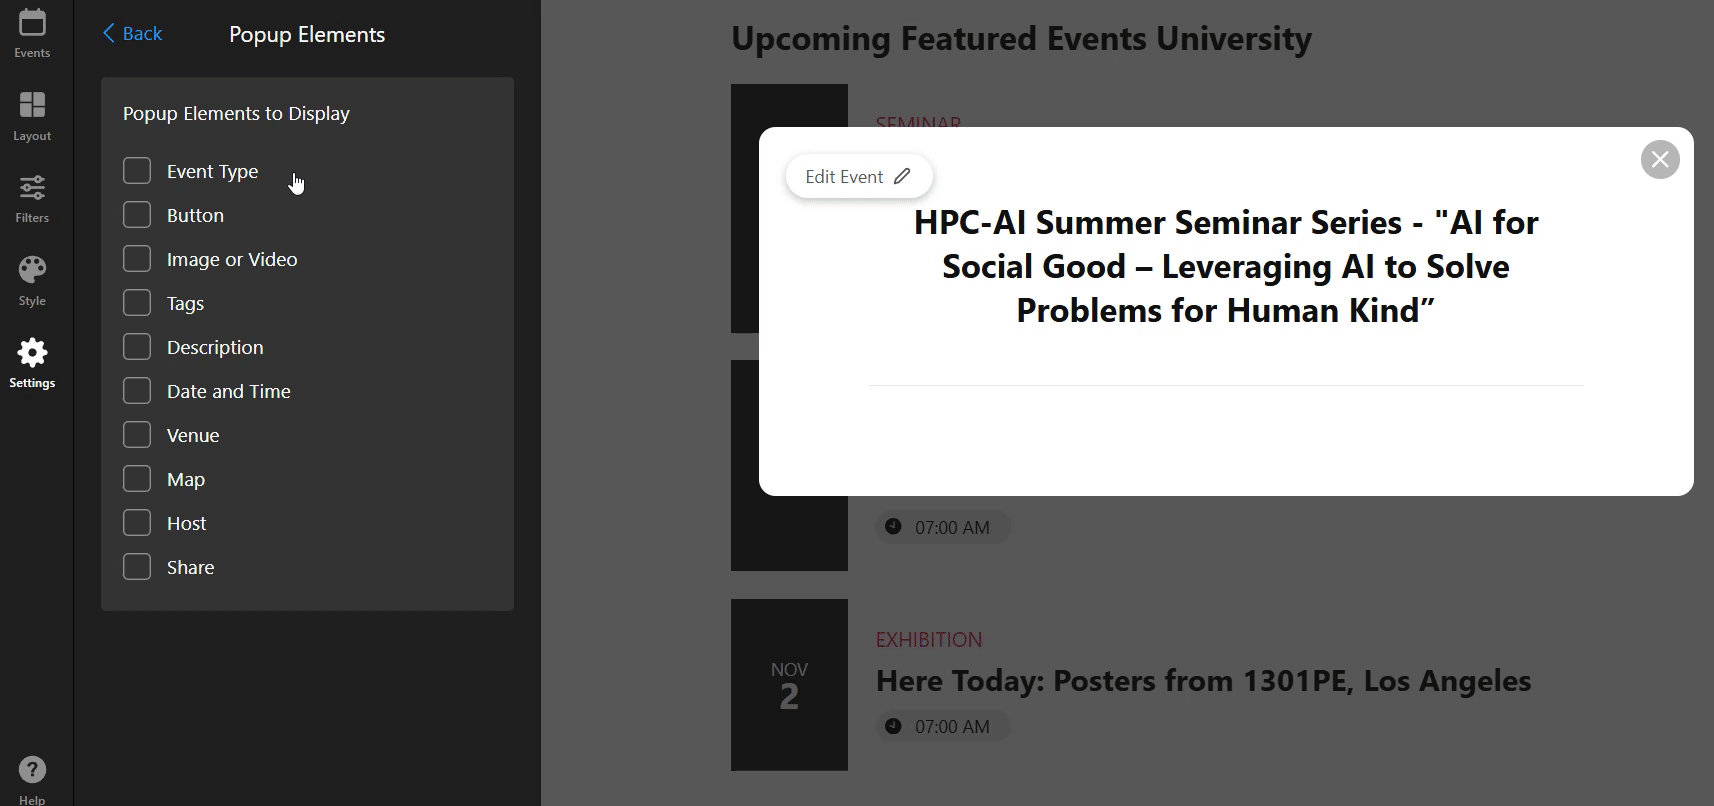
By selecting this option, you can also adjust which elements appear in the popup via the Popup Elements setting, such as event description, date, time, location, and more:
 Additionally, enabling Enable Direct Linking to Events allows each event to have a unique URL for sharing.
 - 2
-
Go To Event Button Link — Clicking an event redirects to the link you've added in the event details. For more, refer to the Event Setup Guide.
- 3
-
None — No action occurs when the event is clicked. This option is useful if you prefer to display events without interaction.
Configure Advanced Settings
Customize the calendar for your site by adjusting language, time zone, and other advanced settings. These tweaks ensure the calendar fits seamlessly with your website's design and enhances user experience.
Here’s what you can adjust:

Events in Visitors Local Time Zone
When enabled, event times adjust automatically to match each visitor’s local time zone. This is helpful for events with attendees from various regions.
For example, if your event starts at 7 AM in your GMT+5 time zone, it will automatically adjust to each visitor’s local time. A user in UTC+3 will see 5 AM instead of the original 7 AM: 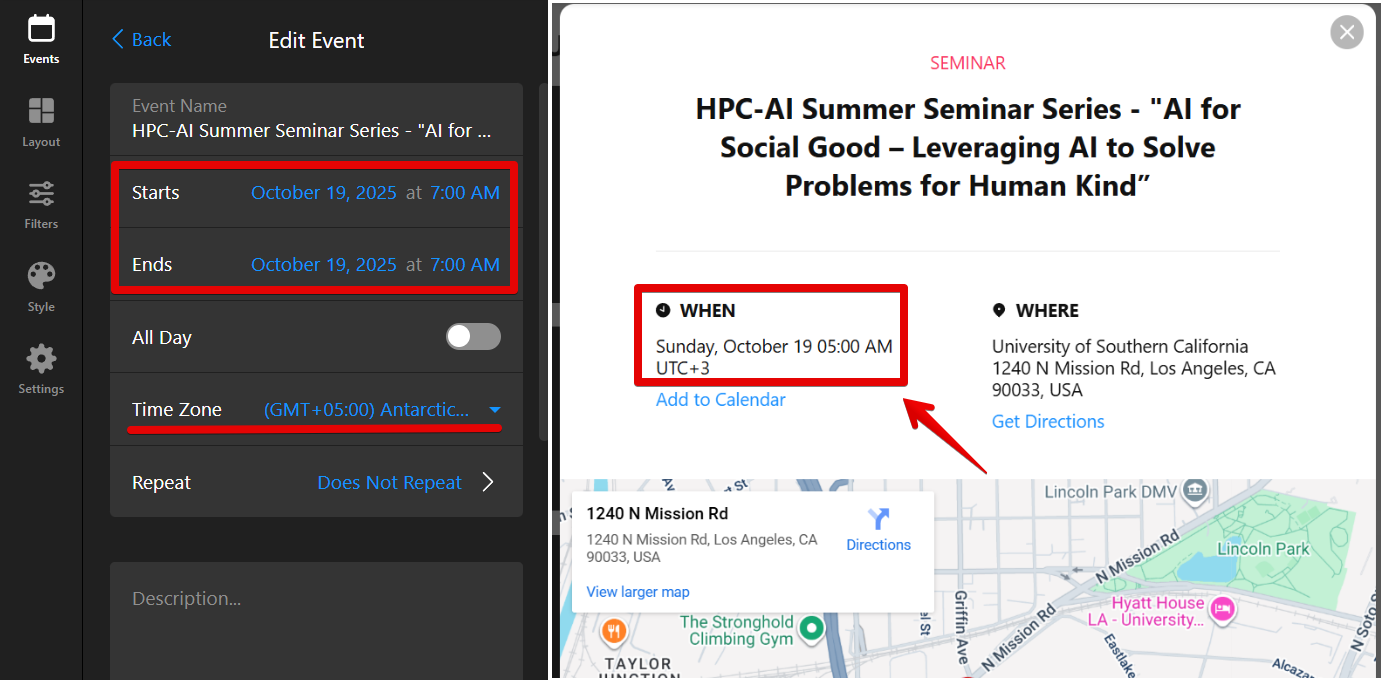
For more details, check out our article on Time Zone Support in Event Calendar Widget.
Language
This setting allows you to change the text or language in your event calendar. Click the Language dropdown and select your preferred language: 
Don’t like the default text in your Event Calendar, such as event labels or filters? No worries! You can easily edit them by using the Edit Texts option. Simply find the text you’d like to change and replace it with your own: 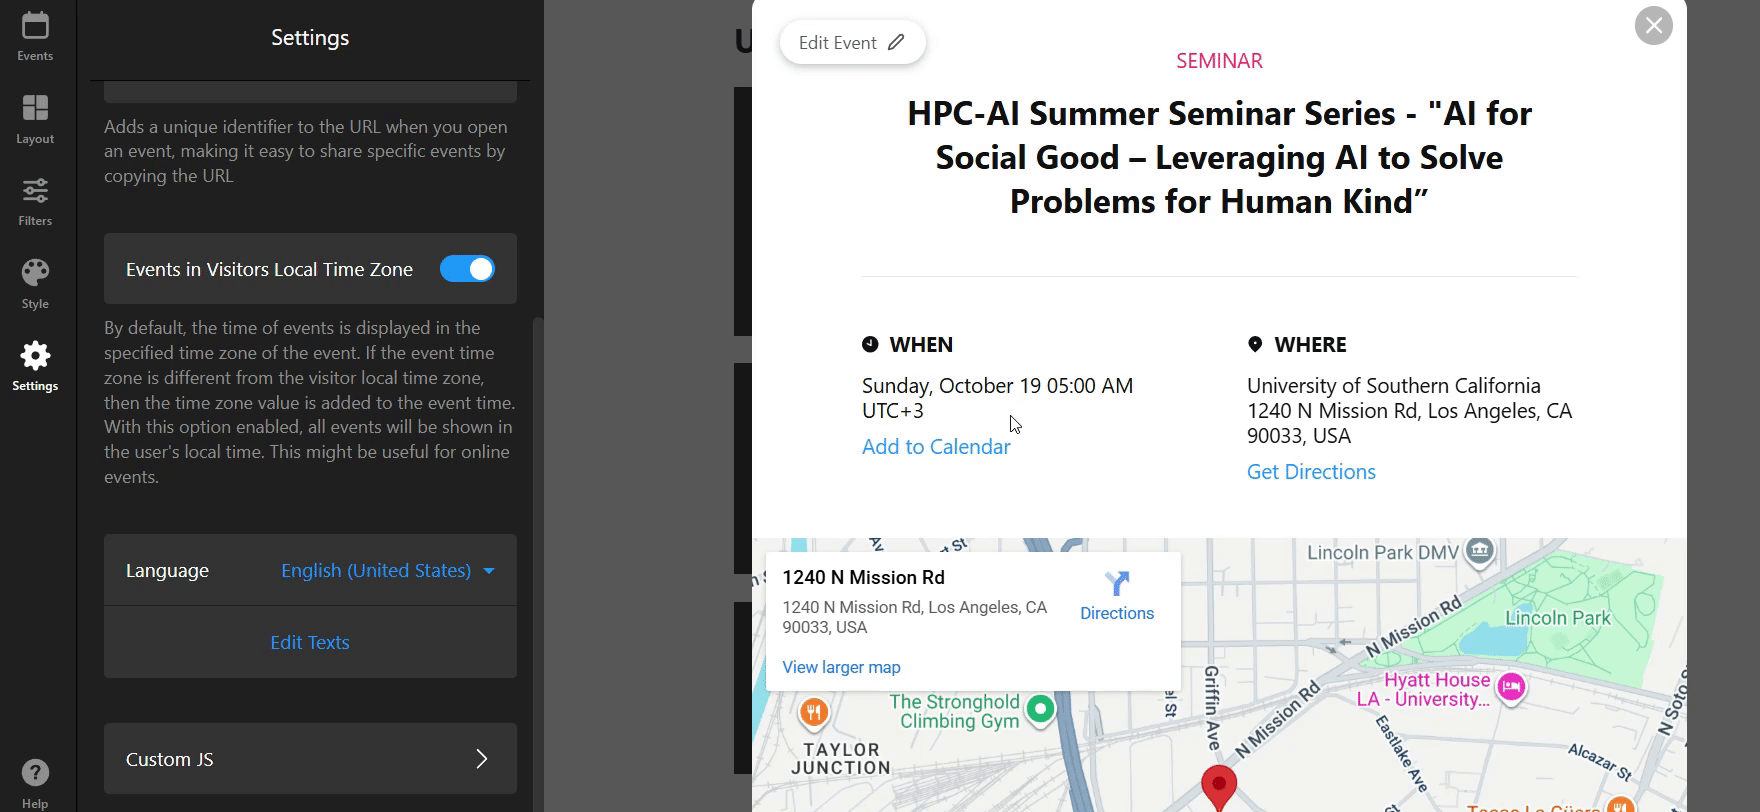
Using Custom JS
For advanced customization, you can add custom JavaScript. This allows you to integrate with external tools, track events, or apply complex behaviors: 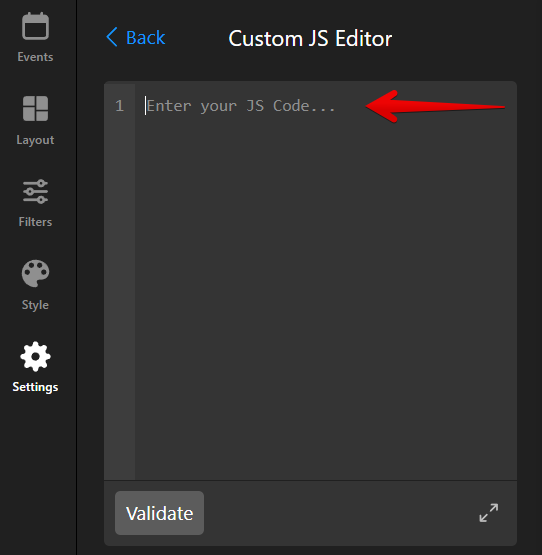
Note that Custom JS only works on the live site after the widget is installed — it won’t function in the widget editor. If you need assistance with advanced customizations, feel free to contact our Support team.
That's it — your calendar is now fully configured, personalized, and ready to go! 🎉