Step 2: Customizе Calendar Layout & Filters
After adding events to your Event Calendar widget, the next step is to customize its appearance on your site. In this section, we’ll walk you through changing the layout and configuring display options so the calendar fits seamlessly with your design.
- Step 1 – Create and Manage Events
- 👉 Step 2 – Customizе Calendar Layout & Filters
- Step 3 – Adjust Style & Advanced Settings
In this article
Choose Your Widget Layout
When setting up your Event Calendar, you can choose from several layout options: List, Grid, Masonry, Slider, Month, Week and Day: 
In the List, Grid, and Masonry layouts, you can customize the following: 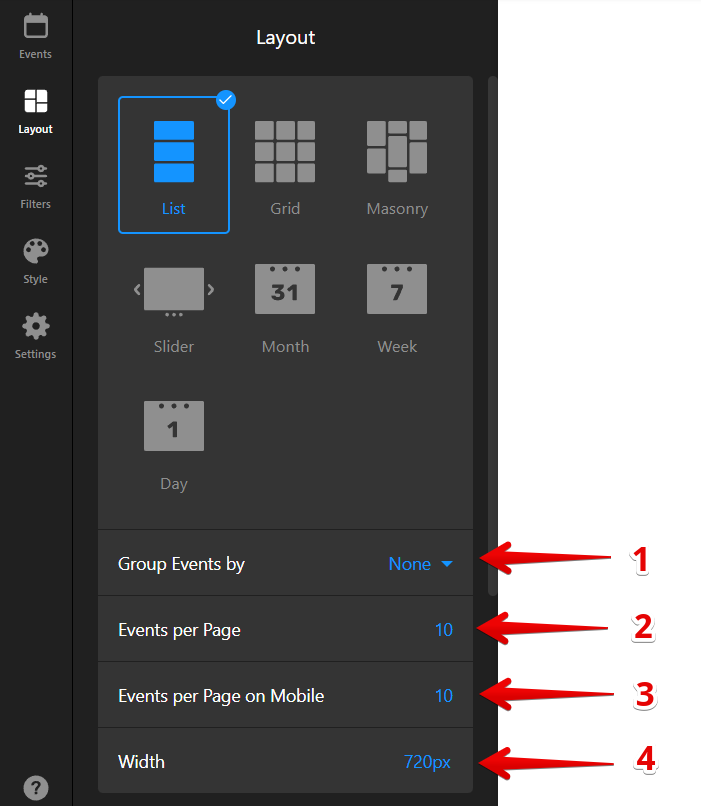
- 1
-
Group Events by — Organize your calendar by Year, Month, or Day for easier browsing.
- 2
-
Events per Page — Specify how many events appear on one calendar page on desktop.
- 3
-
Events per Page on Mobile — Set how many events appear on one calendar page on mobile devices.
- 4
-
Width — Adjust the calendar’s width in pixels for precise sizing.
The Slider layout lets you customize navigation elements and the slider’s behavior in the Slider Settings tab. You can enable or disable arrows, choose a pagination style, adjust the auto-slide speed, and more: 
In the Week and Day layouts, you can adjust the Time Range to control which hours are shown in the schedule.
Configure Display Settings
Once you’ve picked a layout, you can tweak the Heading, Event Elements, and the visibility of Past Events: 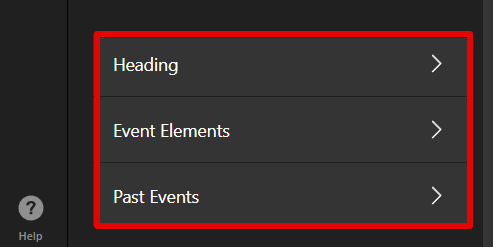
Let’s go through what each setting does:
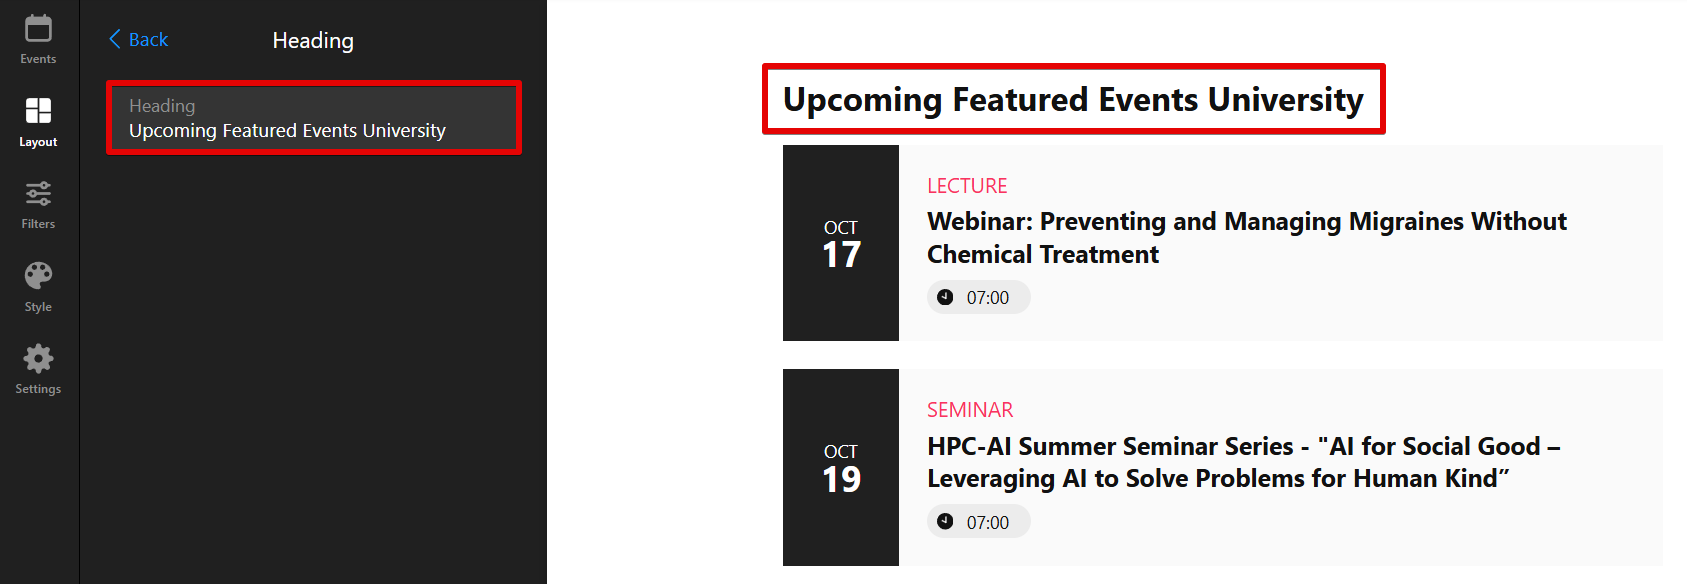
Heading
Here you can customize the calendar Heading, which appears at the top of the widget, so it matches your site’s theme and helps guide visitors:
Event Elements
Here you can control which parts of events to display, helping highlight the details that matter most: 
Past Events
With this setting, you can choose whether to show past events or keep your calendar focused only on upcoming ones: 
Set Up Filters
Help visitors find relevant events faster using the Filters tab. You can enable filters based on:
- Dates — Choose a specific date or range to display events.
- Event Type — Select events by type, such as a webinar, concert, or sale.
- Venue — View events by location, like a city or venue name.
- Host — See events organized by a specific host or organizer.
- Tags — Browse events by custom tags you’ve assigned.
You can also enable a Search bar so users can find events by title or filter names. Here’s how it looks in the widget: 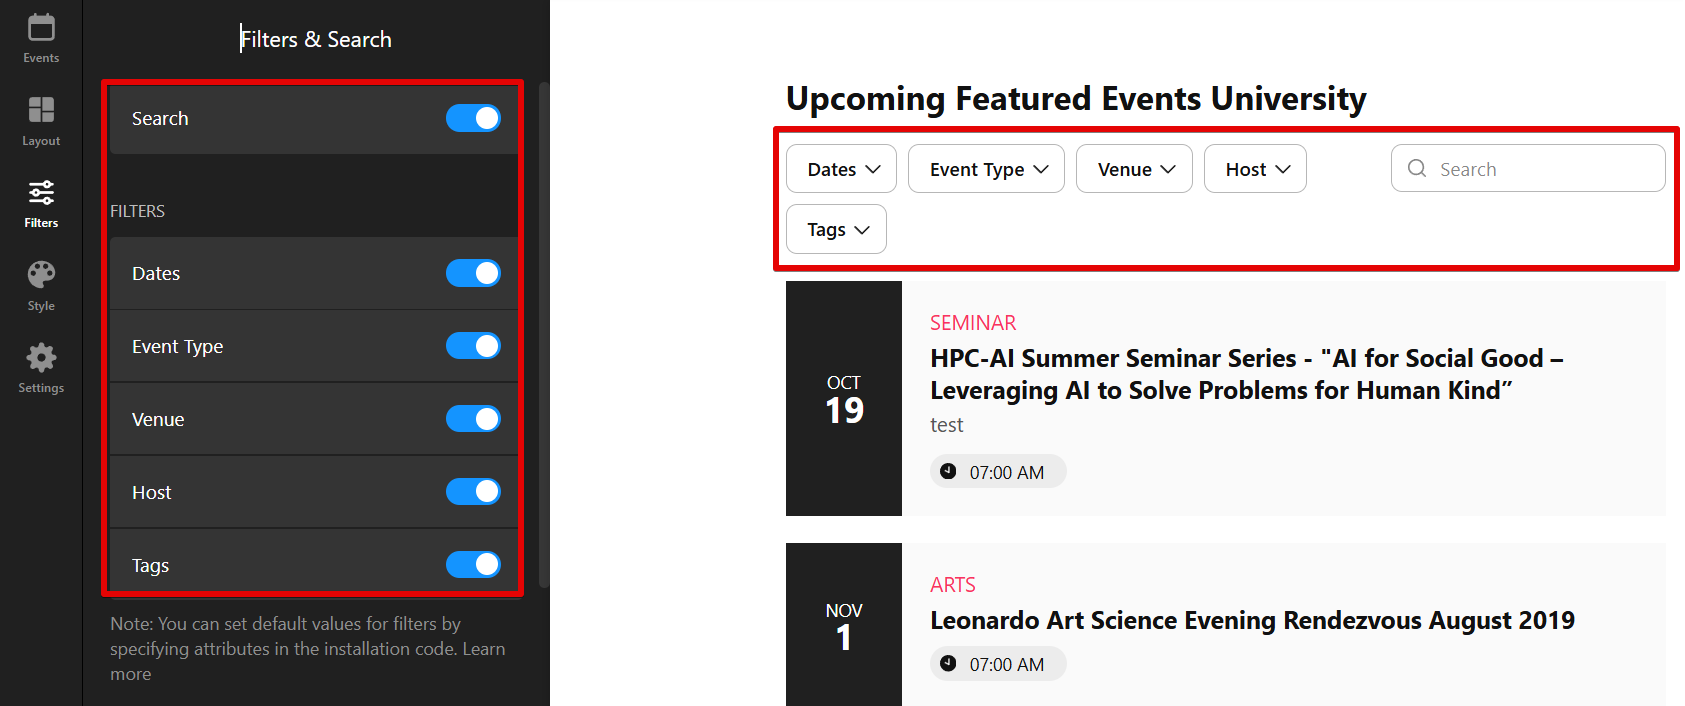
After enabling a filter, you can customize how it appears in the widget:
- Filters Style — Choose Inline to keep filters visible above the calendar, or Popup to place them in a dropdown menu.
- Sorting — Reorder filters in the order you prefer.
Now that you've customized the layout of your Event Calendar, you’re one step closer to creating a beautifully integrated and functional event display on your website! In the next step, we will explore how to style the calendar to match your brand’s aesthetic. ✨