Adding Elfsight Widget to Wix Website
Looking for instructions on how to add your Elfsight widget to your Wix website? Simply follow this easy step-by-step guide for seamless integration. Copy your widget installation code, and let’s get started.
In this article
Add a widget to a specific page
- 1
-
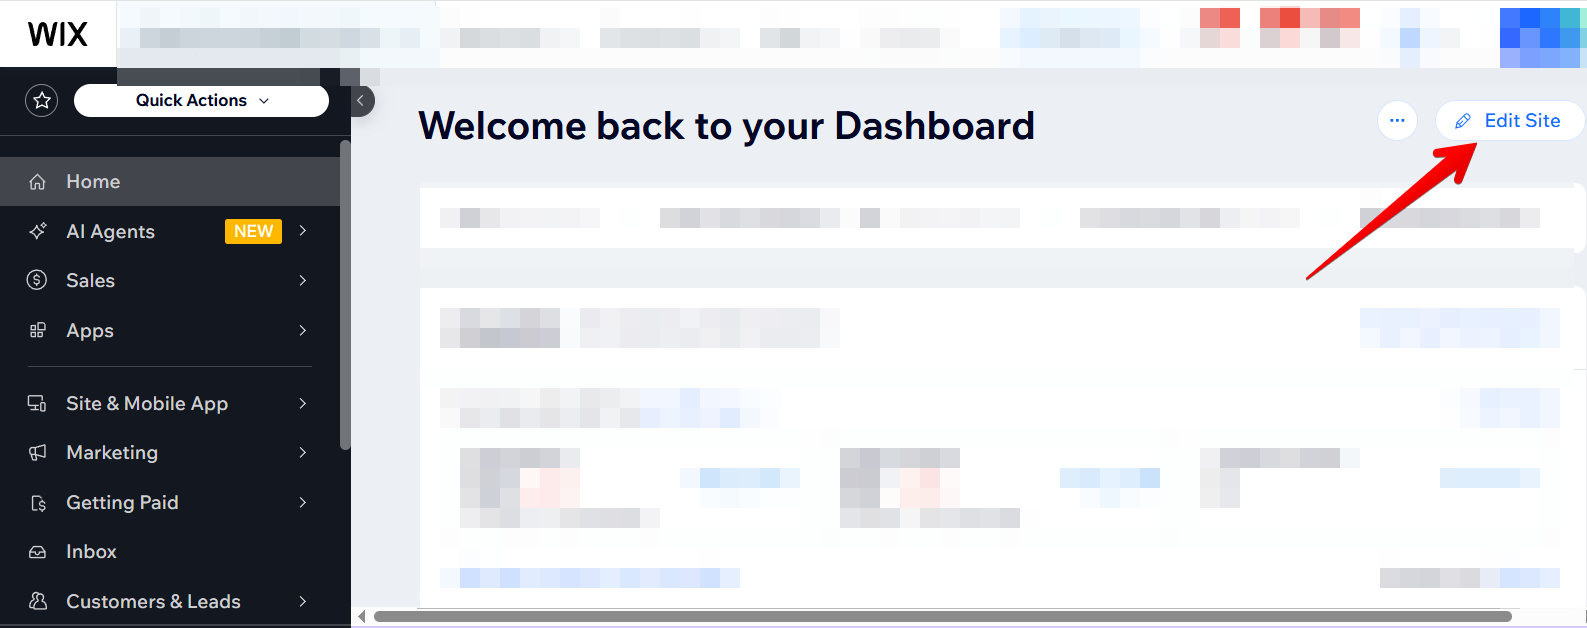
Go to Wix website editor
Log in to your Wix dashboard and click Edit Site: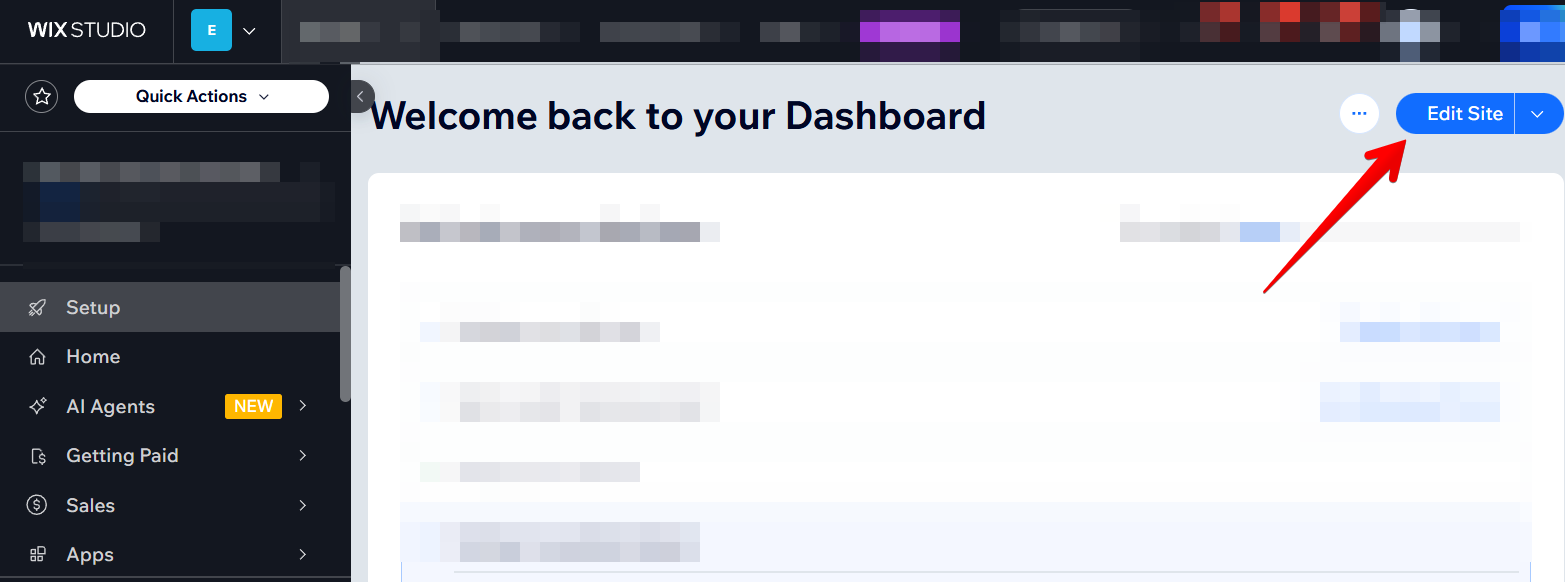
- 2
-
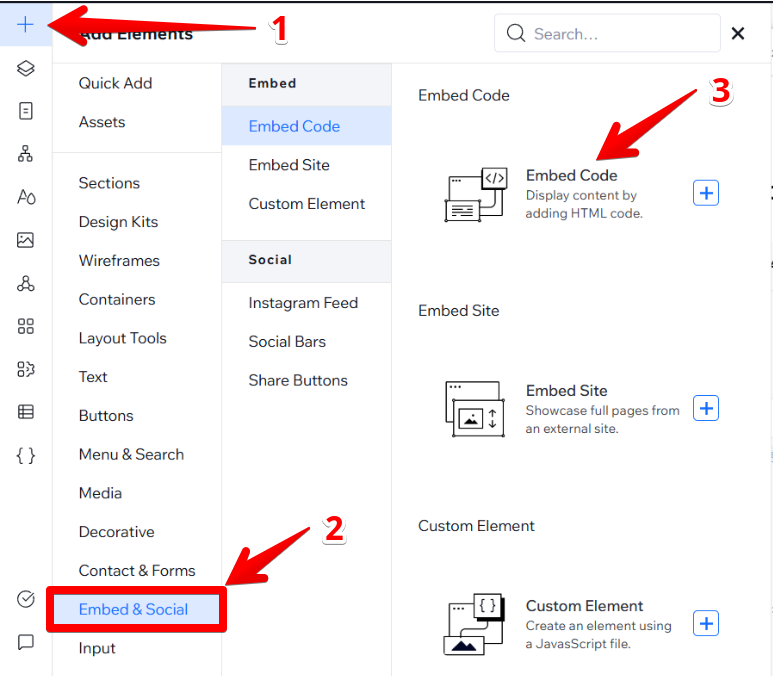
Add HTML block
Click the ➕ icon, go to the Embed & Social section and select Embed Code:
- 3
-
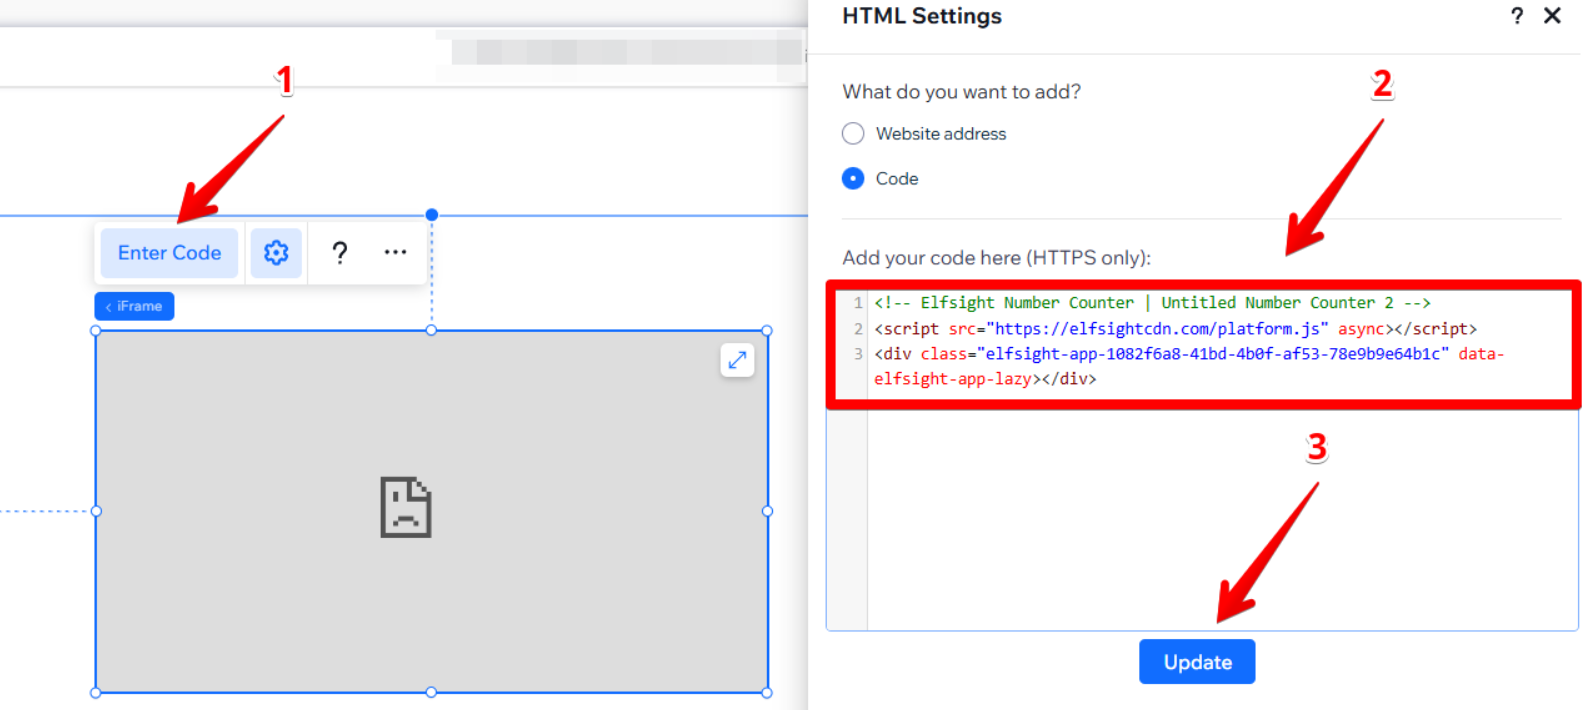
Paste the installation code
Click Enter Code, paste your widget installation code and press Update:
- 4
-
Adjust the widget's size and position
Drag the widget to the desired page area and stretch it until all content fits and no scroll bars appear:

- 5
-
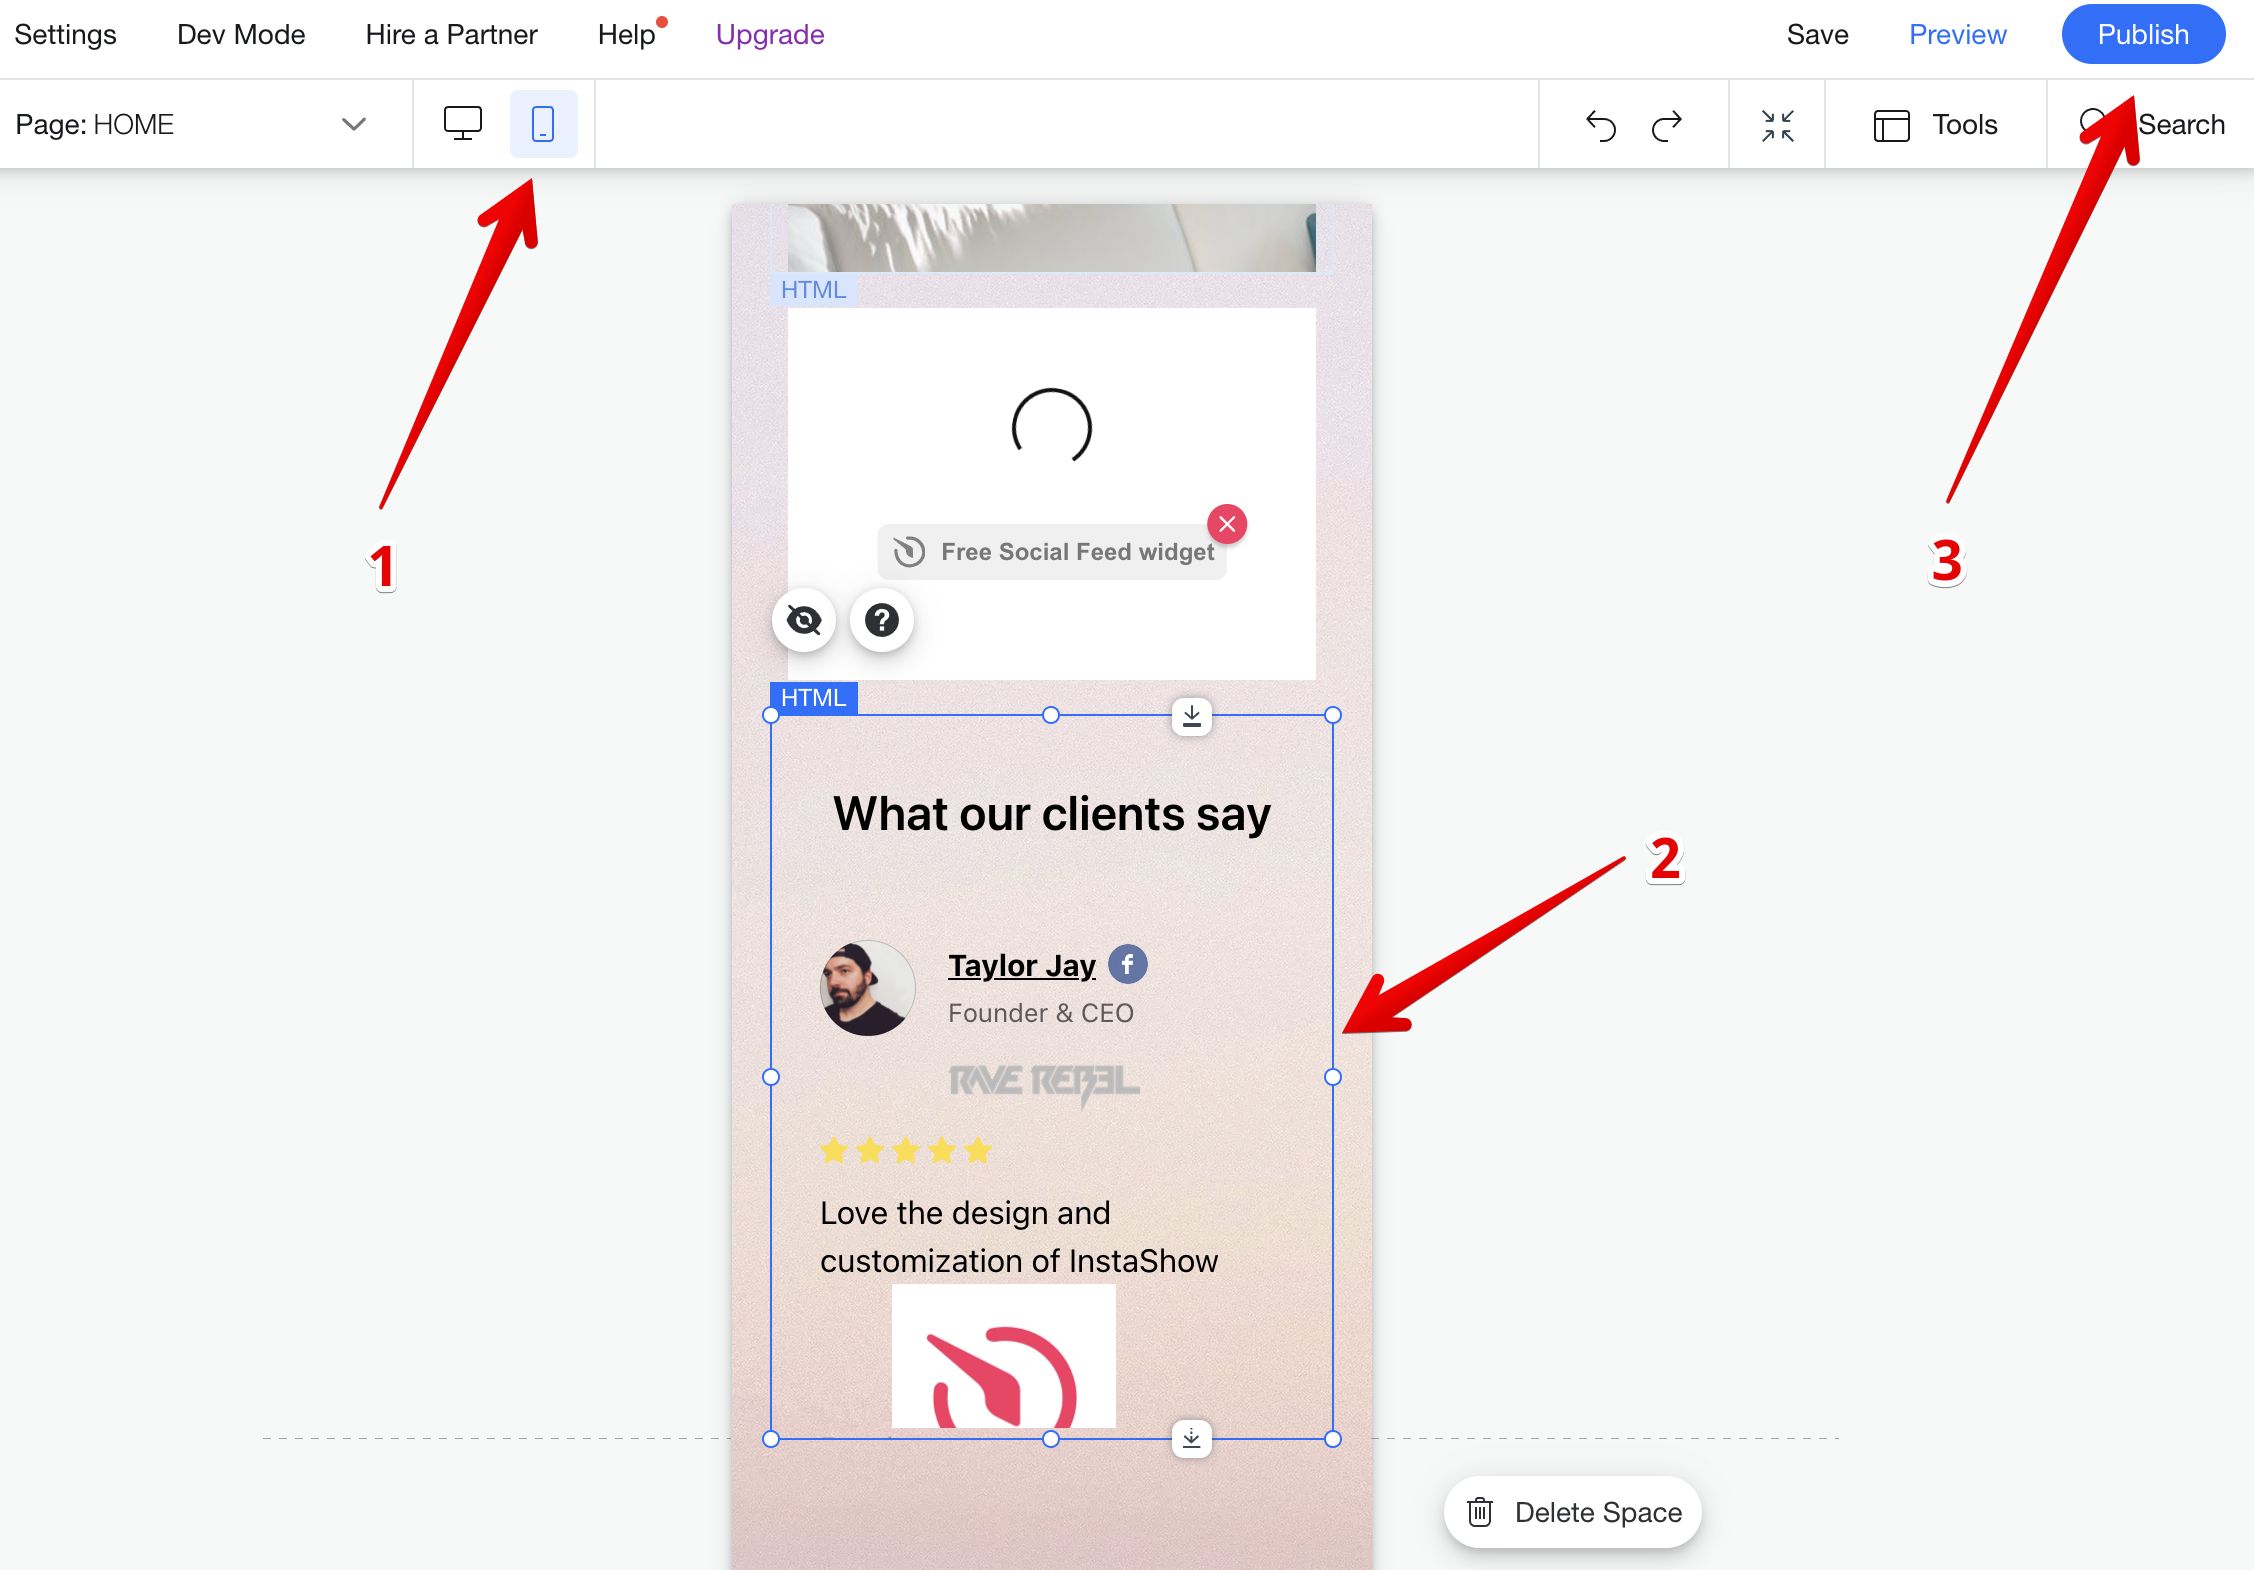
Adjust the mobile appearance
Click the mobile editor icon to adjust the widget's size for mobile, and click Publish: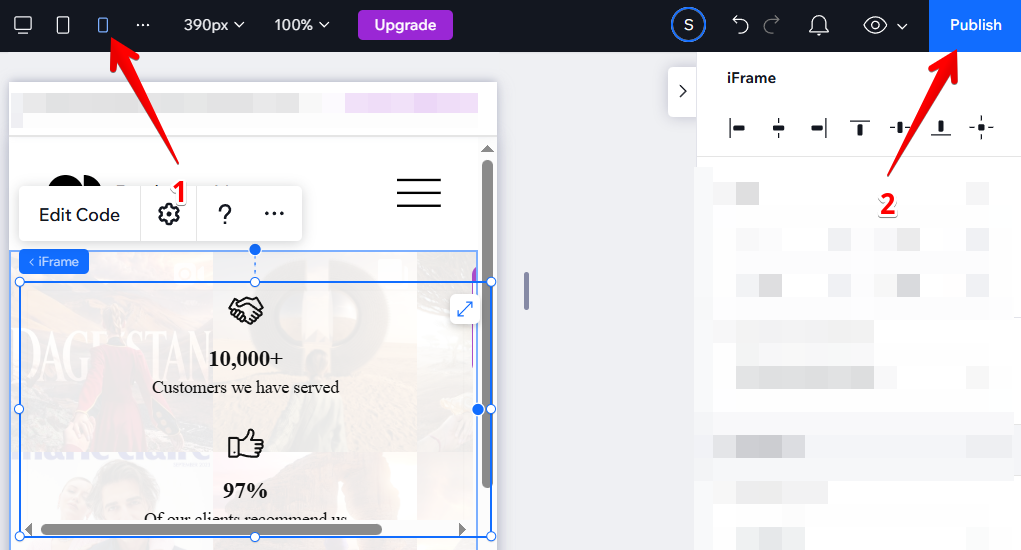
That's it! You've successfully added your inline widget to the selected page!
- 1
-
Go to Wix website editor
Log in to your Wix dashboard and click Edit Site:
- 2
-
Add HTML block
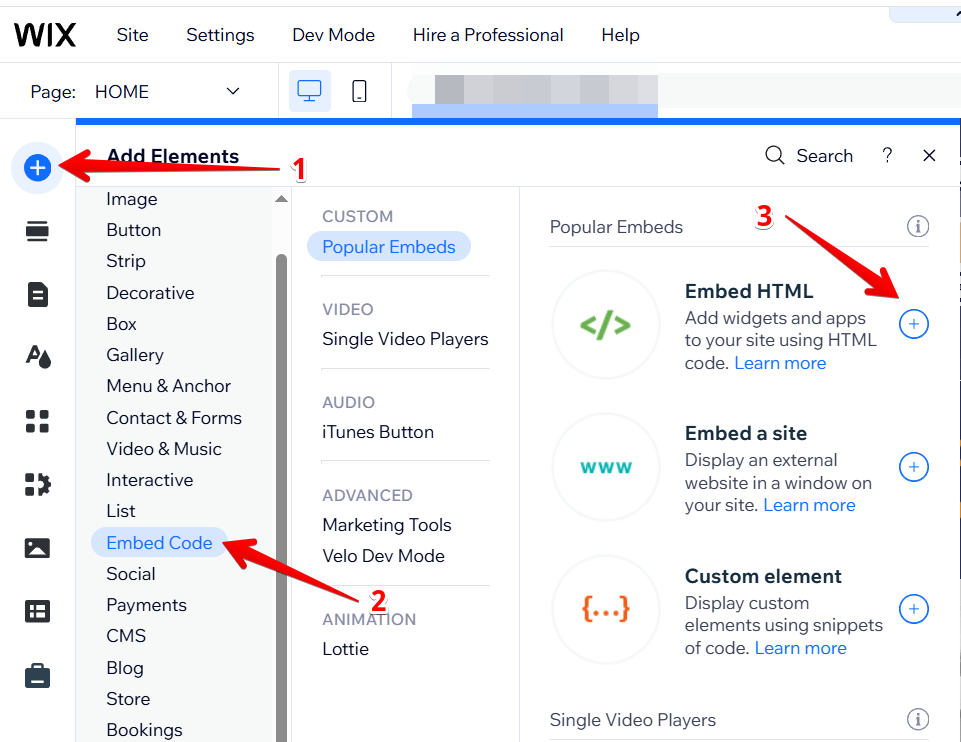
Click the ➕ icon, go to the Embed Code section and select Embed HTML: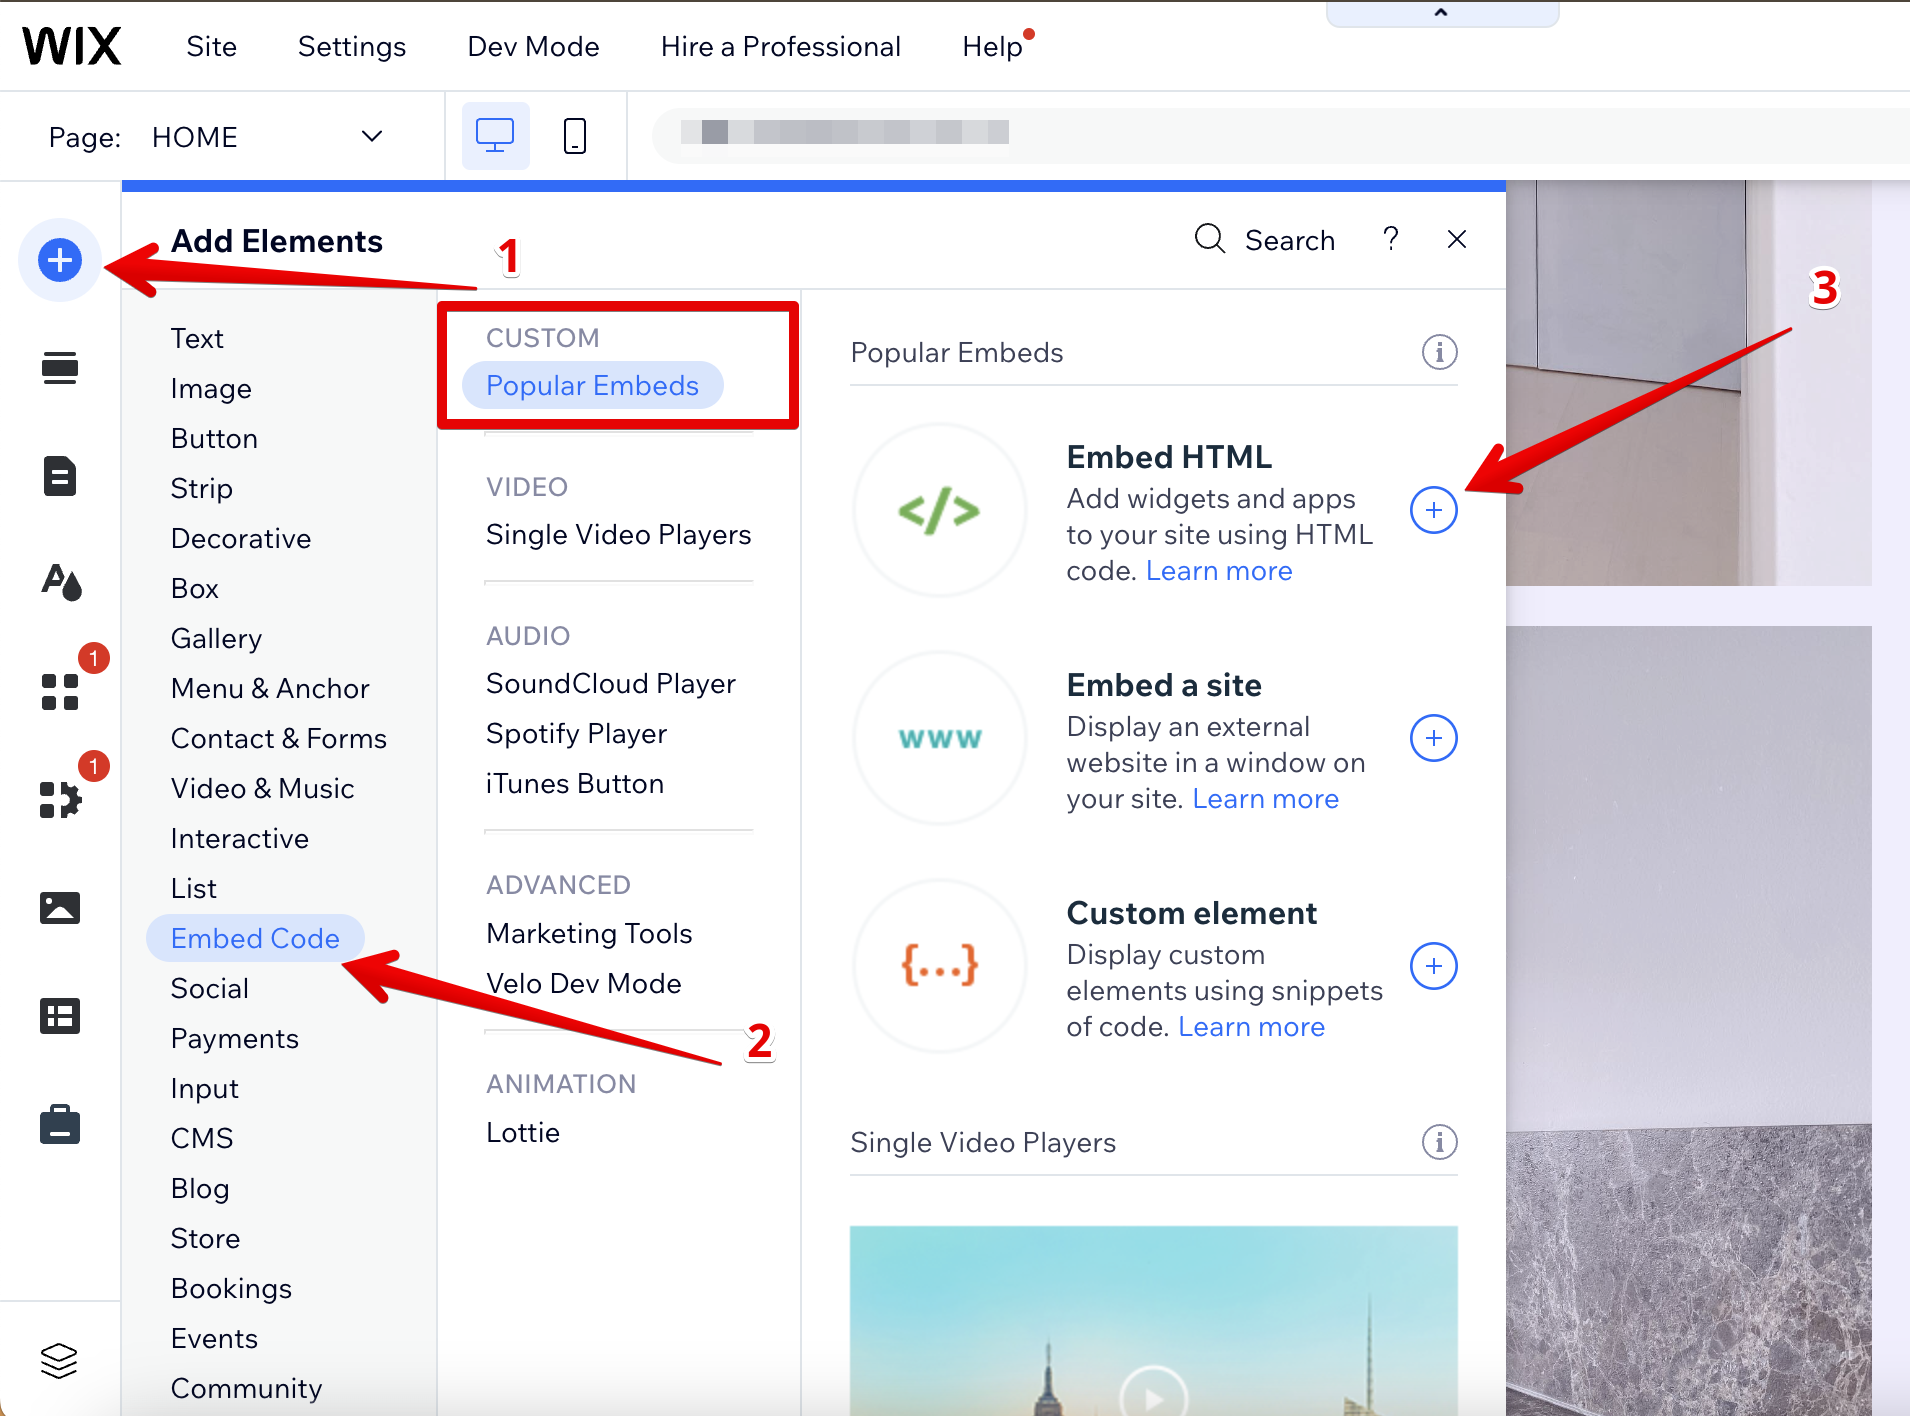
- 3
-
Paste the installation code
Click Enter Code, paste your widget installation code and press Update: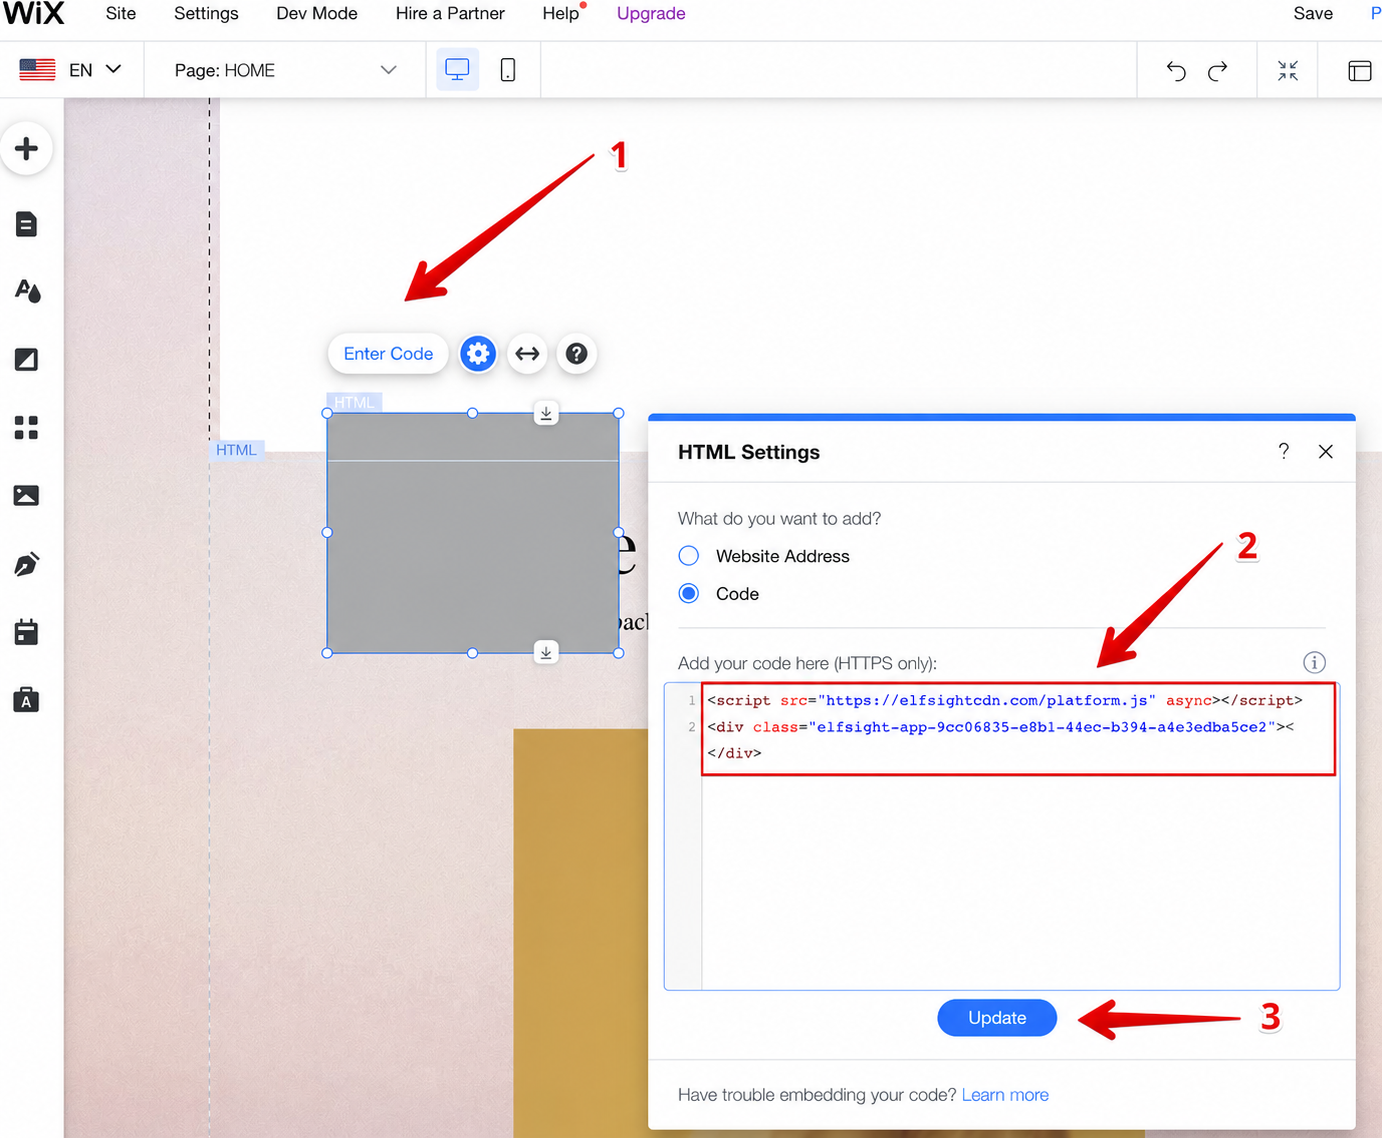
- 4
-
Adjust the widget's size and position
Drag the widget to the desired page area and stretch it until all content fits and no scroll bars appear:
- 5
-
Adjust the mobile appearance
Click the mobile editor icon to adjust the widget's size for mobile, and click Publish:
The installation process may vary depending on whether you use Wix Studio or Wix Editor. Click the toggles below to view the steps for each version! 🚀
Instructions for Wix Studio


Instructions for Wix Editor


That's it! You've successfully added your inline widget to the selected page!
Add an inline widget to all pages
- 1
-
Go to Wix website editor
Log in to your Wix dashboard and click Edit Site:
- 2
-
Add HTML block
Click the ➕ icon, go to the Embed Code section and select Embed HTML:
- 3
-
Paste the installation code
Click Enter Code, paste your widget installation code and press Update:
- 4
-
Adjust the widget's size and position
Drag the widget to the desired page area and stretch it until all content fits and no scroll bars appear:
- 5
-
Publish the widget to all pages
Right-click the widget's container, select Pin to Screen, enable Show on All Pages, and click Publish:


You have successfully added your inline widget to all pages of your Wix website!
Add a floating widget to a specific page/all pages
- 1
-
Go to Wix website dashboard
In your Dashboard, open Settings, find the Development & Integrations section, and select Custom Code: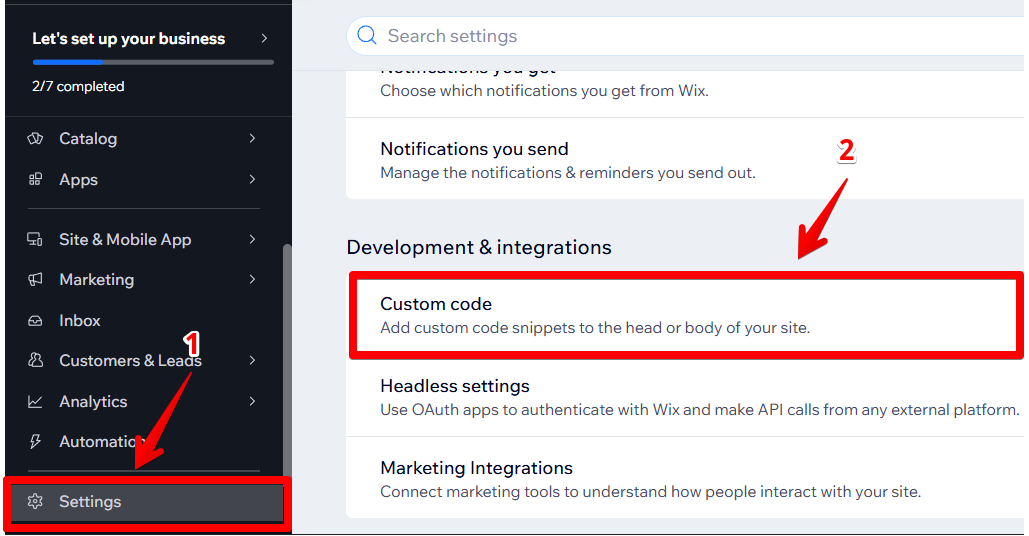
- 2
-
Add Custom Code
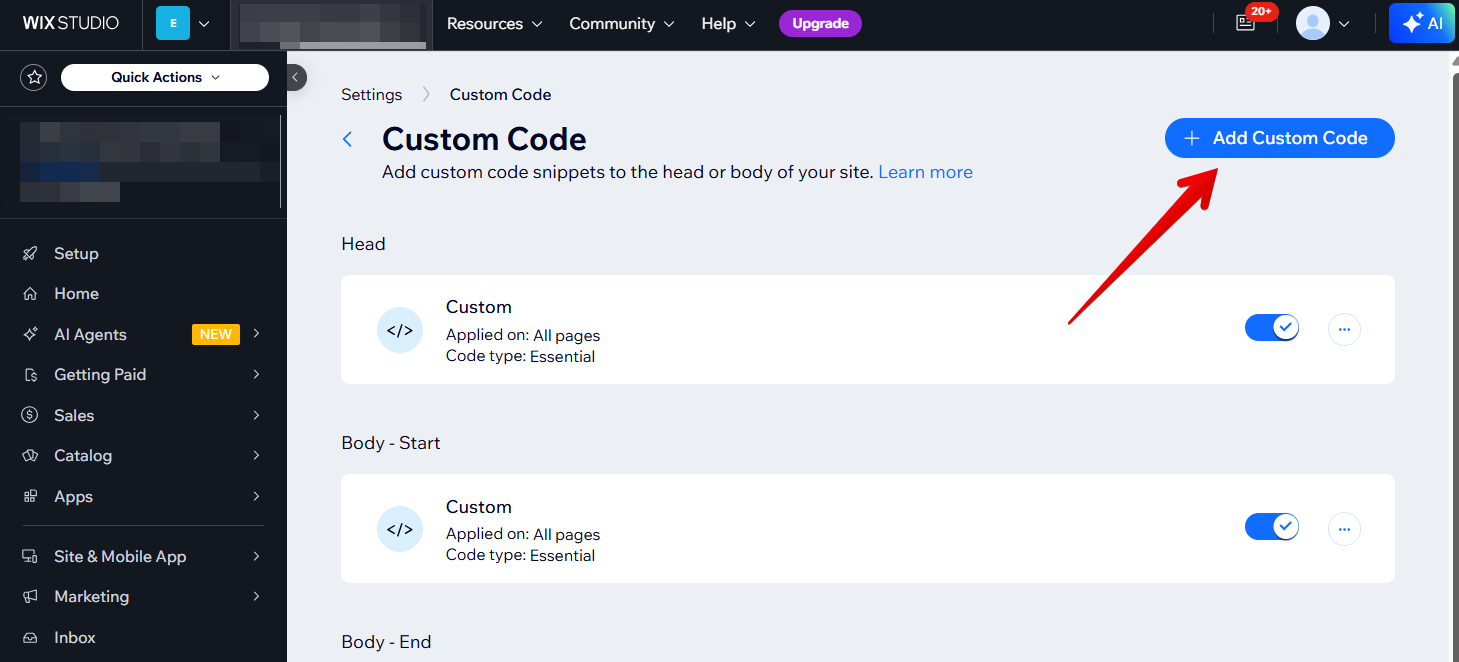
Click on the + Add Custom Code button in the upper-right corner:
- 3
-
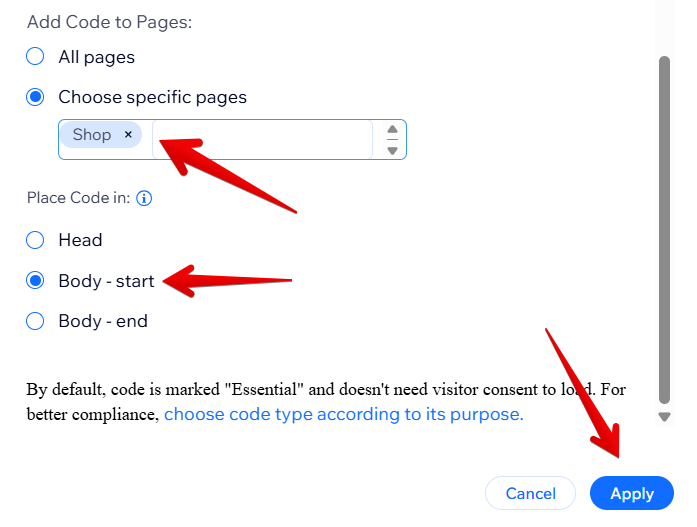
Paste the widget installation code into the code snippet field, set Place Code In to Body - start, and click Apply:
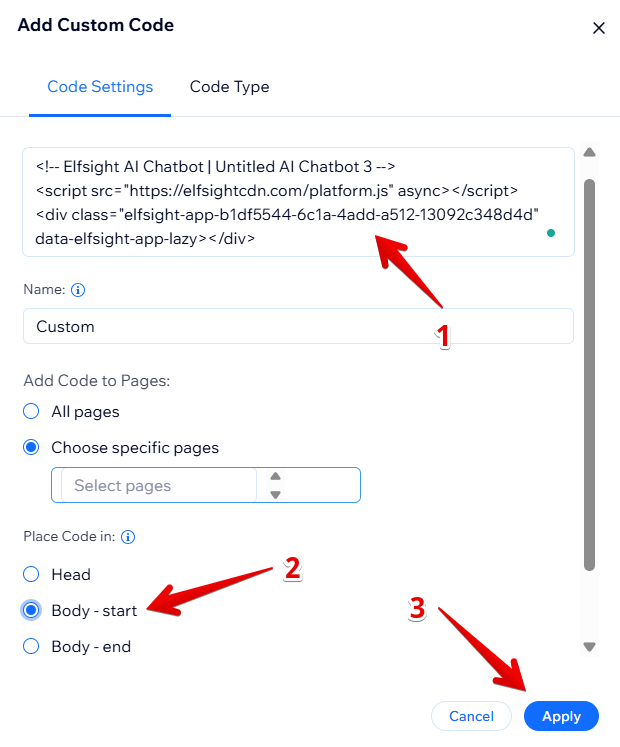
To add the widget to a specific page, click Choose Specific Pages, select the page from the dropdown, set Place Code In to Body - start, and click Apply:
The installation process is the same for both Wix Editor and Wix Studio.

Stuck with installation? Let us help! 🙌 Send us a quick request, and we’ll handle the setup for you.