Installing Elfsight widget on Wix avoiding iFrame via Custom Code
Wix websites are built on iframes, which can sometimes cause issues when embedding elements like Elfsight widgets. Iframes may create unwanted scrollbars or limit responsiveness, making it harder for widgets to adapt to different screen sizes.
Moreover, content within iframes might not be fully processed by search engines, affecting its visibility. To avoid these challenges, you may want to install an Elfsight widget without using an iframe block. In this article, we’ll guide you through the steps to do that.
In this article
1. Create a block for the widget
- 1
-
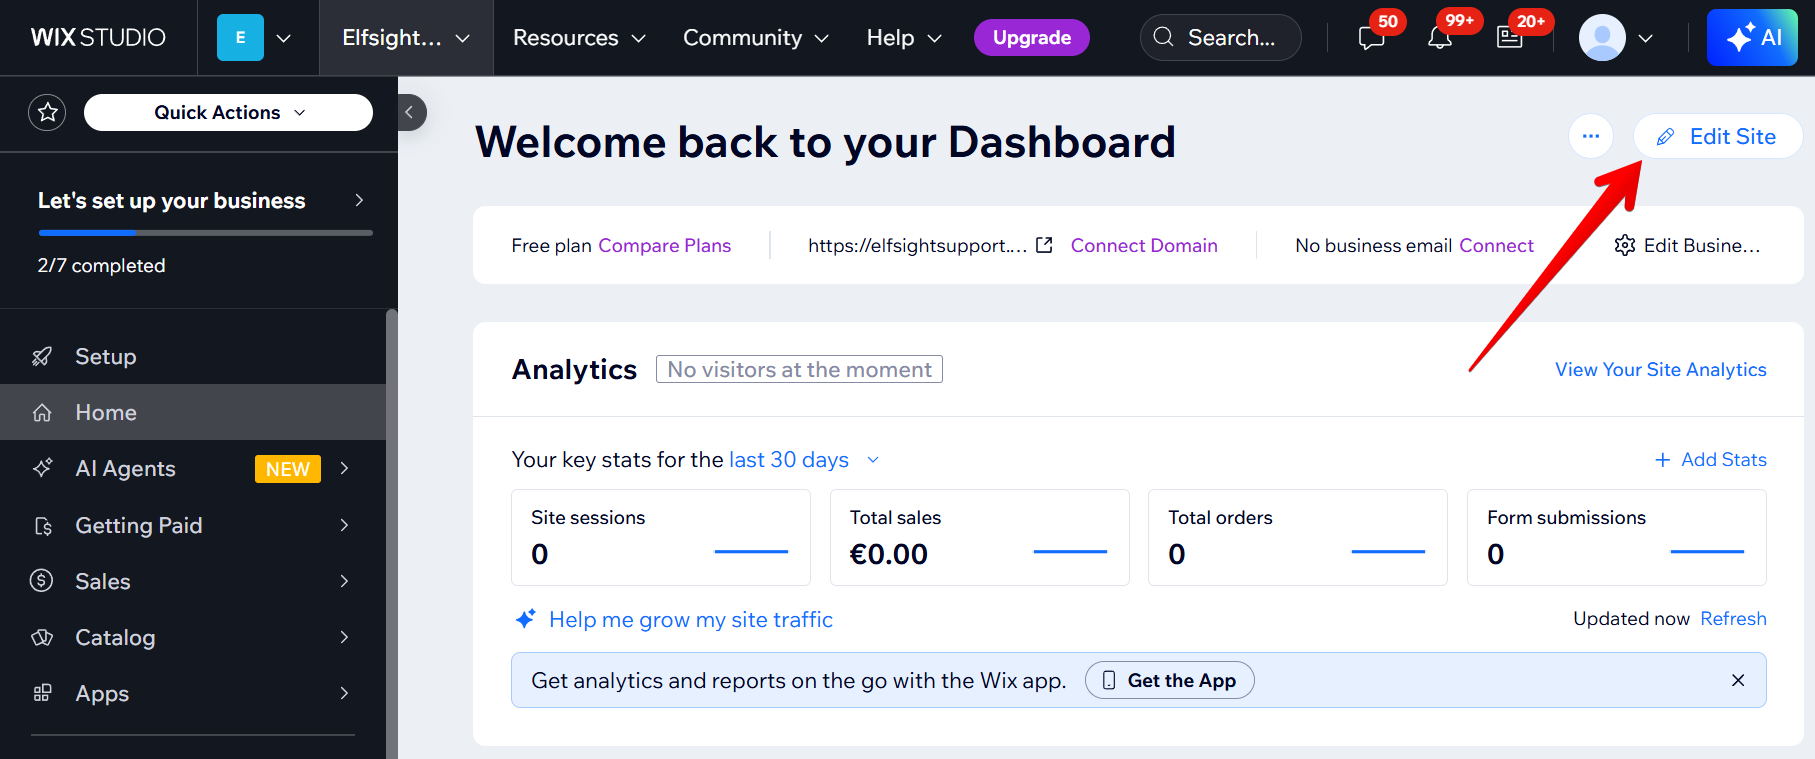
Open Wix Editor
Log in to your Wix account and click Edit Site:
- 2
-
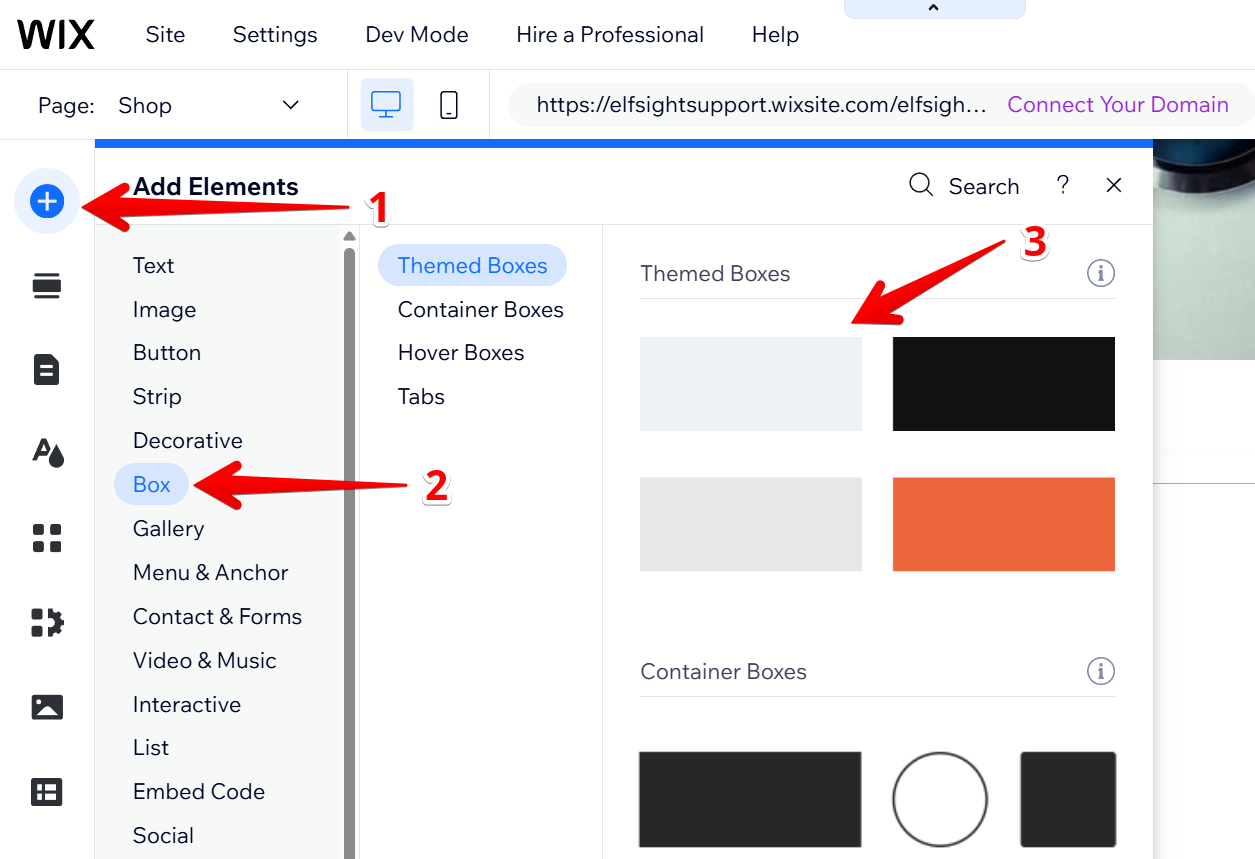
Add an empty block
Click the ➕ icon, go to the Box section, and select a Themed Box:
- 3
-
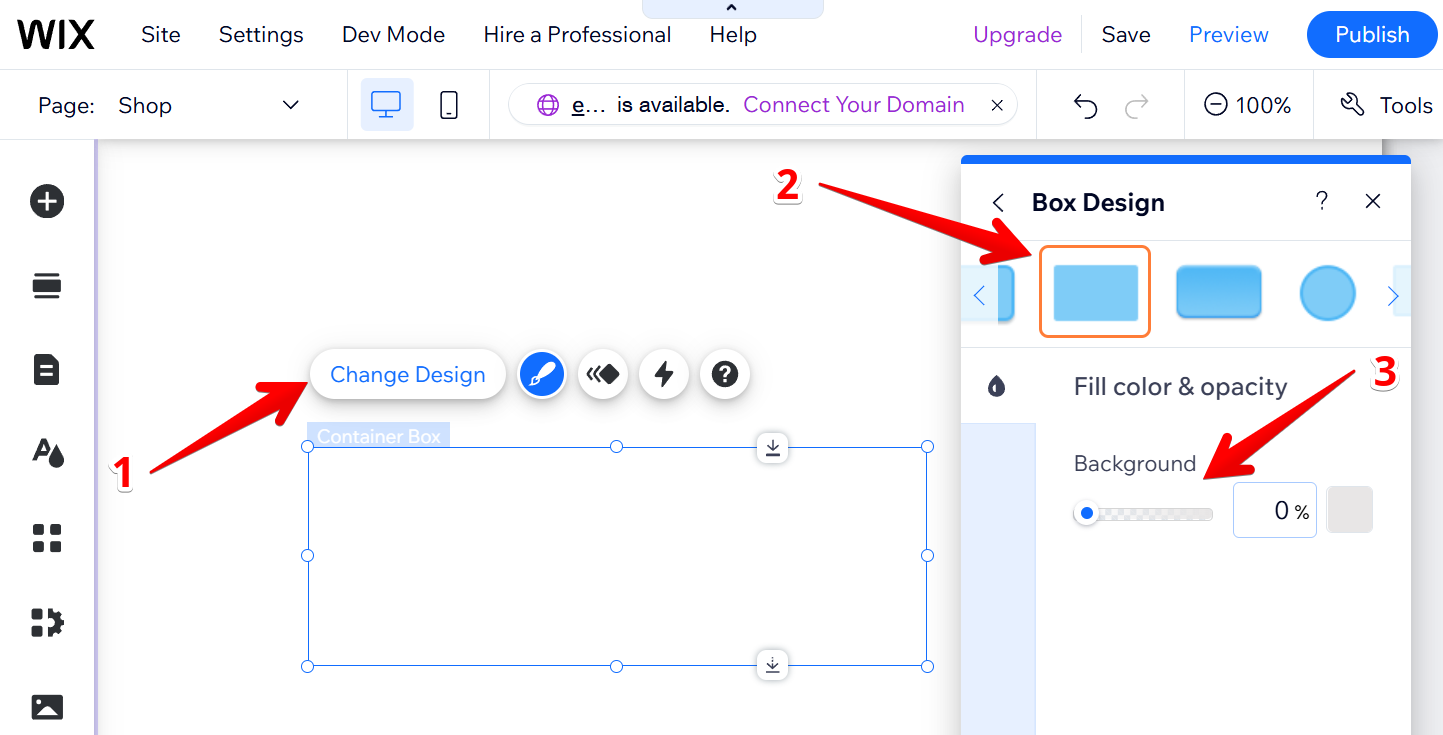
Make the block transparent
Choose the Change Design option, click Customize Design, and select a design with no borders. Set the opacity to 0%:
- 4
-
Adjust the container height
Resize the container to the minimum height. This prevents unnecessary empty space above the widget due to Wix platform behavior. Then Publish your changes:
- 5
-
Copy the HTML ID of the block
Go to the live page and open Developer's Console on the Elements tab. You can do this by pressing F12 for Windows or Cmd + Option + C for macOS, or just right-click and choose Inspect:

Click on the Inspect element, hover over the area with the block, and copy the div ID of the line above your block:
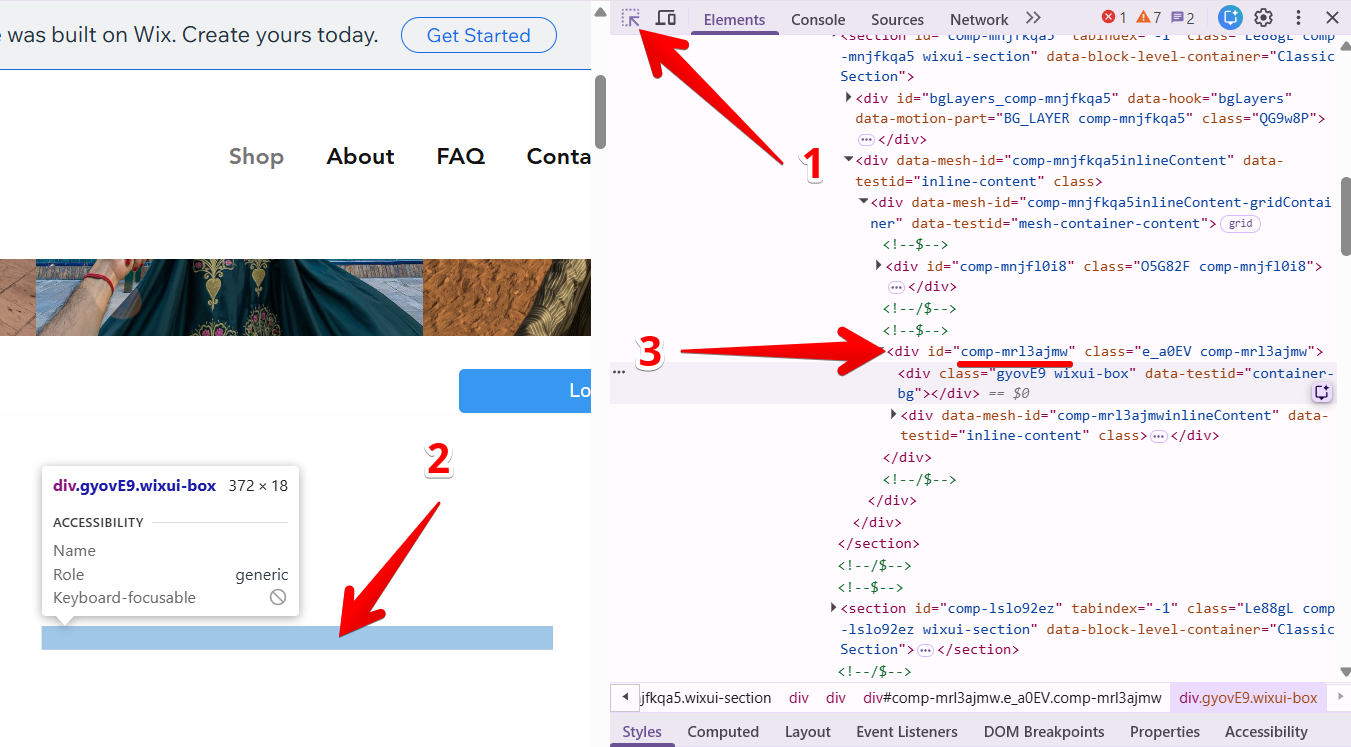
Here's the block ID we got in our example:
comp-mrl3ajmw. Make sure to keep your block's HTML ID ready somewhere, as you'll need it later.


2. Identify your website type
Wix offers two different types of templates: Multi-Page Application (MPA) and Single Page Application (SPA). Each type will require a different installation process. If you're not sure which type your template is, check the information below.
In a Multi-Page Application (MPA) website, each time you go to a new page, the browser loads a fresh page from the server. It has the following features:
- When you click a link, the whole page reloads, and you may notice a brief loading time. The browser’s icon next to the address bar switches from a circular arrow to an “X”.
- The URL changes completely with each new page (e.g., from
www.example.com/abouttowww.example.com/contact). - Every page is a separate HTML file fetched from the server.
Example: Traditional websites like news platforms or online stores, where each product or article loads on a new page.

In Single Page Application (SPA), the entire website is loaded once, and only the content changes when you navigate, without reloading the full page. It has the following features:
- Navigating between sections doesn't reload the page—only the content updates. The circular arrow icon next to the address bar stays the same.
- The URL may change slightly (e.g., adding
#/contact), but the main part stays the same. - Transitions between sections are smooth because JavaScript dynamically loads new content.
Example: Apps like Gmail, Facebook, or Airbnb, where you can switch between sections or filter options without the page refreshing.

3. Create custom code
Now that you've identified whether your website is an MPA or SPA, it's time to set up the code for your widget. Select the relevant instruction below based on your website type:
Instruction for an MPA website
- 1
-
Copy and paste the template code to any text editor:
<script> window.addEventListener('load', () => { let placeElement = document.querySelector('#BLOCK_ID'); if (!placeElement) return; let scriptElement = document.createElement('script'); let widgetElement = document.createElement('div'); scriptElement.setAttribute( 'src', 'https://elfsightcdn.com/platform.js' ); scriptElement.setAttribute('async', ''); widgetElement.classList.add('elfsight-app-WIDGET_ID'); setTimeout(() => { placeElement.append(scriptElement, widgetElement); }, 2500); }); </script> - 2
- Find BLOCK_ID on the 3rd line and replace it with the ID of the block which you got in Creating a block for the widget step.
- 3
-
Then insert the ID of your widget instead of WIDGET_ID on the 9th line. Your widget ID is the following part of the installation code:

Here you can find more detailed info about widget ID - Where to get your widget ID.
Here’s what we have in our example:
<script>
  window.addEventListener('load', () => {
    let placeElement = document.querySelector('#comp-mrl3ajmw');
    if (!placeElement) return;
    let scriptElement = document.createElement('script');
    let widgetElement = document.createElement('div');

    scriptElement.setAttribute(
      'src',
      'https://elfsightcdn.com/platform.js'
    );
    scriptElement.setAttribute('async', '');
    widgetElement.classList.add('elfsight-app-1ed6d674-aaf2-4e39-99fc-e8740abb3fc3');

    setTimeout(() => {
      placeElement.append(scriptElement, widgetElement);
    }, 2500);
  });
</script>
Instruction for a SPA website
- 1
-
Copy and paste the template code to any text editor:
<script> (function () { const widgetClass = 'elfsight-app-WIDGET-ID'; const widgetScriptUrl = 'https://elfsightcdn.com/platform.js'; const containerSelector = '#BLOCK_ID'; const pageCondition = '/'; const intervalId = setInterval(() => { if (document.querySelector(`[class*='${widgetClass}']`)) return; if (pageCondition && !window.location.pathname.includes(pageCondition)) return; let divElement = document.querySelector(`${containerSelector}`); if (!divElement) return; let script = document.createElement('script'); let widgetBlock = document.createElement('div'); script.setAttribute('src', widgetScriptUrl); script.setAttribute('async', ''); widgetBlock.classList.add(widgetClass); setTimeout(() => { divElement.appendChild(script); divElement.appendChild(widgetBlock); }, 1000); }, 2000); })(); </script> - 2
-
Insert the ID of your widget instead of WIDGET_ID on the 3rd line. Your widget ID is the following part of the installation code:
Here you can find more detailed info about getting the widget ID - Where to get your widget ID.
- 3
-
Then paste the ID of the added block that we've copied in the Creating a block for the widget step instead of BLOCK_ID on the 5th line.
- 4
-
Identify your PageCondition.
PageCondition or a Pathname is the part of the URL indicating where a widget will appear. It is particularly important for floating widgets. Here’s an example of the pathname:

Possible PageConditions include:
const pageCondition = '';— widget will be displayed on all pagesconst pageCondition = '/';— widget will be displayed only on the homepageconst pageCondition = '/contact';— widget will be displayed only on the specific page (in our example, it's "/contact")
Here’s what we have in our example:
<script>
(function () {
    const widgetClass = 'elfsight-app-1ed6d674-aaf2-4e39-99fc-e8740abb3fc3';
    const widgetScriptUrl = 'https://elfsightcdn.com/platform.js';
    const containerSelector = '#comp-mrl3ajmw';
    const pageCondition = '/contact';

    const intervalId = setInterval(() => {
      if (document.querySelector(`[class*='${widgetClass}']`)) return;
      if (pageCondition && !window.location.pathname.includes(pageCondition))
	   return;

      let divElement = document.querySelector(`${containerSelector}`);
      if (!divElement) return;

      let script = document.createElement('script');
      let widgetBlock = document.createElement('div');

      script.setAttribute('src', widgetScriptUrl);
      script.setAttribute('async', '');
      widgetBlock.classList.add(widgetClass);

      setTimeout(() => {
        divElement.appendChild(script);
        divElement.appendChild(widgetBlock);
      }, 1000);
    }, 2000);
})();
</script>

4. Add the code to your website
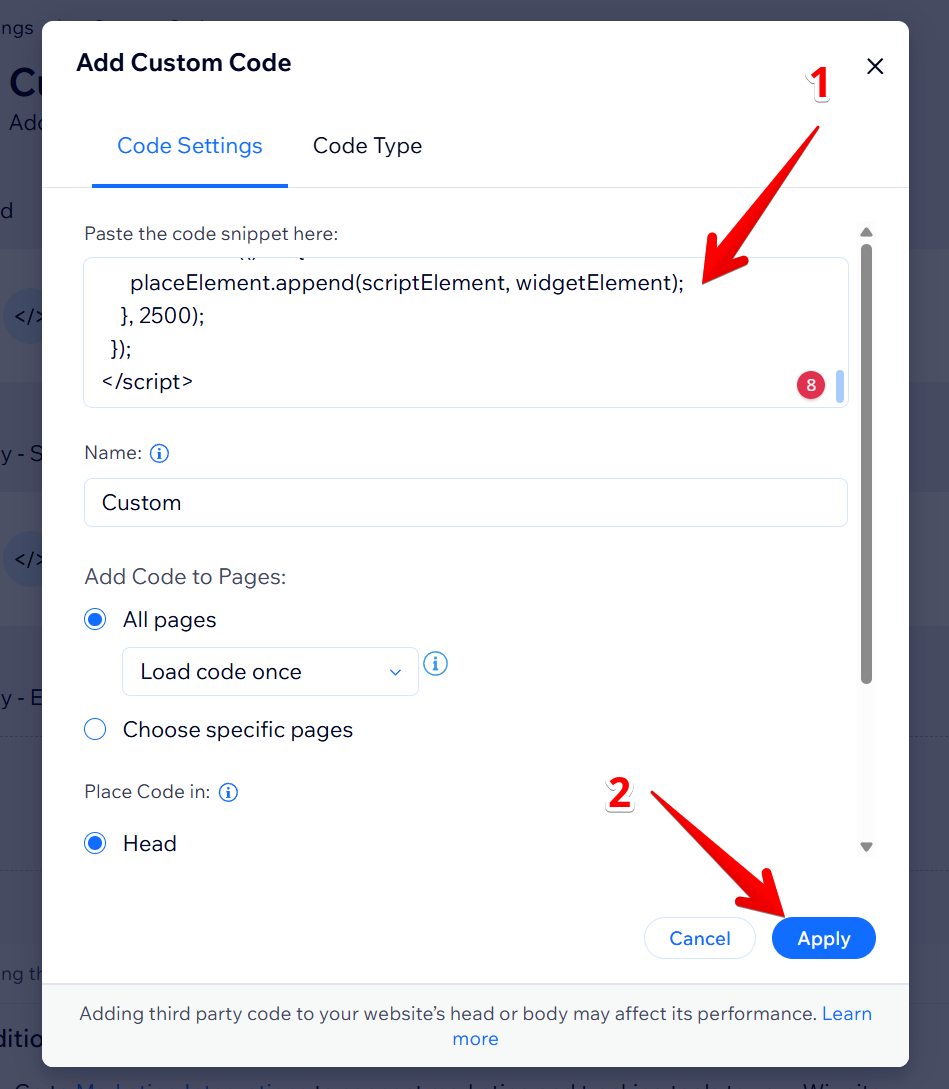
In your Wix dashboard, click Settings, scroll down to the bottom, and select Custom Code. Then click + Add Custom Code:
Paste the code that we got in the previous steps and click Apply:
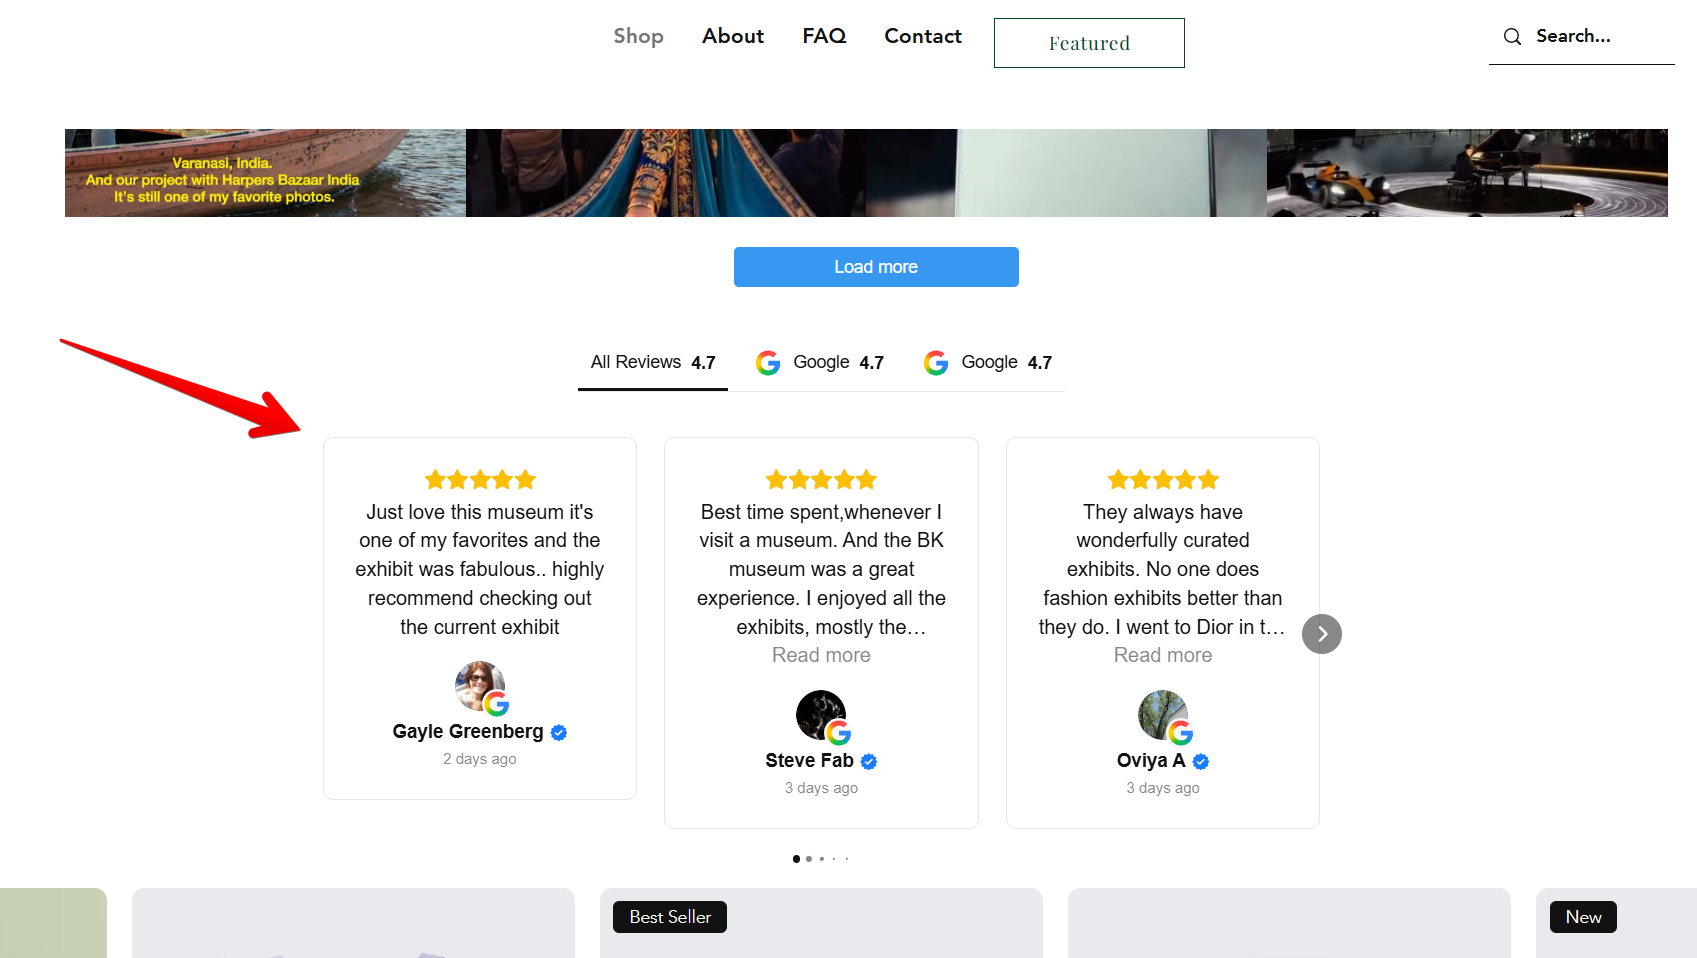
All done! The widget is now added to your Wix website without iframe:
Still having trouble after trying these steps? Just contact our Support Team for help. We will be delighted to help you! 🙌