Step 3: Configure Your AI Chatbot Settings
Once your AI Chatbot is trained and styled, you can finish setting it up in the Settings tab. Here, you can customize your agent’s layout, control when and where it appears, manage notifications, analytics, language, and more. ✨
- Step 1 – Set Up Your AI Chatbot Knowledge Base
- Step 2 – Adjust Your AI Chatbot Design & Skills
- 👉 Step 3 – Configure Your AI Chatbot Settings
In this article
Set Up AI Agent Layout, Visibility & Sounds
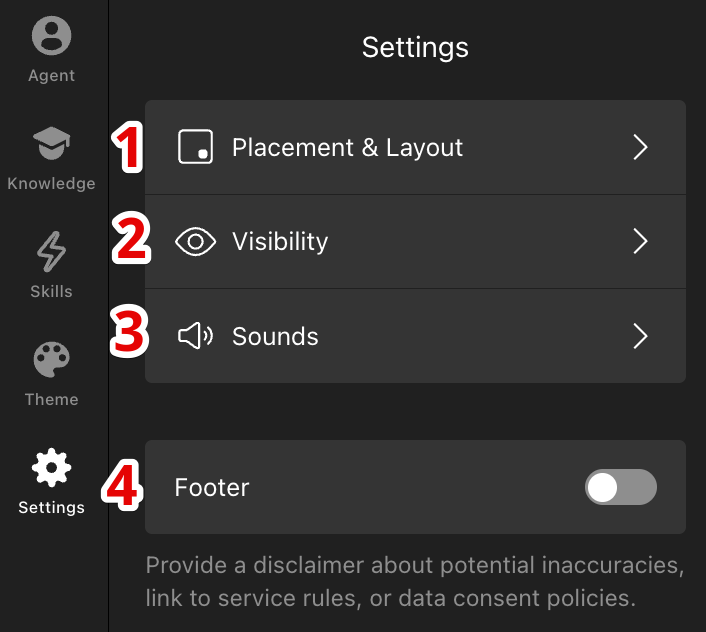
Let's fine-tune your AI Chatbot's appearance, visibility, and sound alerts with the following options:
- 1
-
In the Placement & Layout section, you can choose when and where your chatbot appears on the page, how it is displayed (floating or embedded), and when it opens for visitors:
- 2
-
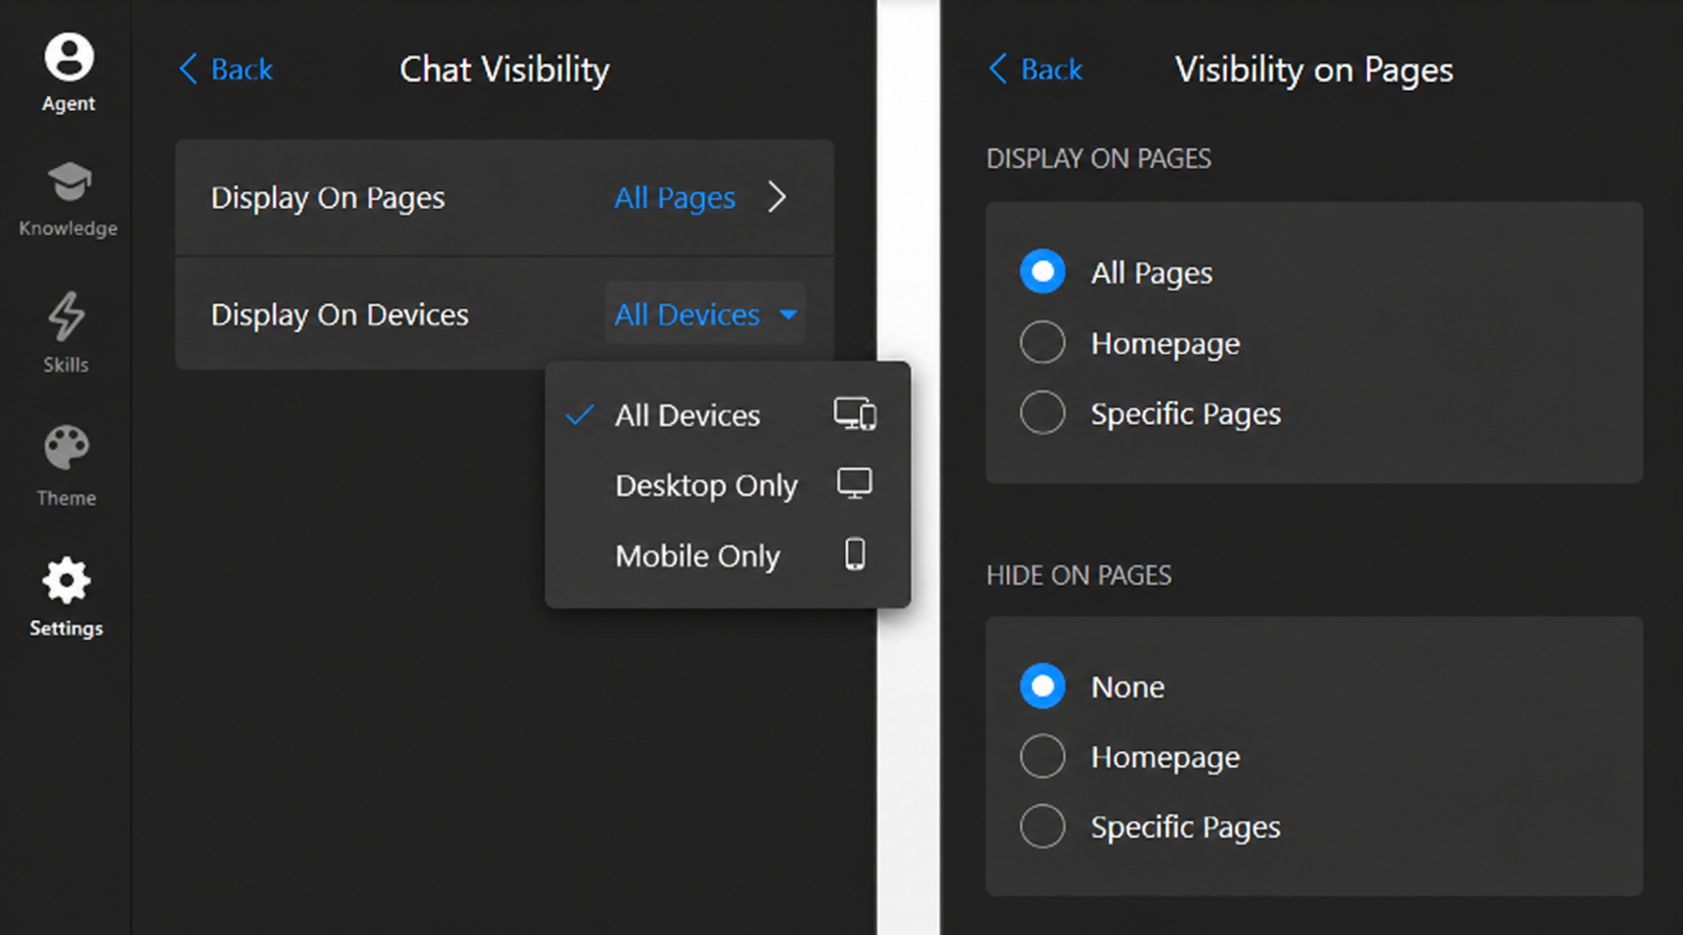
Use the Visibility section to control where your chatbot appears by limiting it to specific pages or devices:
- 3
-
In the Sounds section, you can assign sound alerts for different chatbot actions, including opening the chat window, agent messages, and user messages:
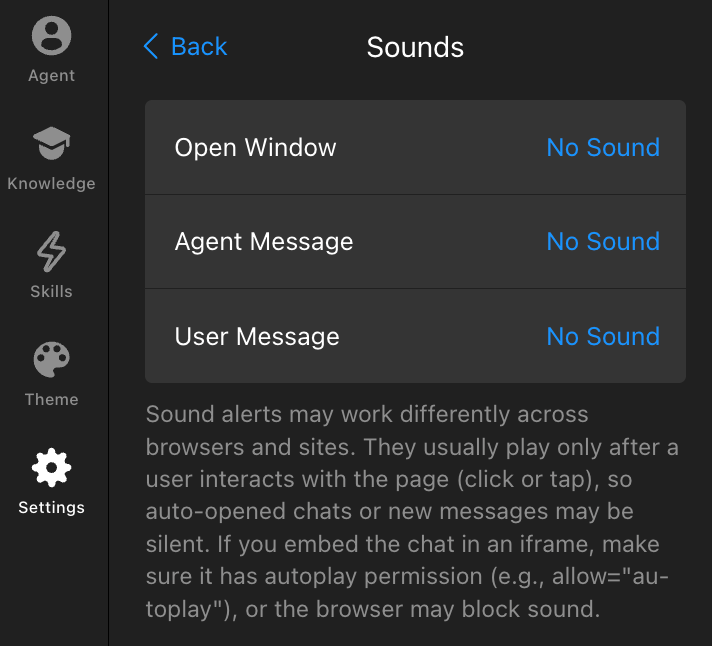
Sound alerts may only play after a visitor interacts with the page (for example, by clicking or tapping). If the chatbot is embedded in an iframe, make sure autoplay permissions are enabled, or the browser may block sounds. - 4
-
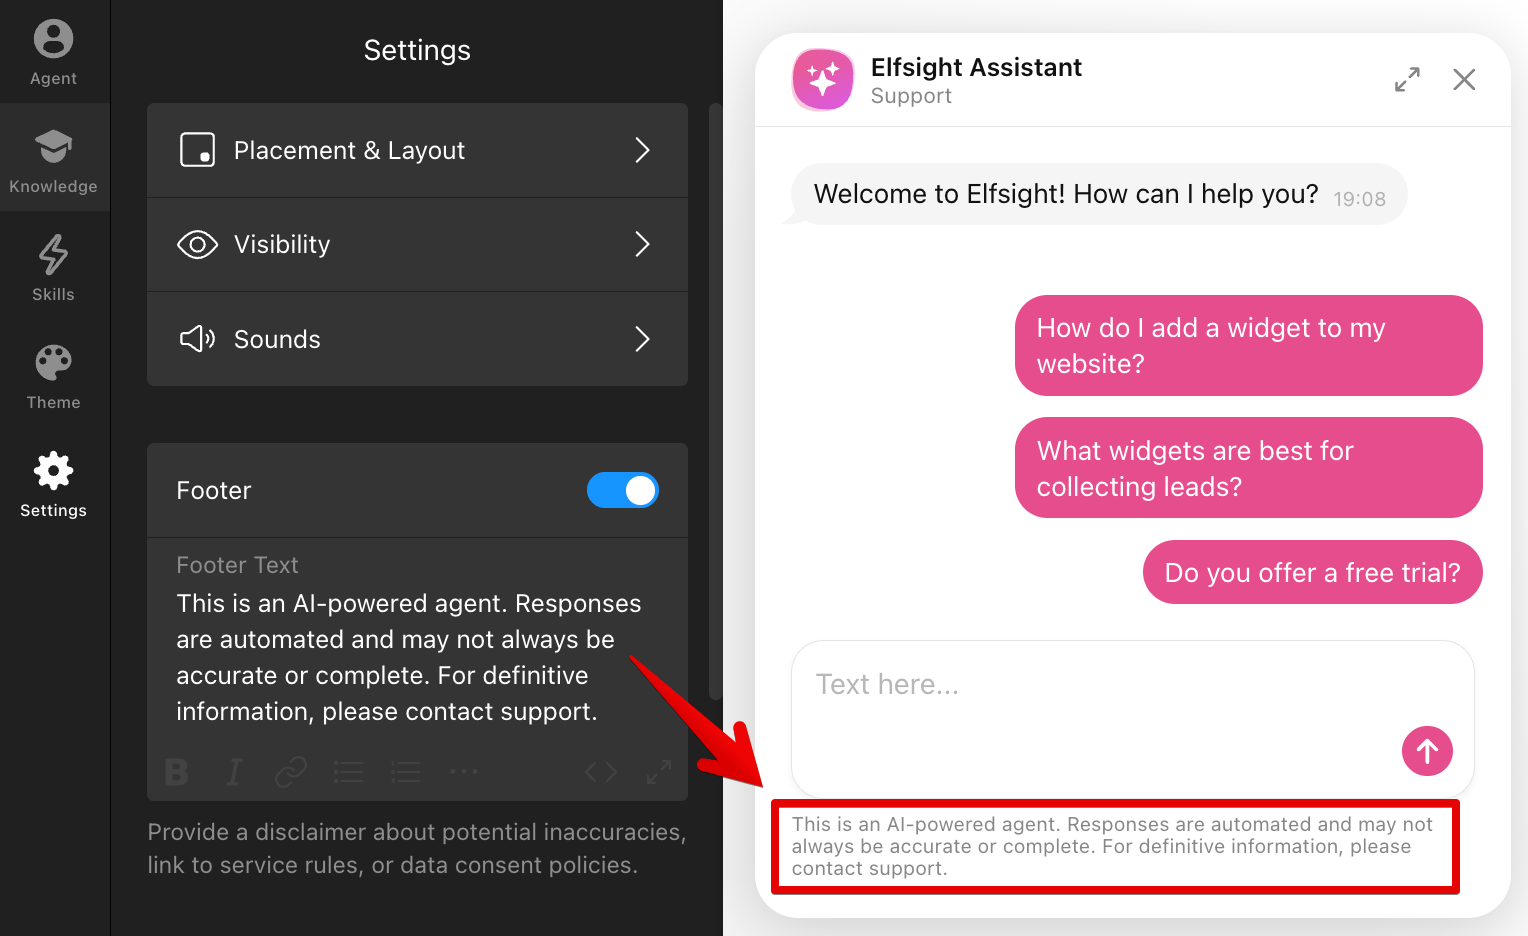
Toggle on the Footer to show text at the bottom of the chat window, such as the default disclaimer or any custom message:

Manage Analytics, Notifications & Language
Let's optimize your AI Chatbot's tracking, notifications, and regional settings with the following options: 
Google Analytics
In the Google Analytics section, set up events to track chatbot interactions in Google Analytics 4 or Google Tag Manager. Click ➕Add Event and choose the actions you want to track: 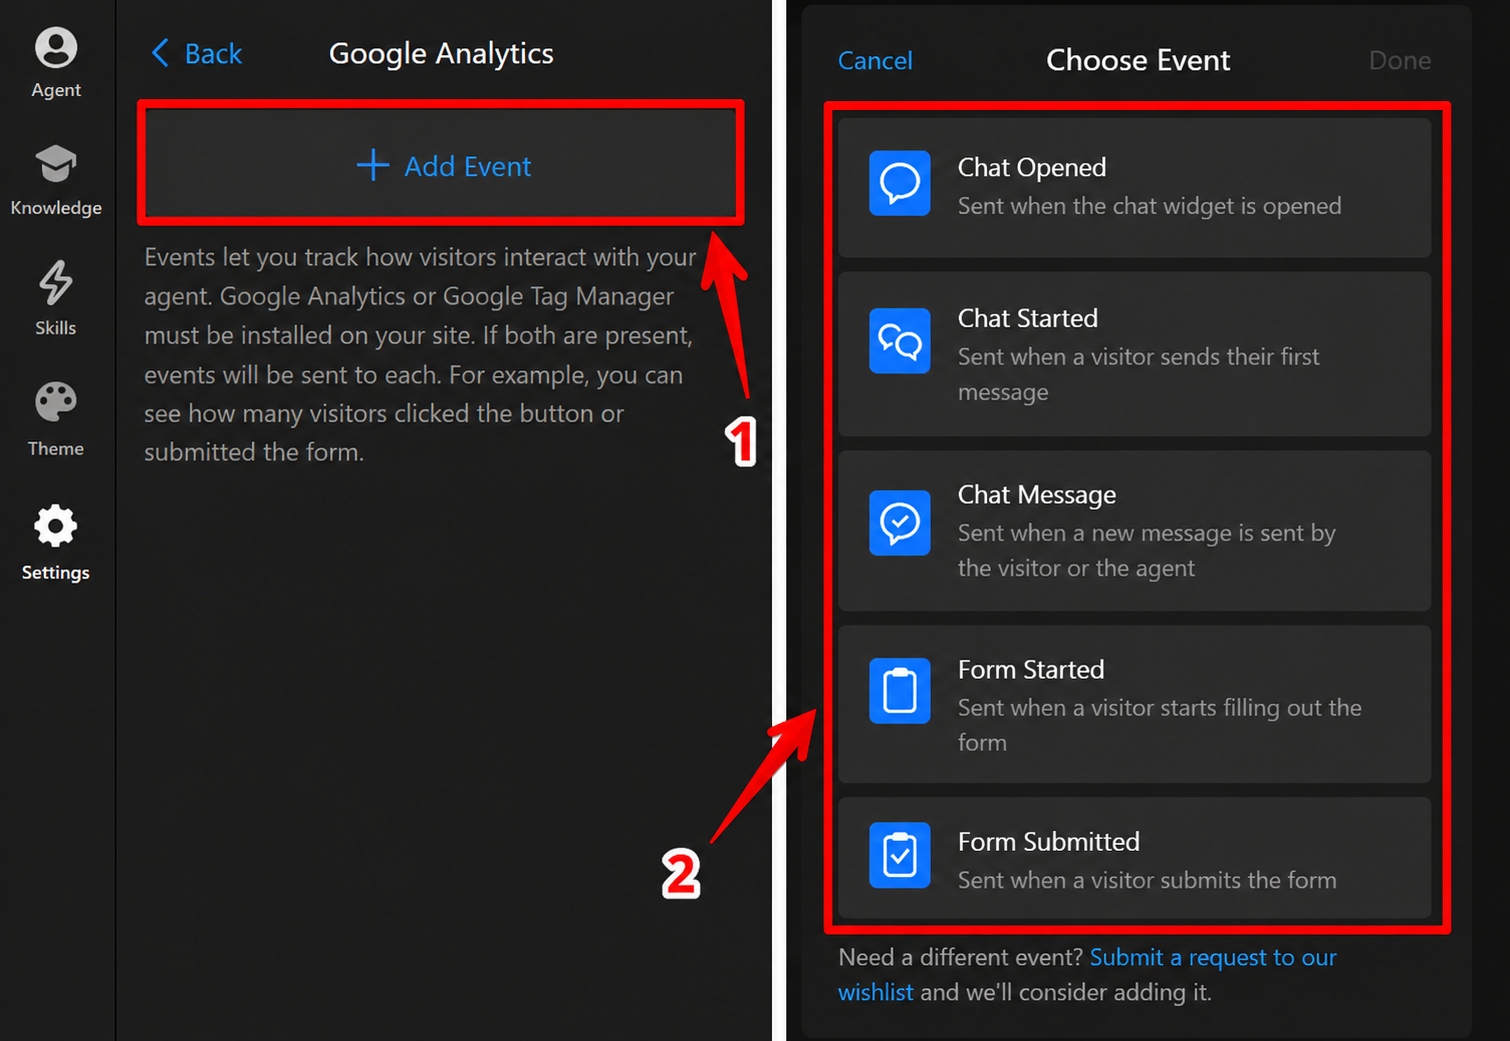
Email Notifications
In the Email Notifications section, you can enable the Send Chat History to Email option to receive chat transcripts after each conversation:

For chat histories to be delivered, the following conditions must be met:
- You must enter a valid email address under Owner Email
- The chatbot must be installed on a live website (not used in the widget editor)
- The conversation must be inactive for at least 10 minutes
By default, these notifications are sent from a system address, but you can also configure Email Sender Settings using SMTP to send them from a different email address.
Language & Region
In the Language & Region section, you can choose the chatbot interface language using the Language dropdown. You can also customize the interface text with the Edit Text option:
Use the Time Zone dropdown to select the time zone for your widget. This time zone will be reflected in the chat history emails you receive as the widget owner: 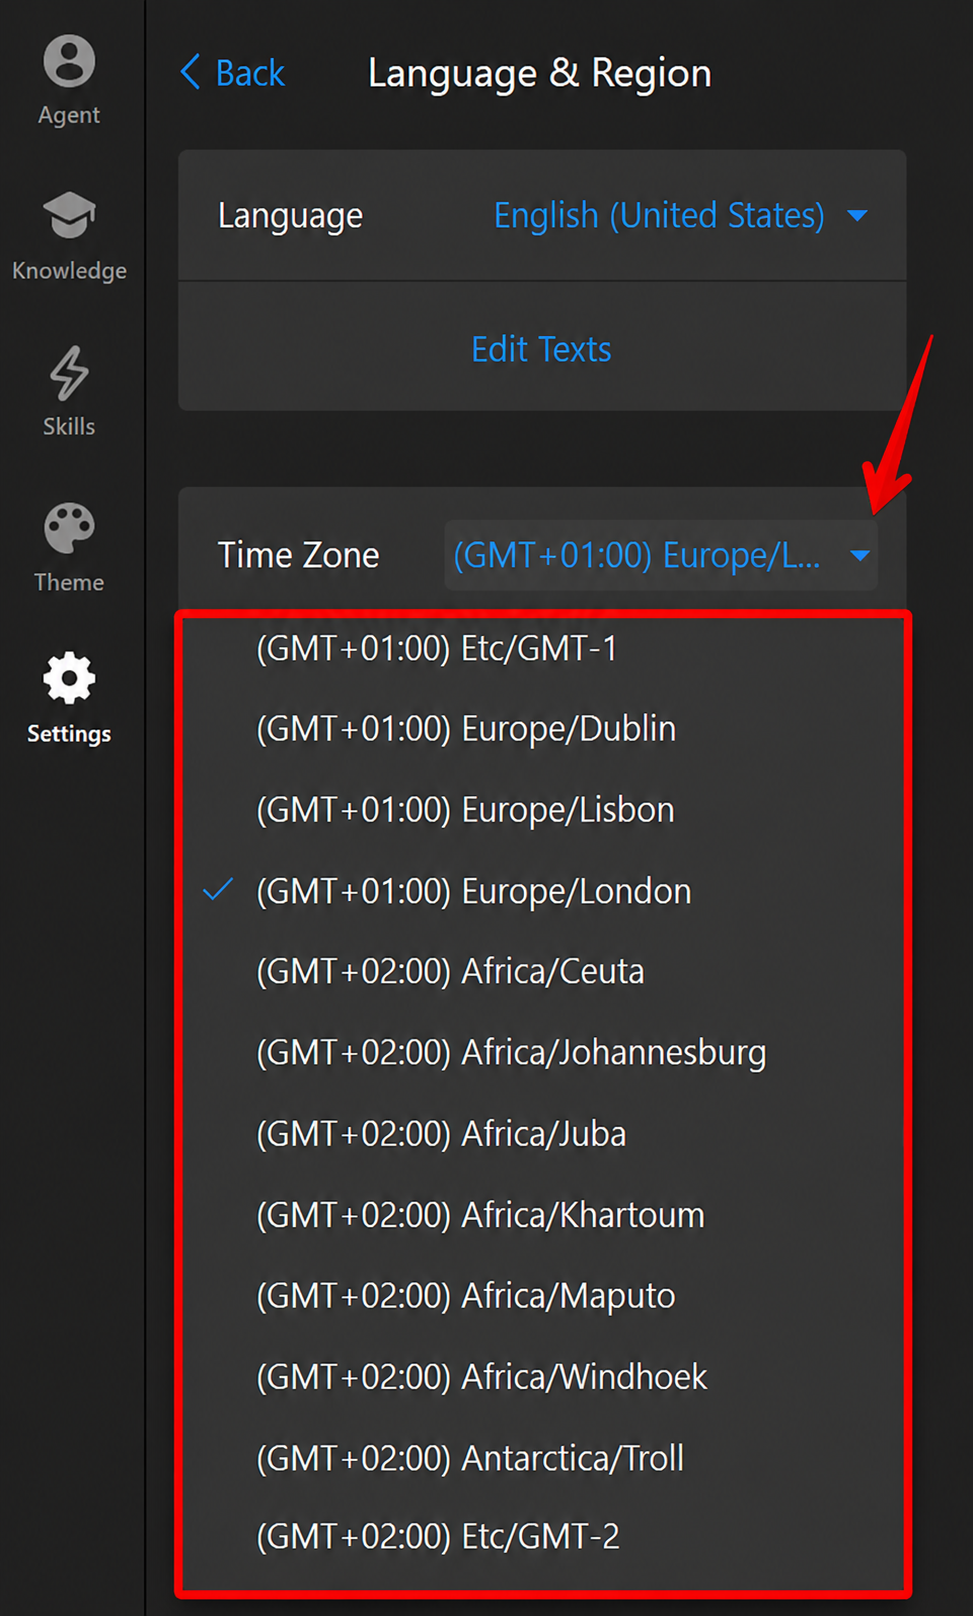
Adjust Advanced Settings
In the Custom CSS and Custom JS sections, you can add your own code to customize the appearance and behavior of your widget or integrate it with external tools: 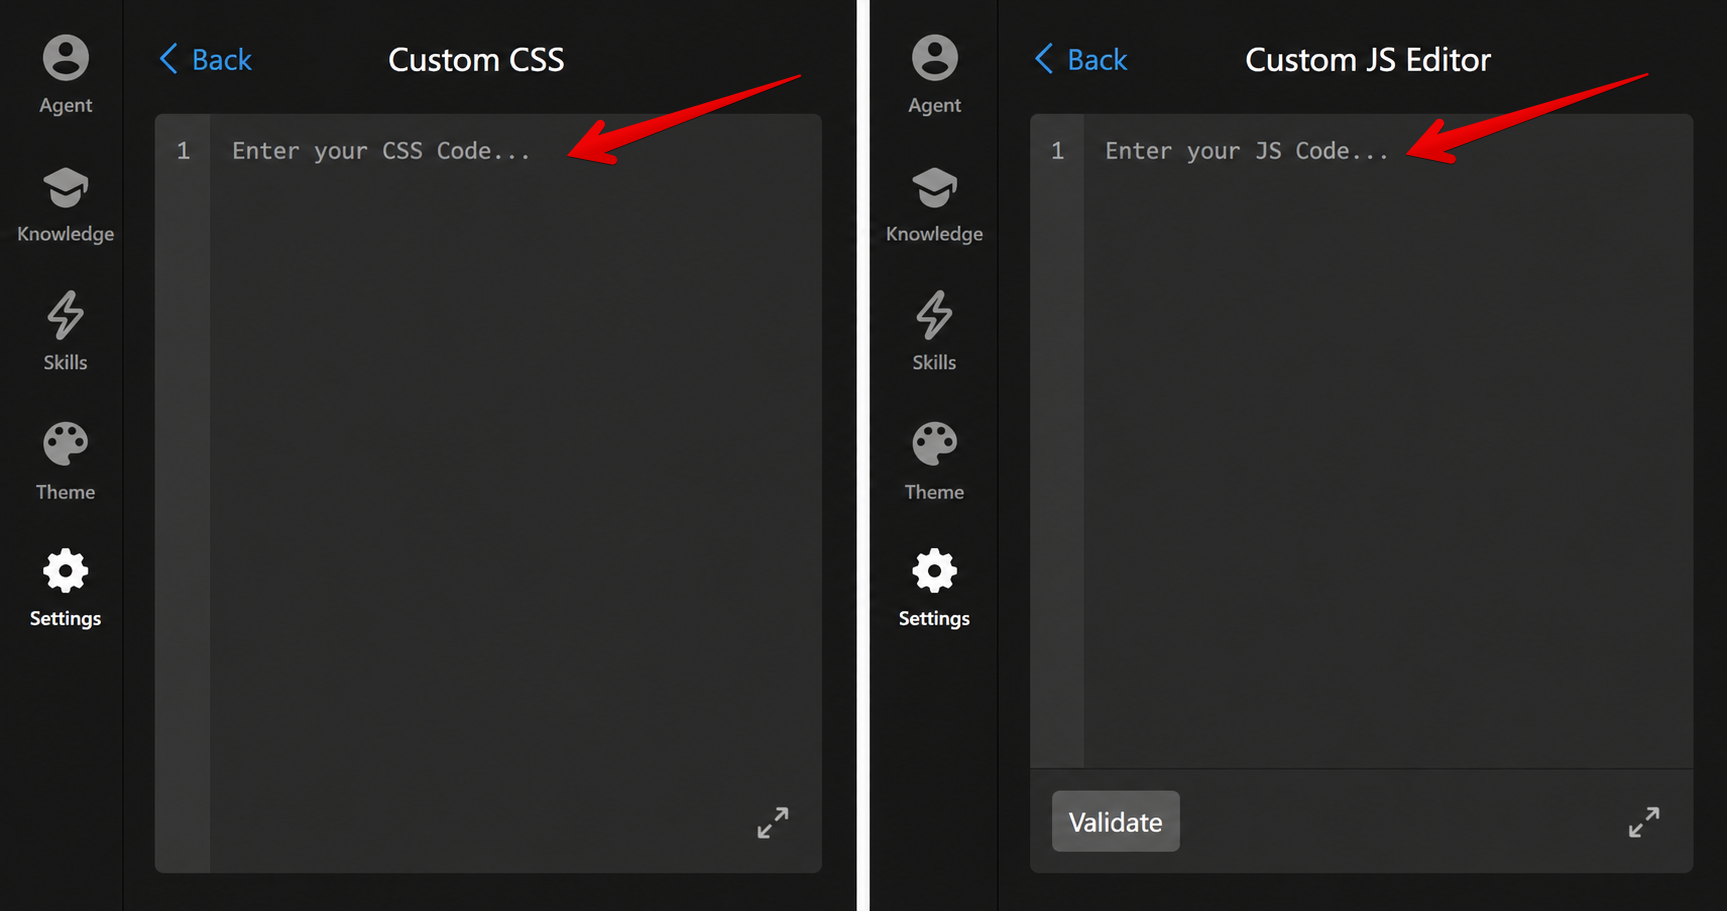
Check out our community post for handy CSS snippets and ideas to enhance your widget’s design and functionality even further.
Your AI Chatbot is now fully set up and ready to go! 🎉 If you need any help along the way, feel free to reach out to our Support team.