Step 3: Adjust Timer’s Advanced Settings
You’re almost there! 🚀 Once your Countdown Timer is configured and styled, it’s time to explore the advanced settings for even more flexibility and control. You’re currently on:
- Step 1 – Configure Your Countdown Timer
- Step 2 – Customize Your Countdown Timer's Appearance
- 👉 Step 3 – Adjust Timer’s Advanced Settings
In this article
The Settings tab helps you fine-tune your widget — from language and analytics to advanced customization options: 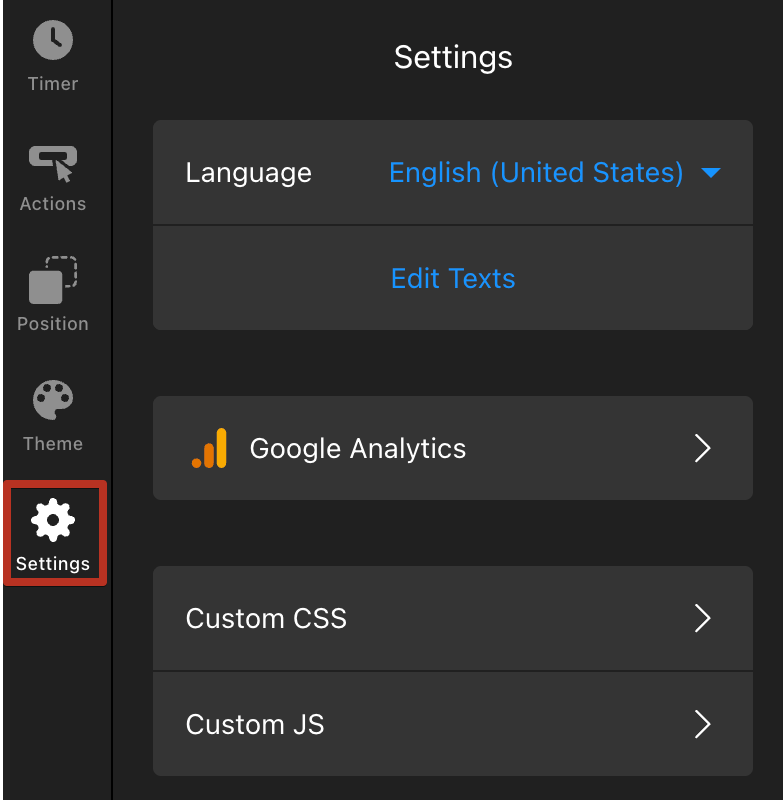
Below, we’ll go over each setting in detail.
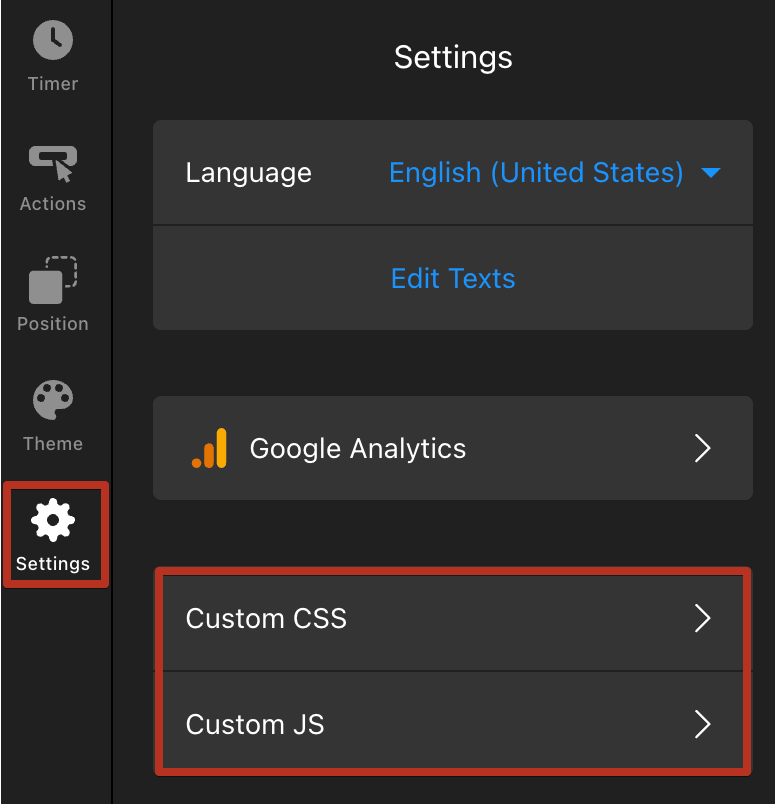
Language & Texts
This section allows you to change your widget’s language or customize its text. Open the Language dropdown and select your preferred language: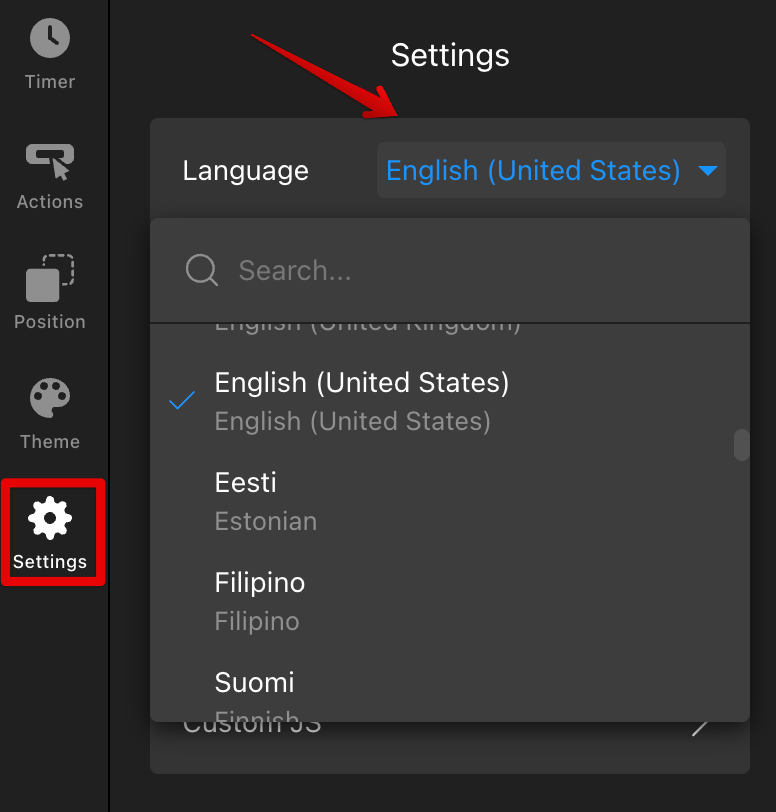
Want to change default labels or form messages? Just click Edit Texts and replace them with your own wording: 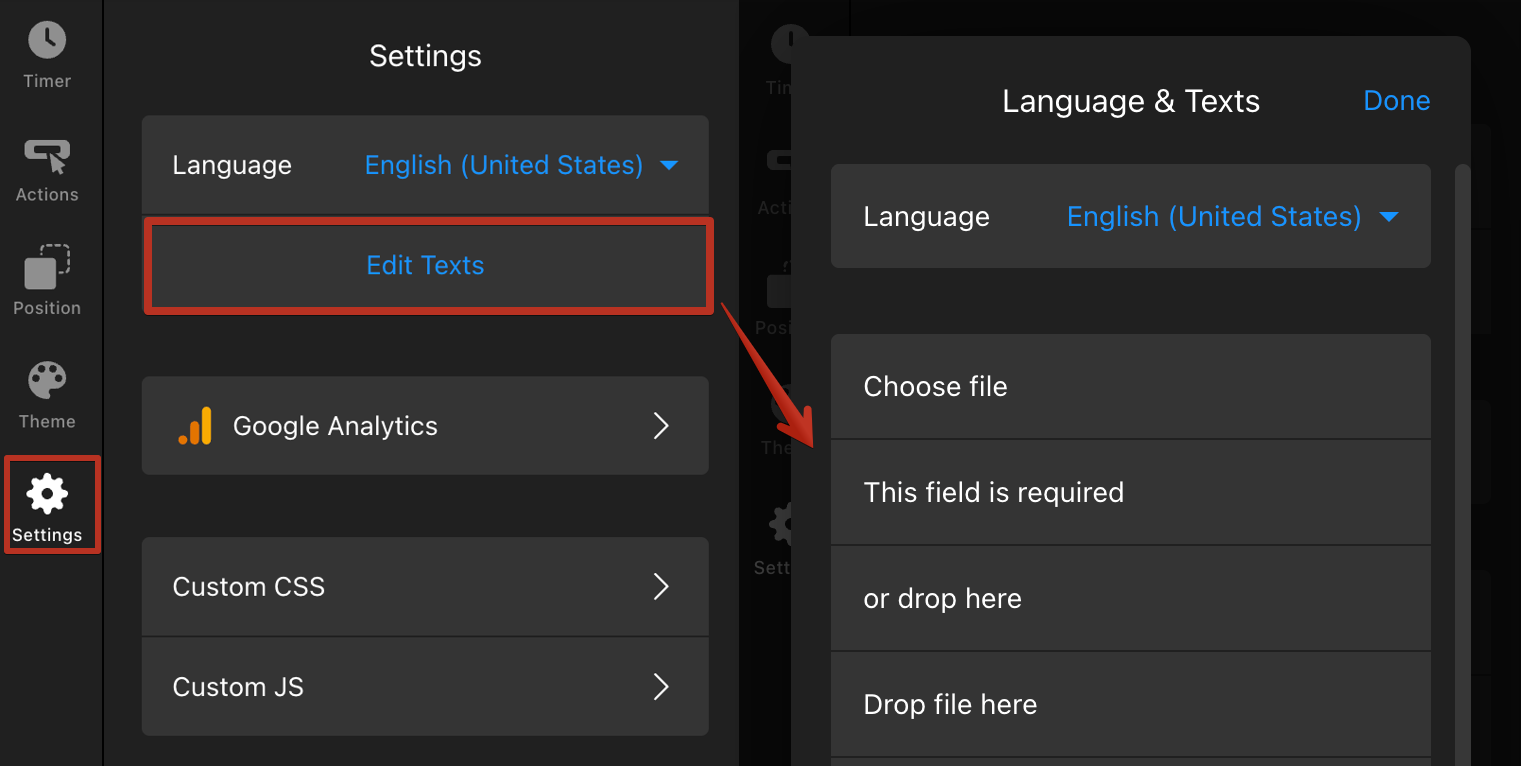
Google Analytics
In the Google Analytics section, you can connect your widget to Google Analytics or Google Tag Manager to track user interactions. Click ➕Add Event and choose the actions you want to track: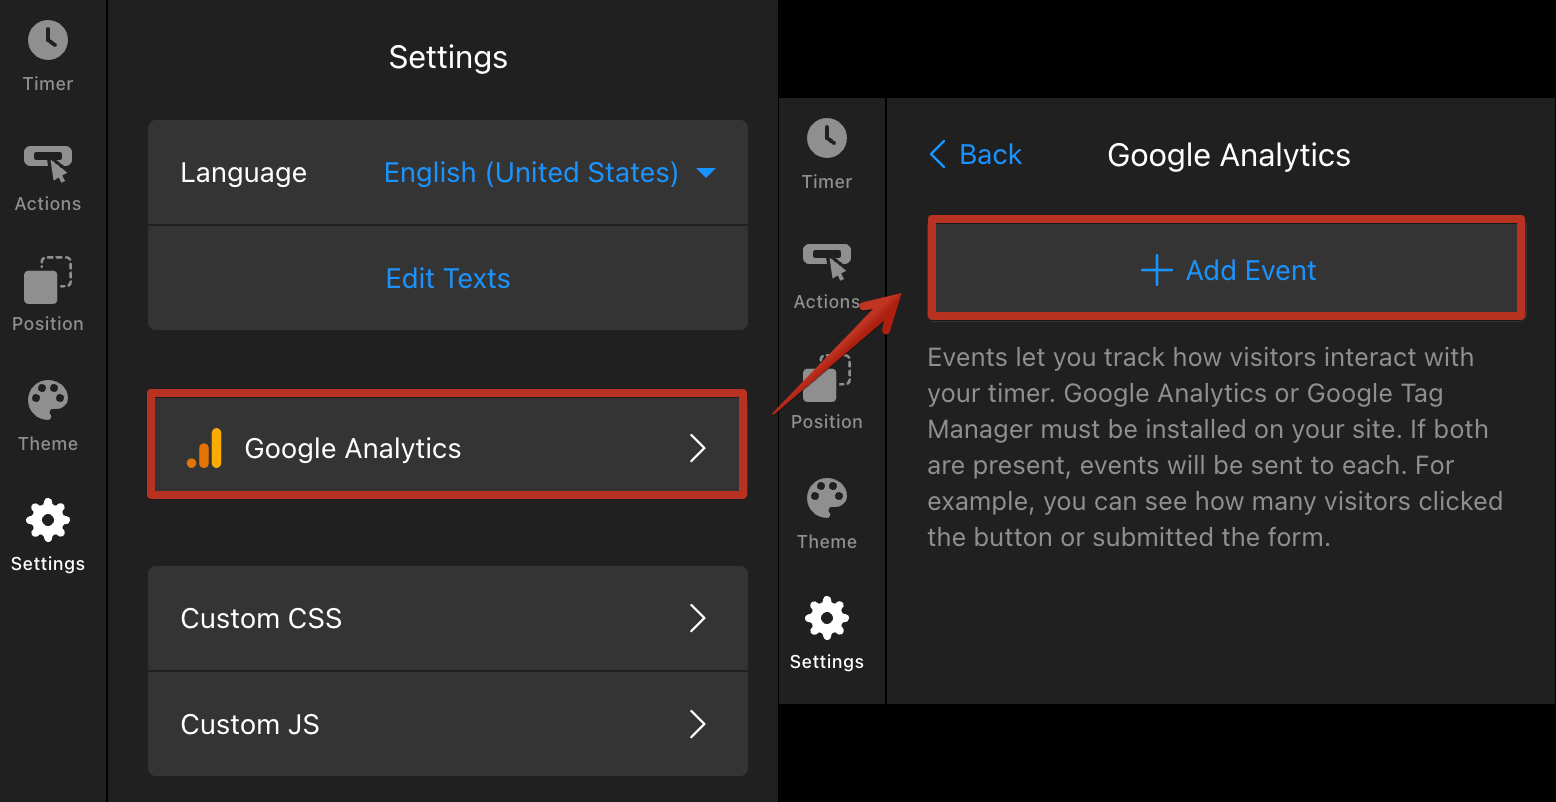
You can select from the following options: 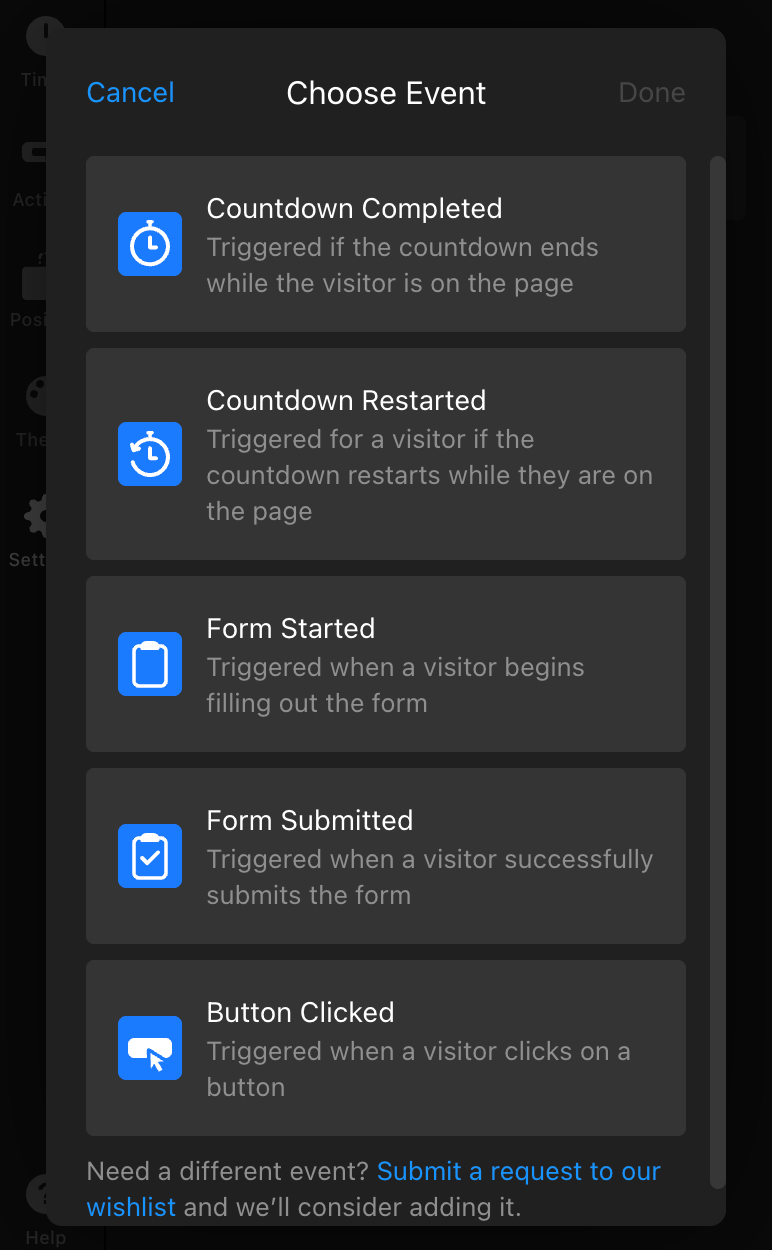
- Countdown Completed — fires when the timer reaches zero while a visitor is on the page.
- Countdown Restarted — fires if the countdown restarts for a visitor during their session.
- Form Started — triggers when a visitor begins filling out the form.
- Form Submitted — fires after the form is successfully sent.
- Button Clicked — fires when a user clicks any action button.
When creating an event, some parameters like Source, App, and Widget ID are filled automatically. If you choose the Button Clicked event, Button Type and Label will also appear. You can remove unnecessary parameters or add custom ones to track specific data: 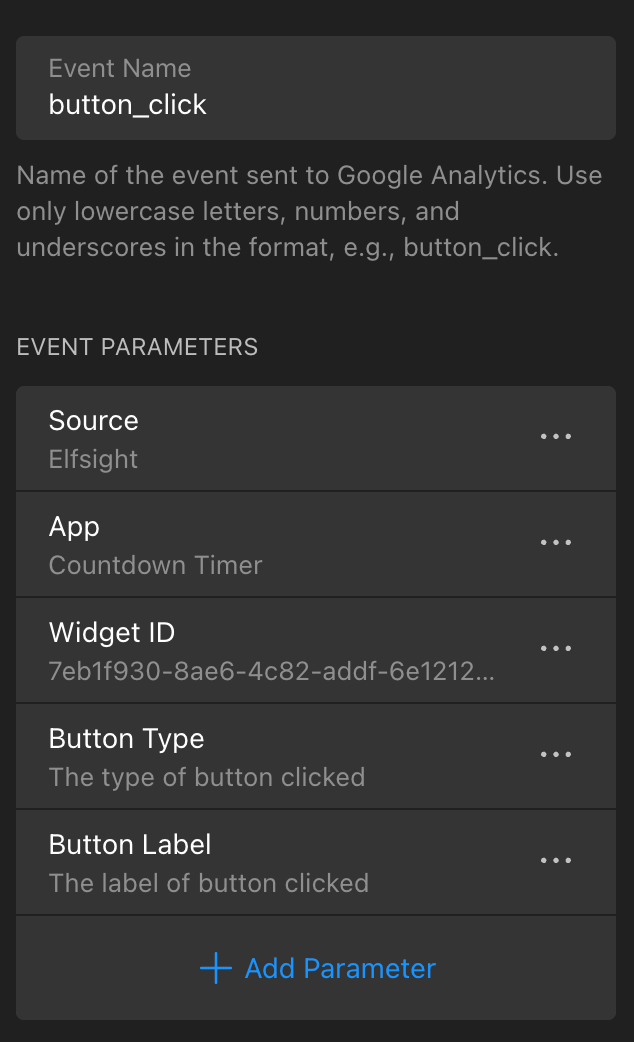
Custom CSS & JS
Use Custom CSS for advanced styling or Custom JS to extend your widget’s functionality and integrate with other tools:
Note that Custom JS runs only on your live website after installation — it won’t function in the widget editor.
Need help with advanced customizations? Contact our Support Team, and we’ll be happy to assist.