Step 1: Configure Your Countdown Timer
Boost sales and create a sense of urgency with our Countdown Timer widget! 🚀 Setting it up is easy and only takes a few simple steps. You’re currently on:
- 👉 Step 1 – Configure Your Countdown Timer
- Step 2 – Customize Your Countdown Timer's Appearance
- Step 3 – Adjust Timer’s Advanced Settings
In this article
Timer & Heading
To get started, open the Timer tab in your widget editor and click Change to choose the best timer for your event. You can choose from three Countdown Modes:
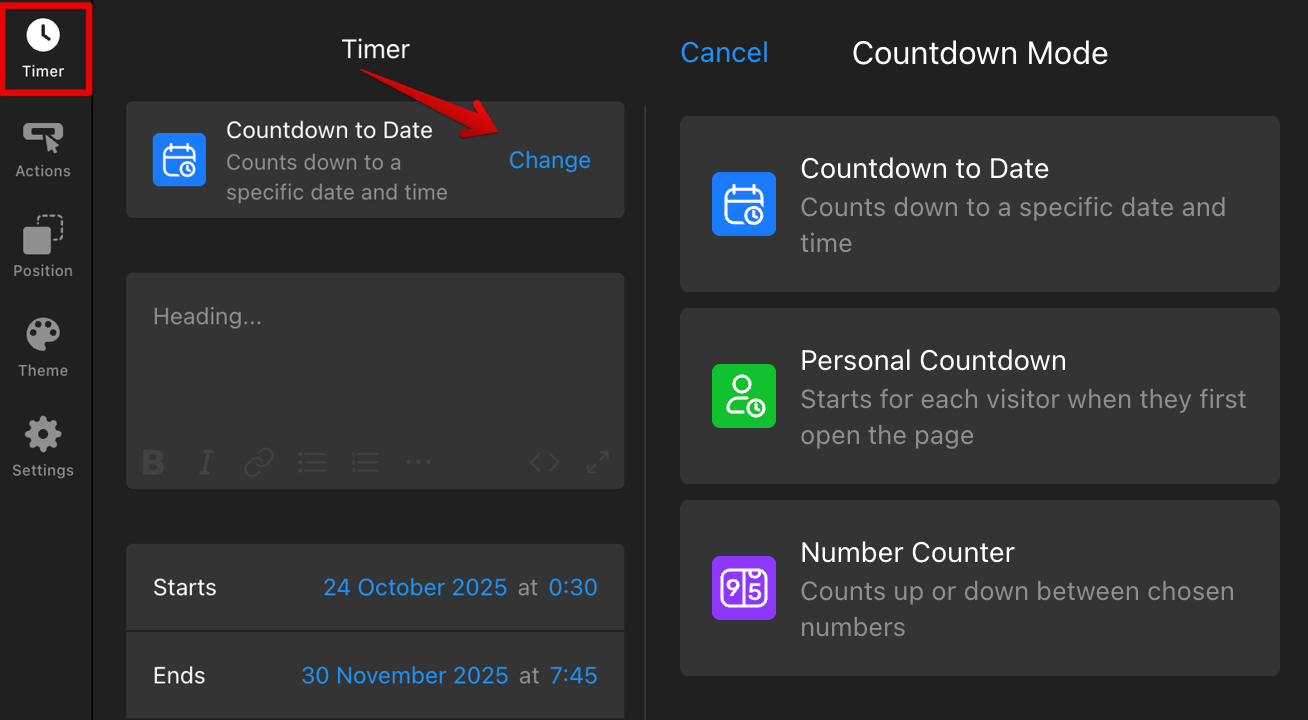
- Countdown to Date — сounts down to a specific date or deadline, where all visitors should see the same countdown.
- Personal Countdown — creates an individual timer for each visitor that keeps running across visits.
- Number Counter — displays a live number that increases or decreases to create urgency.
After selecting your timer and setting its display options (dates, time, time zone, and repeat), add a Heading for it on the Timer tab: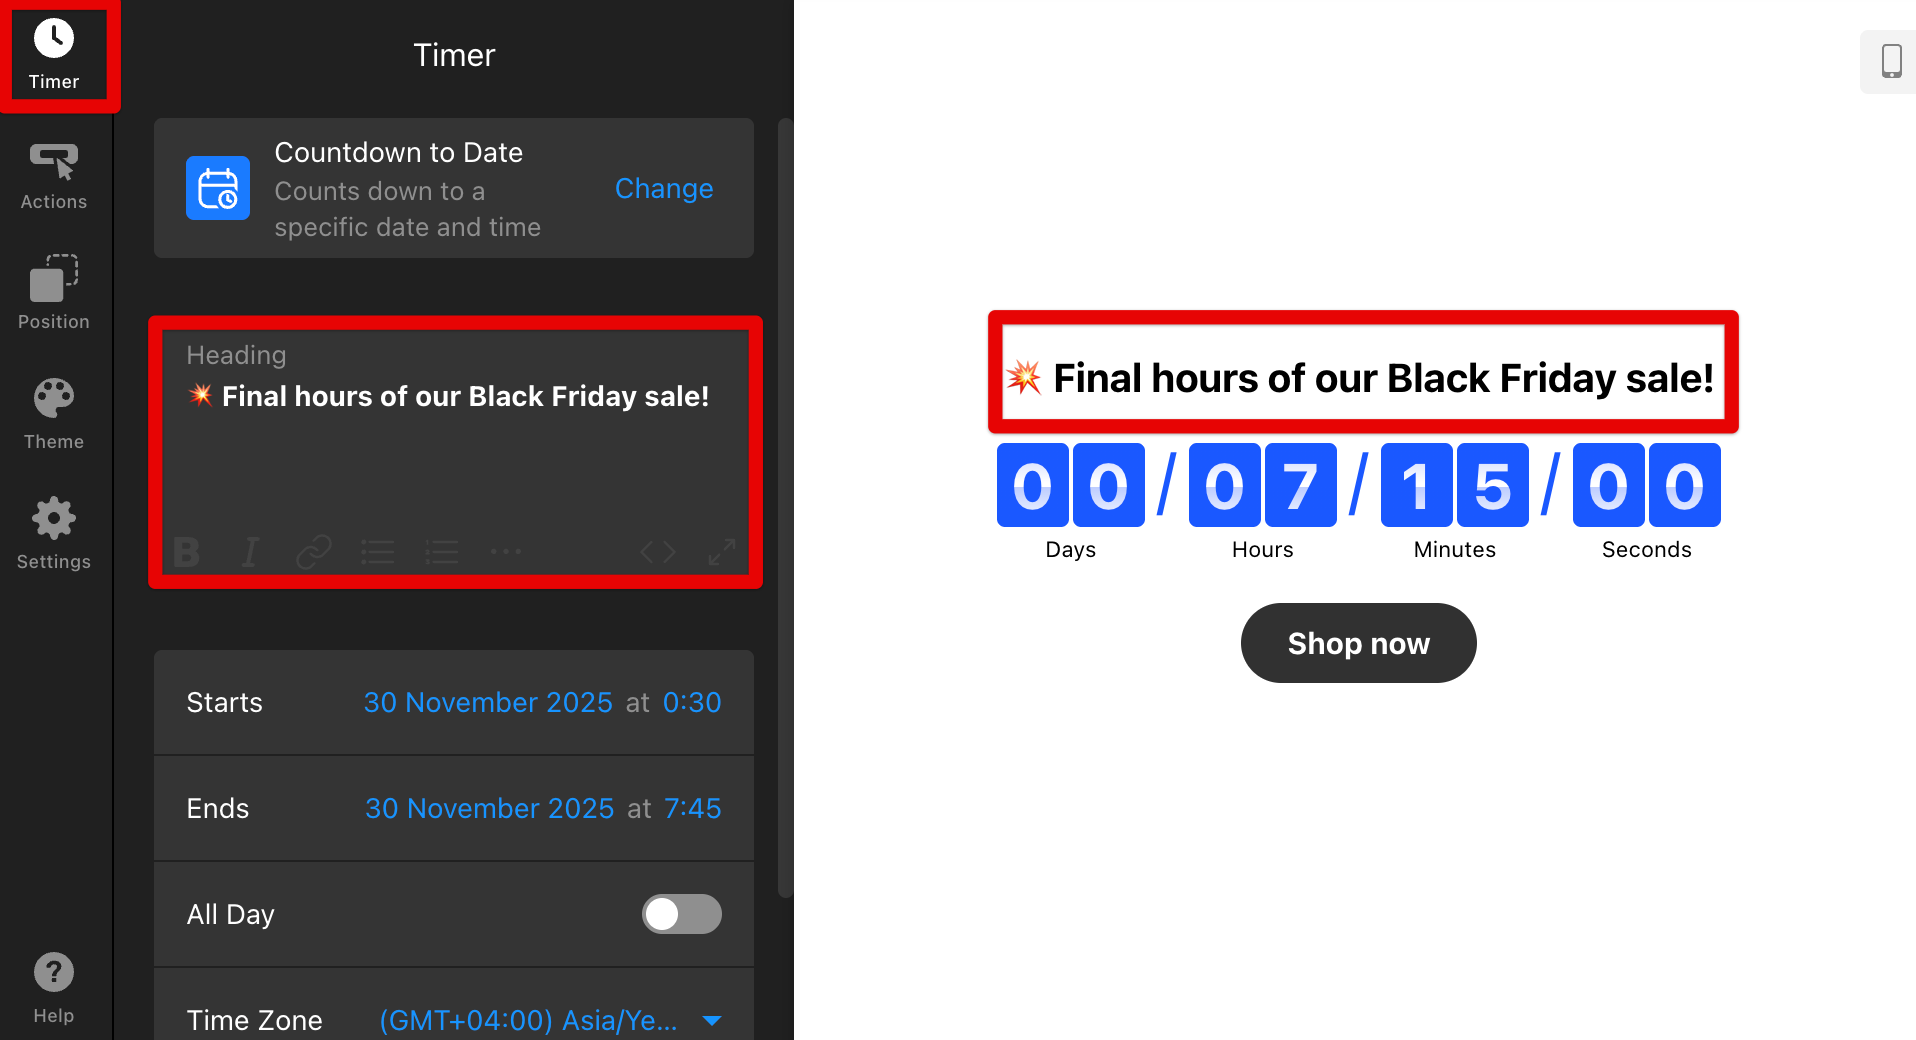
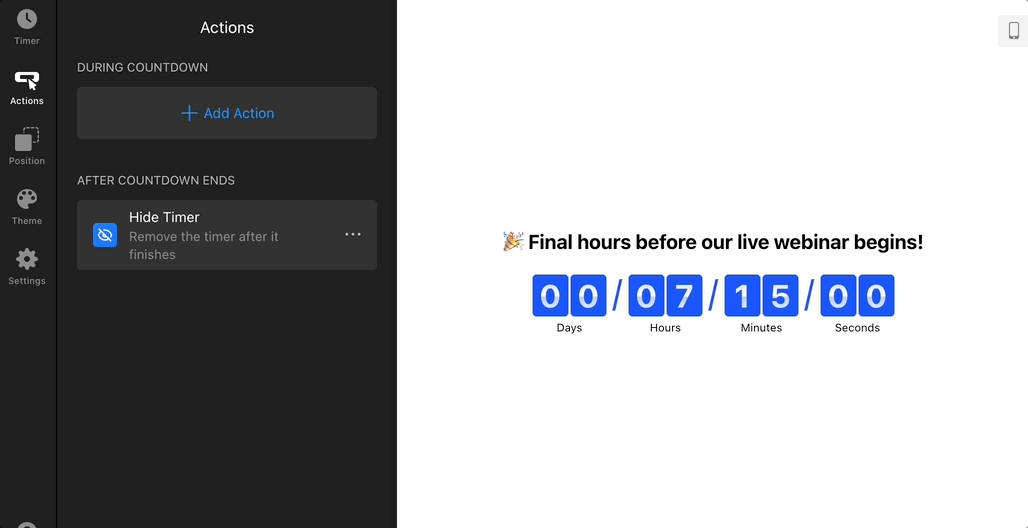
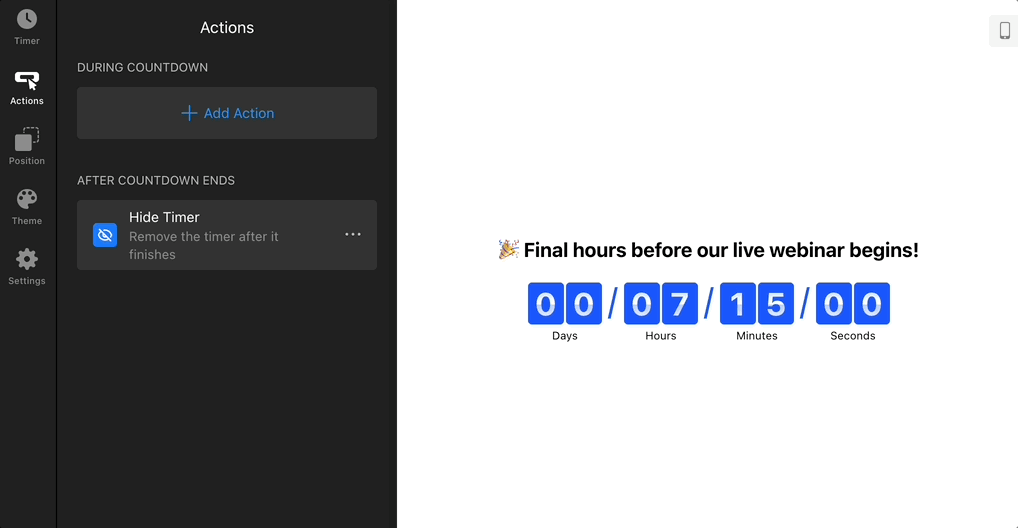
Actions
On the Actions tab, you can add buttons that appear during the countdown and define what happens automatically when the timer ends: 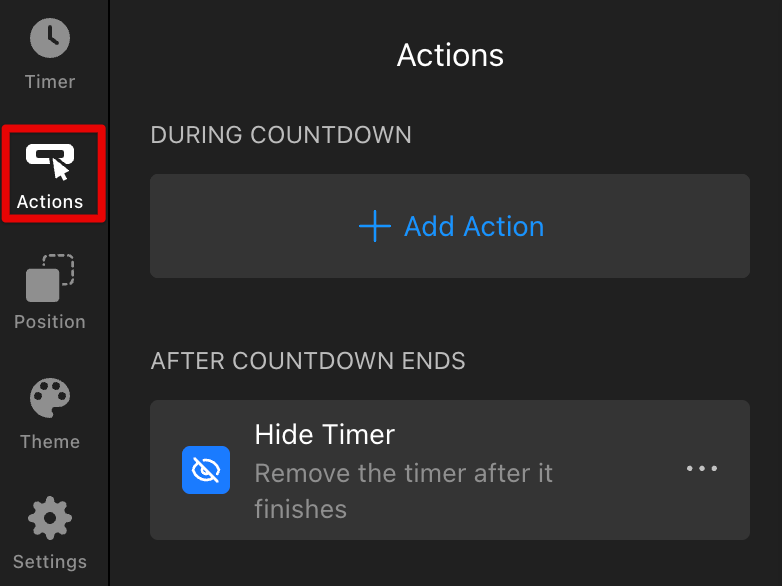
During Countdown
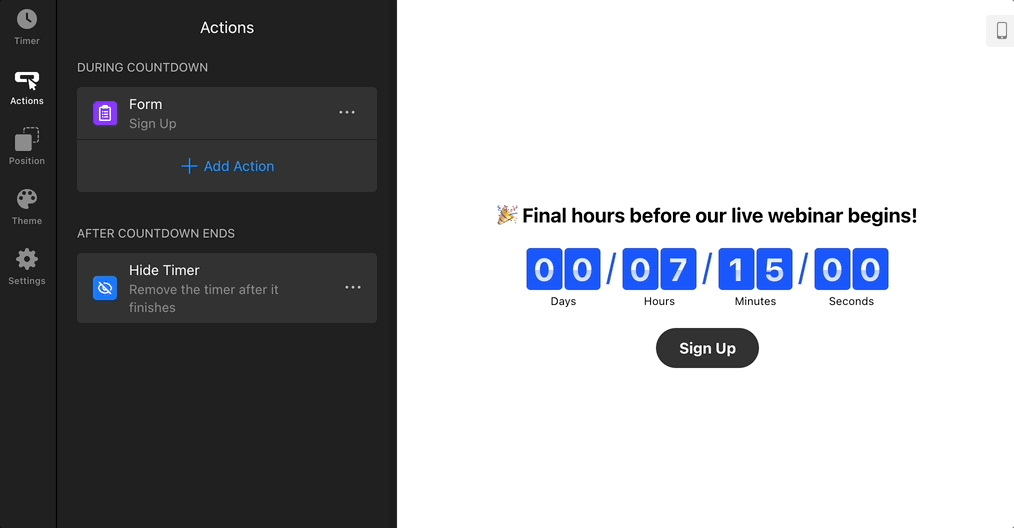
In the During Countdown section, click ➕Add Action to add call-to-action (CTA) buttons to your timer. You can choose from the following options: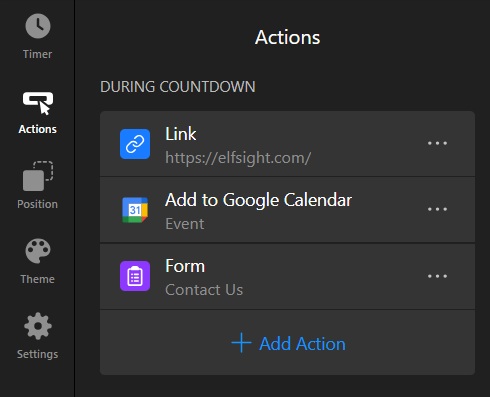
- Link — add a button that opens a URL, email, or phone call. You can edit the Button Text and select between Primary or Secondary styles:
- Form — display a contact or signup form on click to capture leads or inquiries right in your widget. You can customize the form fields, notifications, integrations, and more:
- Add to Google Calendar — let visitors save your event in one click. Perfect for webinars, product launches, and other scheduled events:
Note: The Add to Google Calendar action is available only for Countdown to Date timers.
After Countdown Ends
In the After Countdown Ends section, choose what action should occur when your timer reaches zero. Click the three dots (...) next to the default action → Change Action:
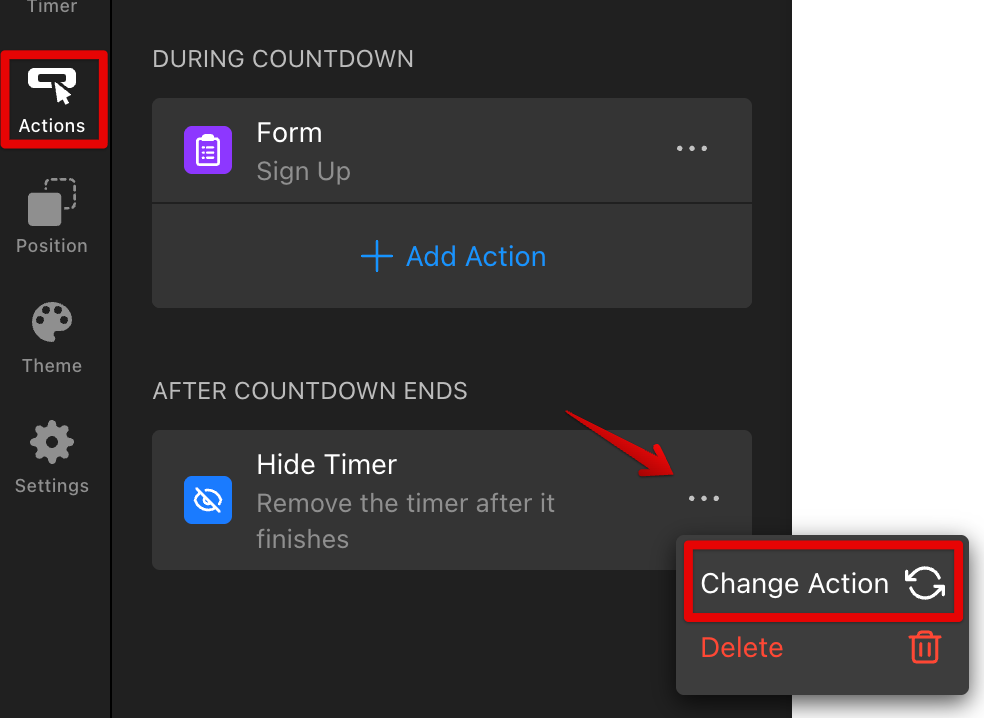
You can select from these options:
- Hide Timer — automatically removes the countdown from your page once it’s finished.
- Redirect to URL — redirects visitors to a webpage after the countdown ends.
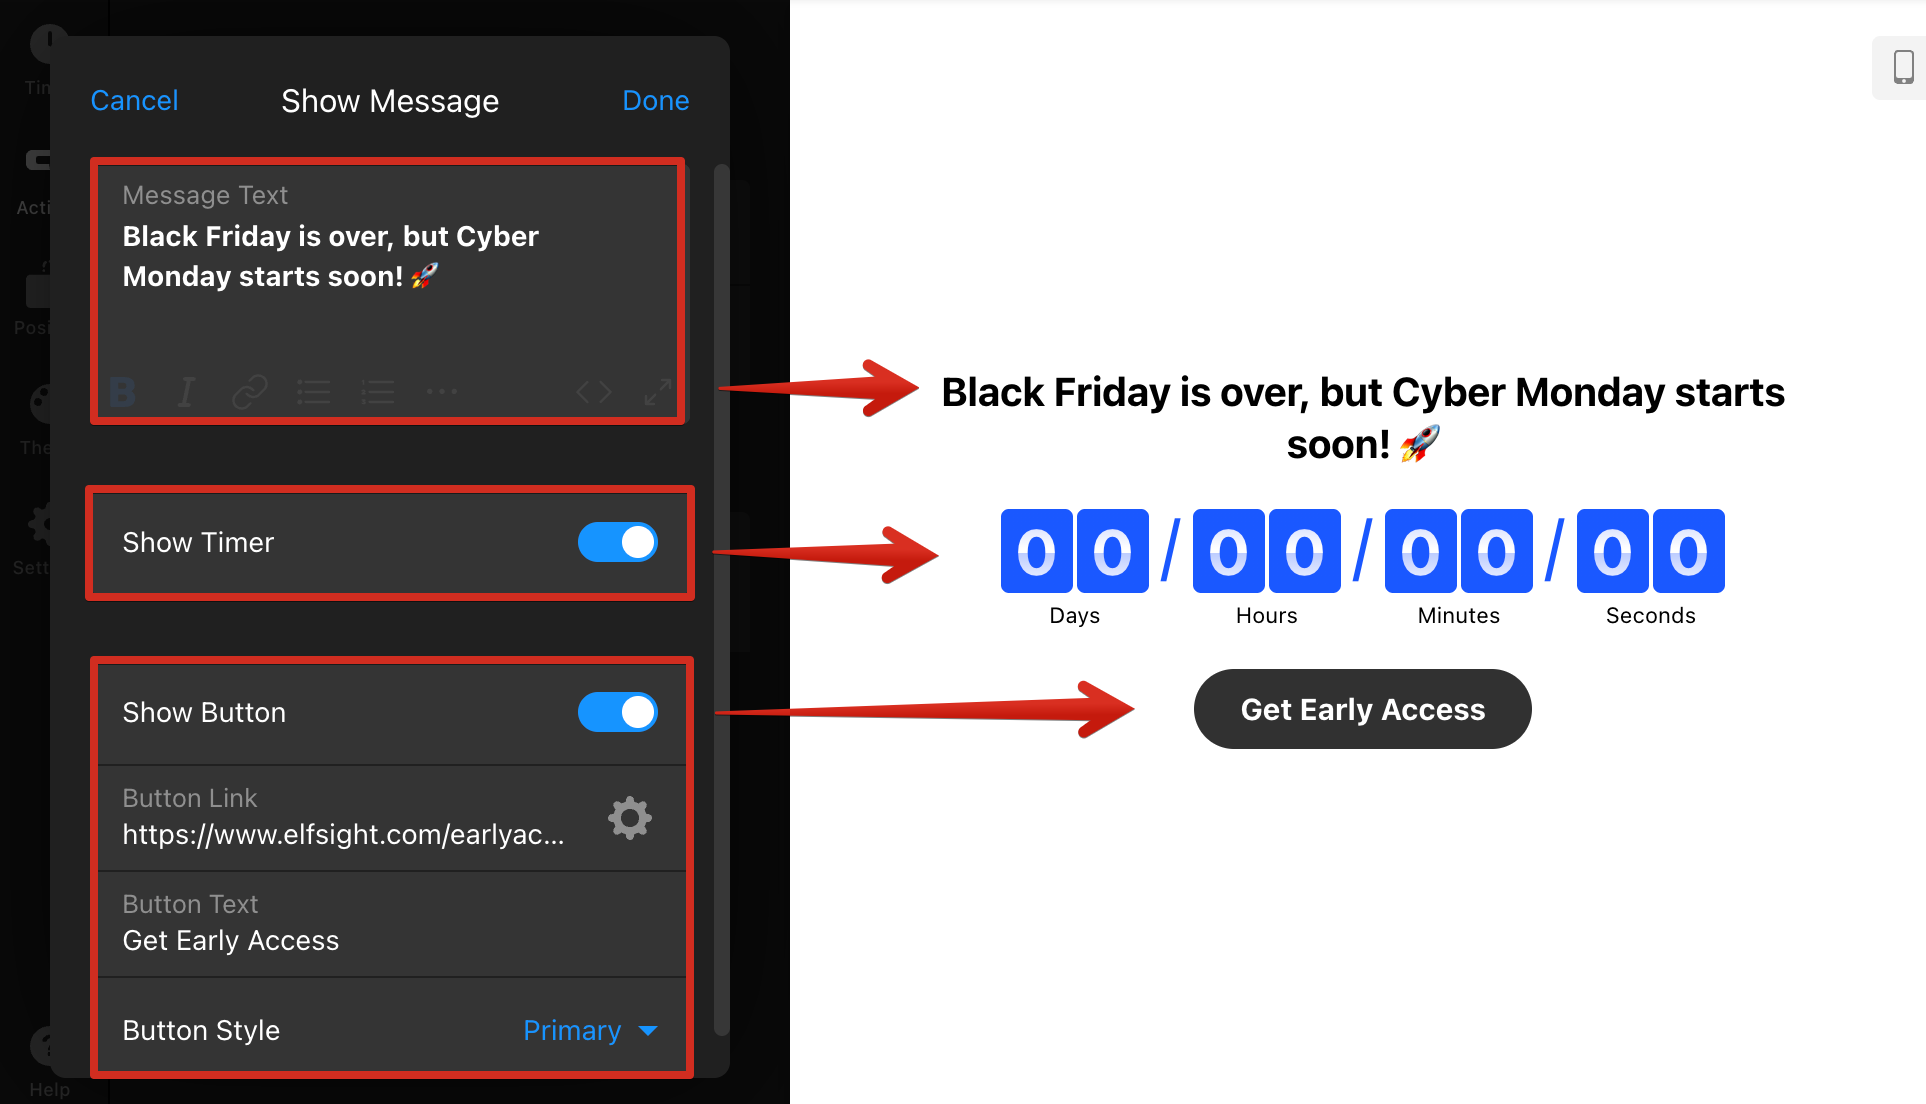
- Message — displays a custom message when the countdown is over. You can also choose to keep showing the counters, add a button, and customize its text and link:

That’s it – your Countdown Timer widget is set up and ready to go! 🎉 Now you can move on to customizing the widget's appearance to match your website’s look and style.