How to Collect Submissions Using the Calculator Widget
The Calculator widget includes a built-in Form to capture leads, quotes, and follow-up details right where users get their results. Let’s see how you can enable it, add fields, and start collecting submissions! 🚀
In this article
To begin, open your widget editor on the Action tab. Select Lead Form to make the calculator’s action button open a form when clicked: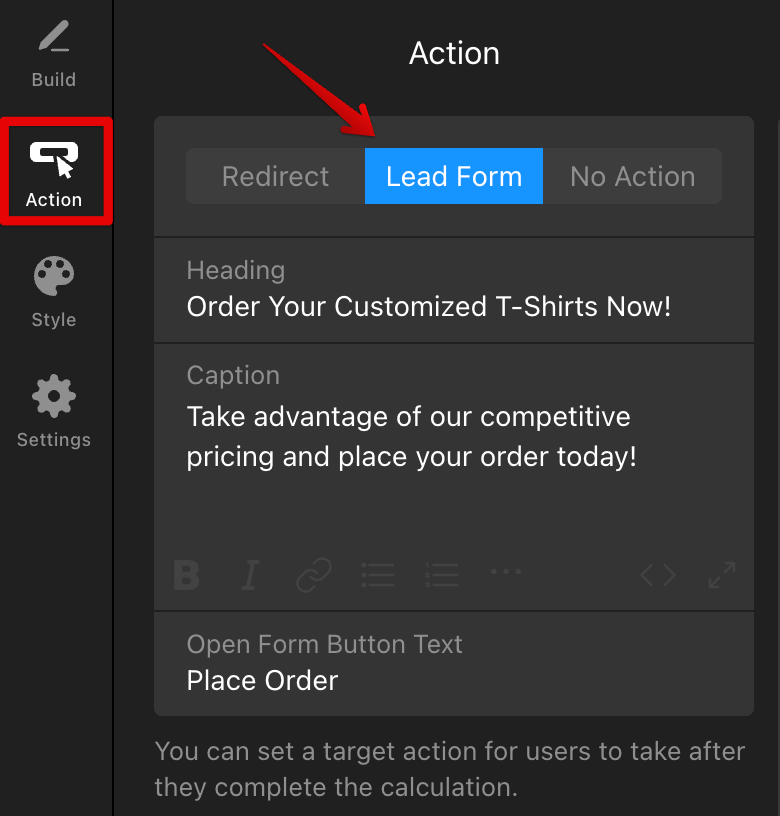
Add Fields to Your Form
In the Lead Form Fields section, click ➕Add Field to insert new fields. You can choose from different types of fields and make any of them Required if needed: 
Here’s a quick overview of all available field types:
- Short Text – single-line text (name, company, etc.).
- Long Text – multi-line comments or details.
- Email, Website, Phone – validated contact fields.
- Number – numeric input (quantities, budgets).
- Date, Time – pickers for scheduling.
- File – allows users to attach documents or images.
- Hidden – store internal values (e.g., product ID or source).
- Choice, Dropdown – allows users to pick from options.
- Consent – checkbox for terms/marketing consent.
You can easily reorder fields by dragging and dropping them, and use the three-dots menu to Duplicate or Delete as needed: 
Customize Submit Button & Post-Submit Action
In the Submit Button section, you can control the button label and set up what happens after form submission.
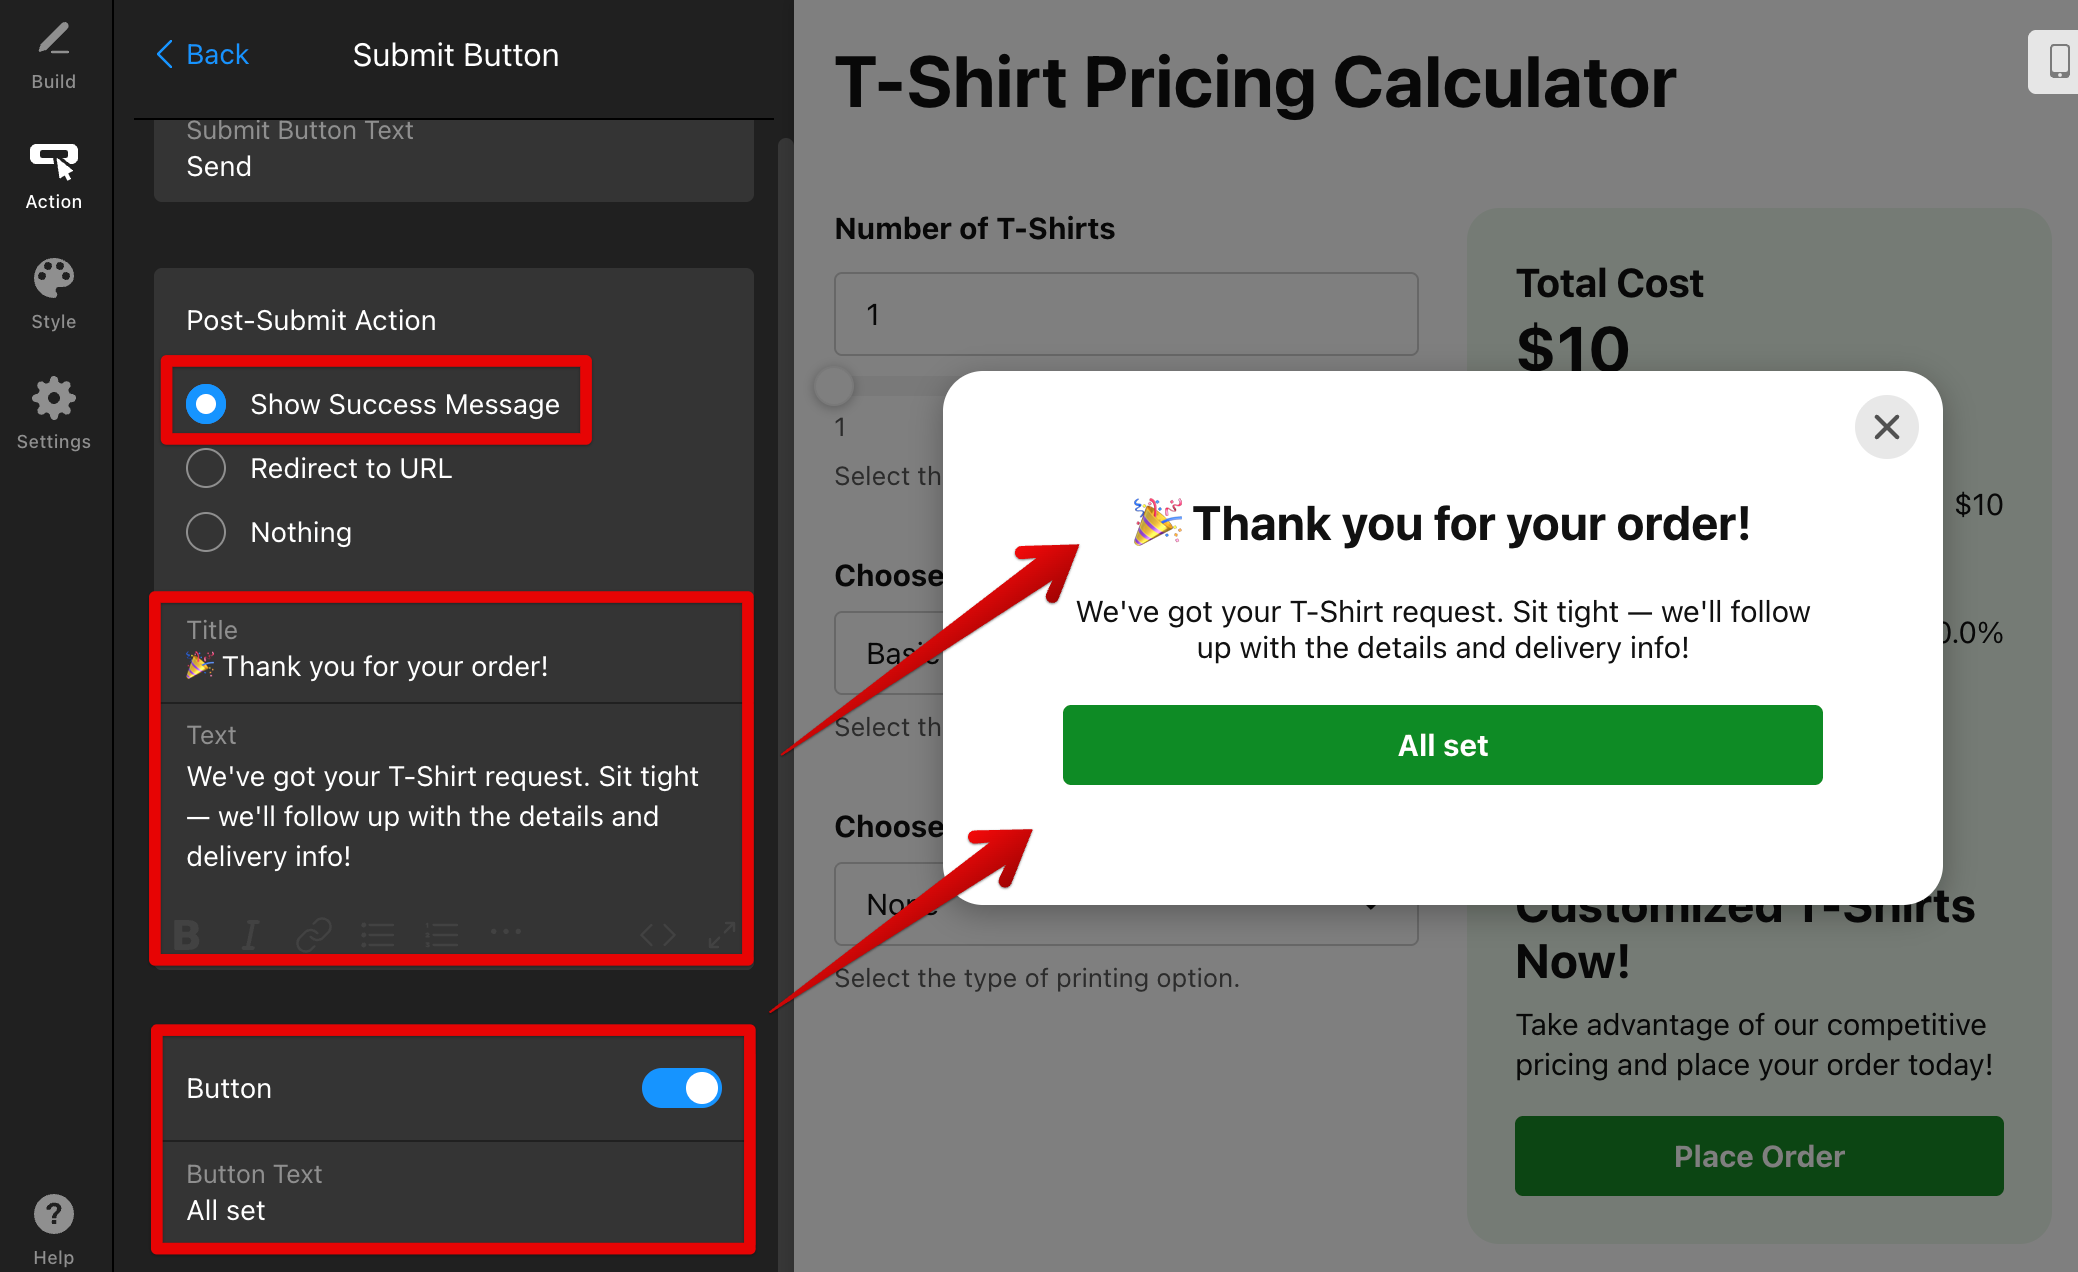
Here, you can change Submit Button Text and choose a Post-Submit Action:
- Show Success Message displays a confirmation message after user submits the form. You can edit its Title and Text and optionally show a close Button with custom text:
- Redirect to URL sends users to a page of your choice (e.g., thank-you page):
- Nothing keeps the current view without showing a message or redirecting.

Set Up Email Notifications
Once your form is created, it's time to configure notifications to receive submissions and set up an autoresponder for your users.
Receive Email Alerts
Use the Notify Me feature to receive an email notification whenever someone completes your form. To set it up, go to the Email Notifications tab → Notify Me → toggle on Email Notification and enter your email address: 
You can also customize the email message template and adjust additional settings as needed.
For more details, see Where to Find Your Calculator Submissions.
Send Confirmation Emails
You can set up an automatic confirmation email for every user who submits your form. To do that, go to the Email Notifications tab → Notify Respondents → toggle on Autoresponder Email: 
You can fully customize the Sender Name, Reply-To Email address, Subject, and Message content to match your brand and communication style:
Send notifications from your own domain by connecting SMTP through Email Sender Settings. Learn how in this quick guide: Send Emails From a Custom Domain.
Enable Integrations
Connect your form with popular tools to streamline your workflow. You can find all available integrations in the Action tab (with Lead Form selected) → Integrations:
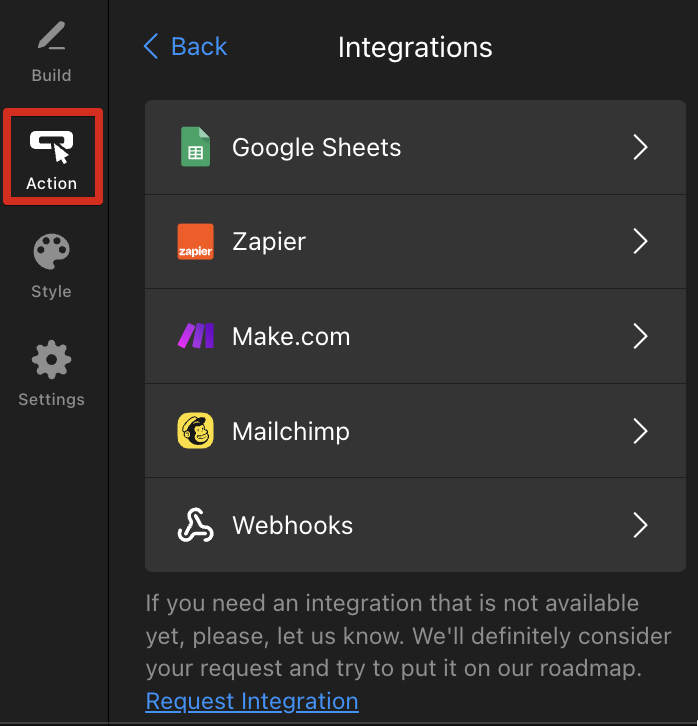
Explore the guides below to connect each integration:
| Integration | Setup Guide |
|---|---|
| Google Sheets | Send Form Submissions to Google Sheets |
| Zapier | Integrate Your Form with Zapier |
| Make.com | Integrate Your Form with Make.com |
| Mailchimp | Enable Mailchimp Integration |
| Webhooks | Use Webhooks in Your Widget |
Don’t see the integration you need? Request a new integration here.
Nicely done! Your Calculator can now collect submissions, notify the right people, and send results to your favorite tools. ✨
Need help with a step? Contact Elfsight Support and we’ll guide you through it.