
Step 1: Add Your Tracks to Audio Player
Elfsight Audio Player is a powerful, fully customizable tool for showcasing your tracks on a website. In this article, we'll describe how to work with the tracks within the widget editor. You’re currently on:
- 👉 Step 1 – Add Your Tracks to Audio Player
- Step 2 – Customize Your Audio Player Appearance
- Step 3 – Adjust Your Audio Player Settings
In this article
Remove Default Tracks
By default, the widget includes a set of preloaded tracks when you create a new Audio Player. You'll need to remove these before adding your own.
To do it, click on the Actions (...) button and select Delete:
Add Your Tracks
After removing default tracks, add your own by clicking + Add Tracks and selecting the appropriate option: 
In this example, we use the Upload Tracks option. Click Browse Files to select tracks from your device: 
You can upload tracks individually or in bulk by selecting multiple files or dragging and dropping them into the widget.
After adding tracks, you can rearrange their order by dragging and dropping them to the needed position:

Add Track Info & Buttons
Once a track is added, you can edit its Title, Artist, upload a Cover image, and add Call-To-Action Buttons:

Click + Add Button to see available options: 
- 1
-
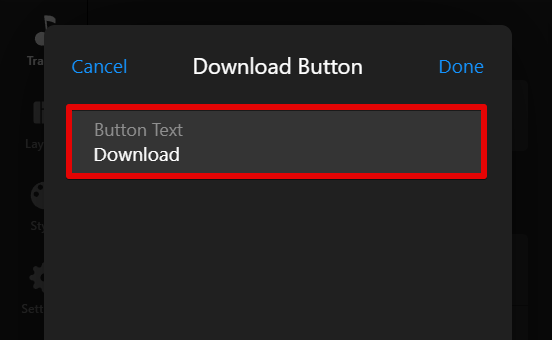
Download Button – lets visitors save tracks. You can customize the Button Text:
- 2
-
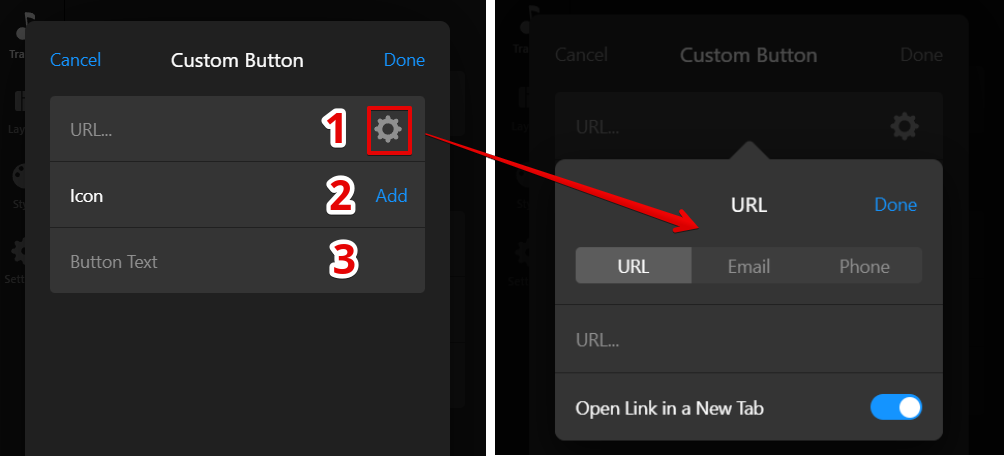
Custom Button – create a button linking to a URL, Email, or Phone, and customize the Icon and Button Text:
- 3
-
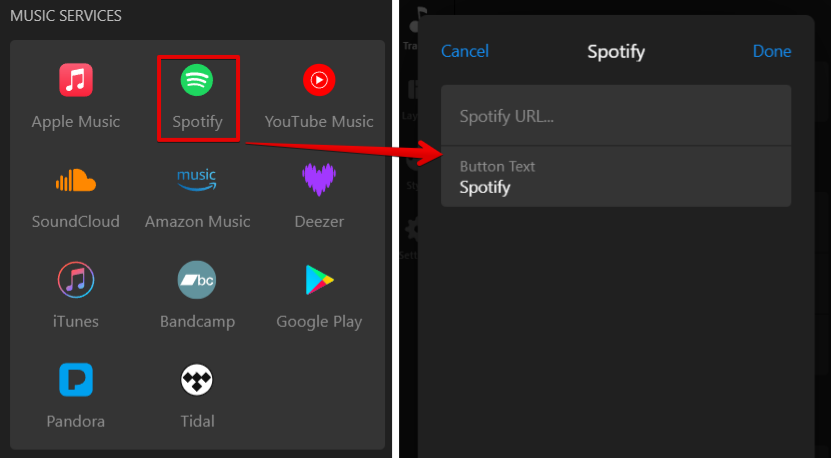
Music Services – add buttons linking to Spotify, iTunes, and other platforms:
You're all set! Here's how your track will appear after adding info: 
Now you can move on to customizing your widget's appearance.