Where to Find Your Subscription Form Submissions
Viewing your Elfsight Subscription Form submissions is crucial for managing user data. This guide explains several different ways to access your submissions.
📥 Built-in Methods
CSV File
To download your submissions as a CSV file:
- 1
-
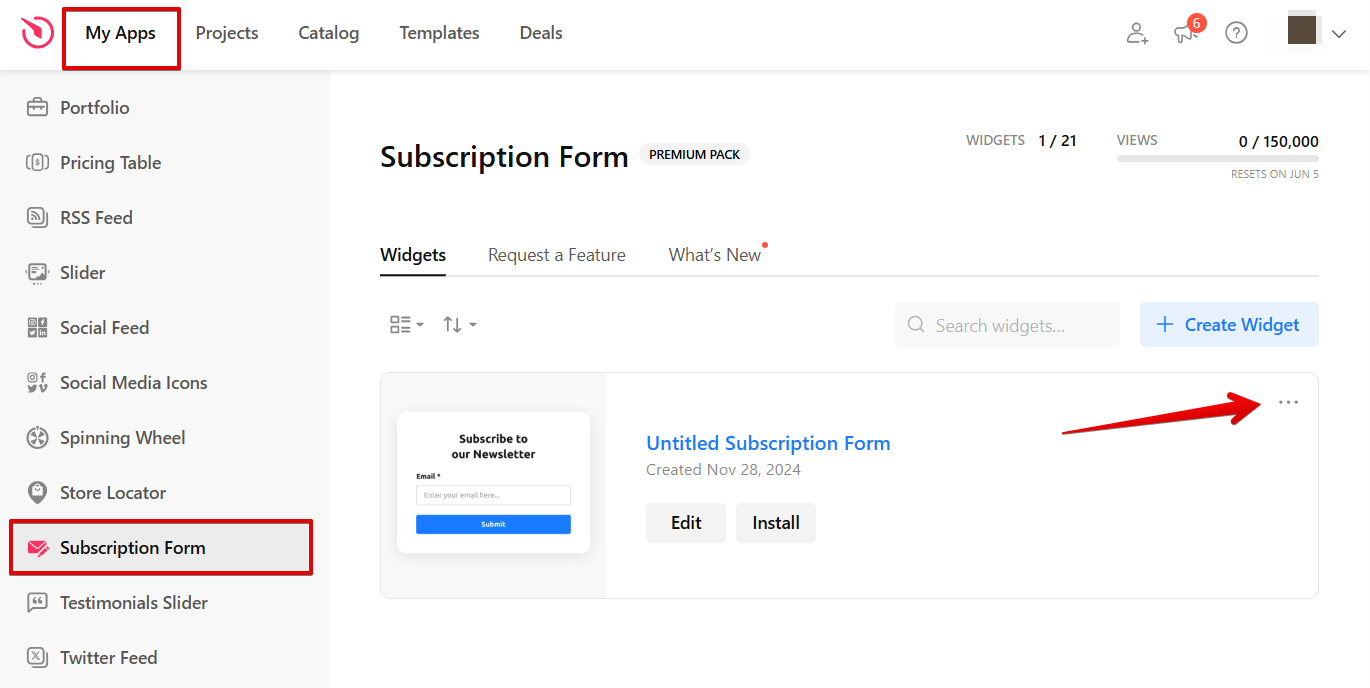
Go to the My Apps page in your dashboard, select Subscription Form, and click the action button (...):
- 2
-
Click Download Responses in CSV:
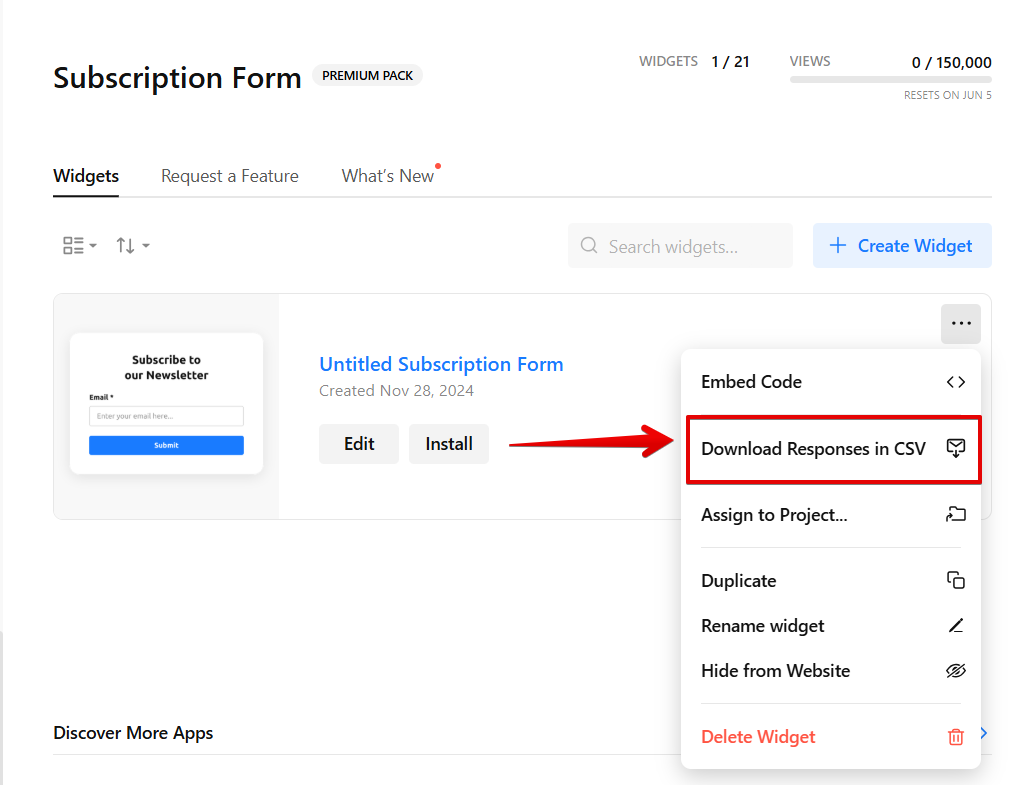 Your browser will then automatically download a CSV file with your submissions.
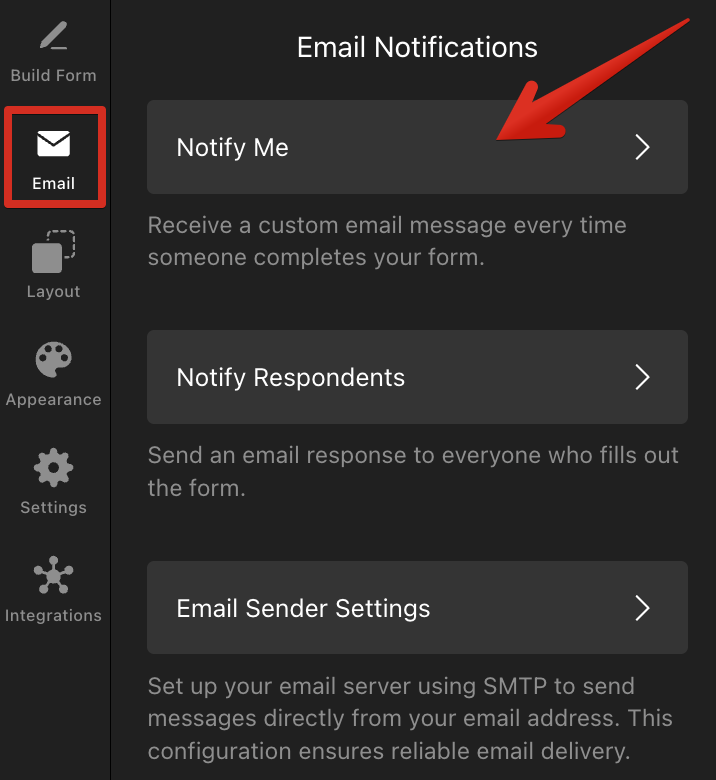
You can receive form submissions directly in your mailbox. Here’s how:
- 1
-
Go to the Email tab → Notify Me:
- 2
-
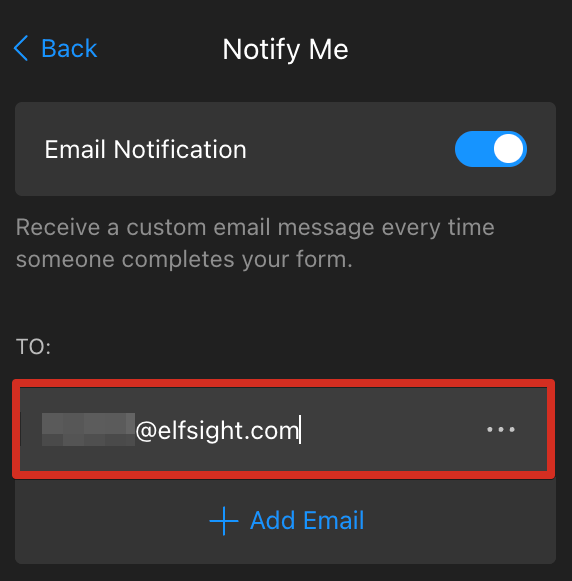
Enable Email Notifications and add the email address where you want to receive the submissions:
- 3
-
Customize the Sender Name (1) and Subject (2) for your submission emails. Make sure to include mail-tags in the Message (3) field to avoid empty emails:
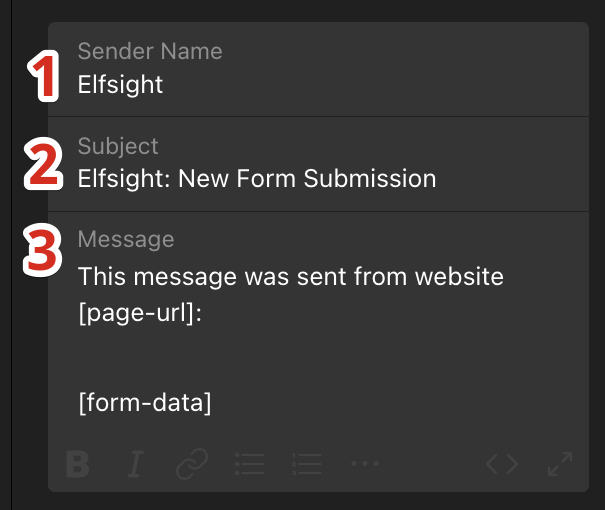
You can find the available mail-tags listed below the Message field. For example, [form-data] adds all submitted form details, while [website-url] adds the website URL the message was sent from. Now, your Subscription Form widget will send submissions straight to your inbox.
🔗 Integrations
Google Sheets
You can integrate your Subscription Form with Google Sheets to automatically forward submissions. Here's how to set this up:
- 1
-
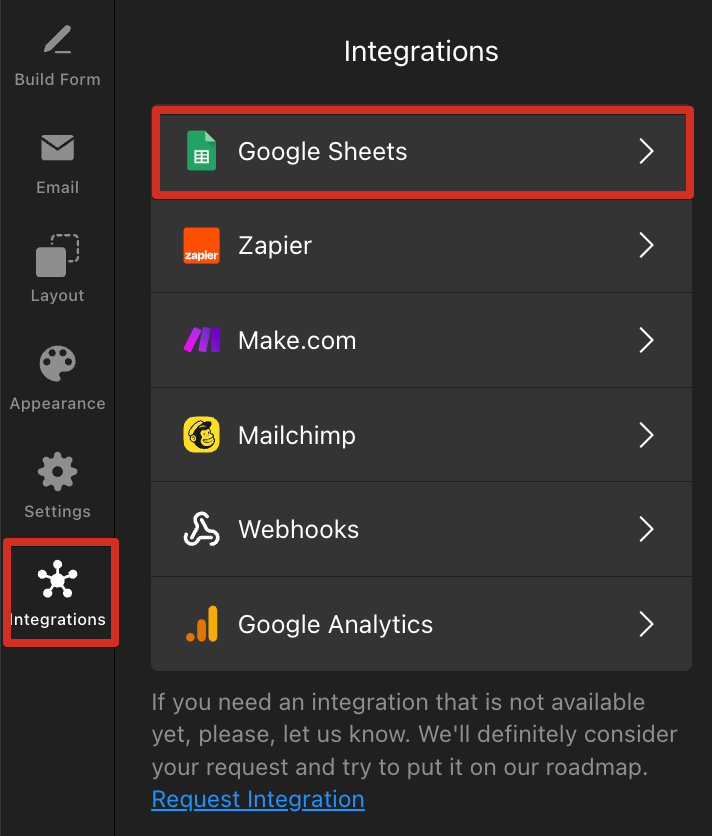
Go to the Integrations tab → select Google Sheets:
- 2
-
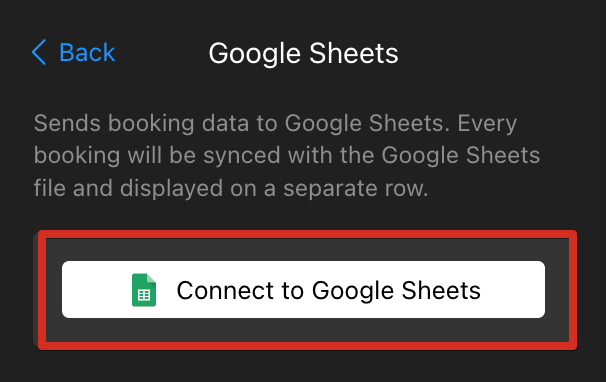
Click Connect to Google Sheets and log in using your Google account:
- 3
-
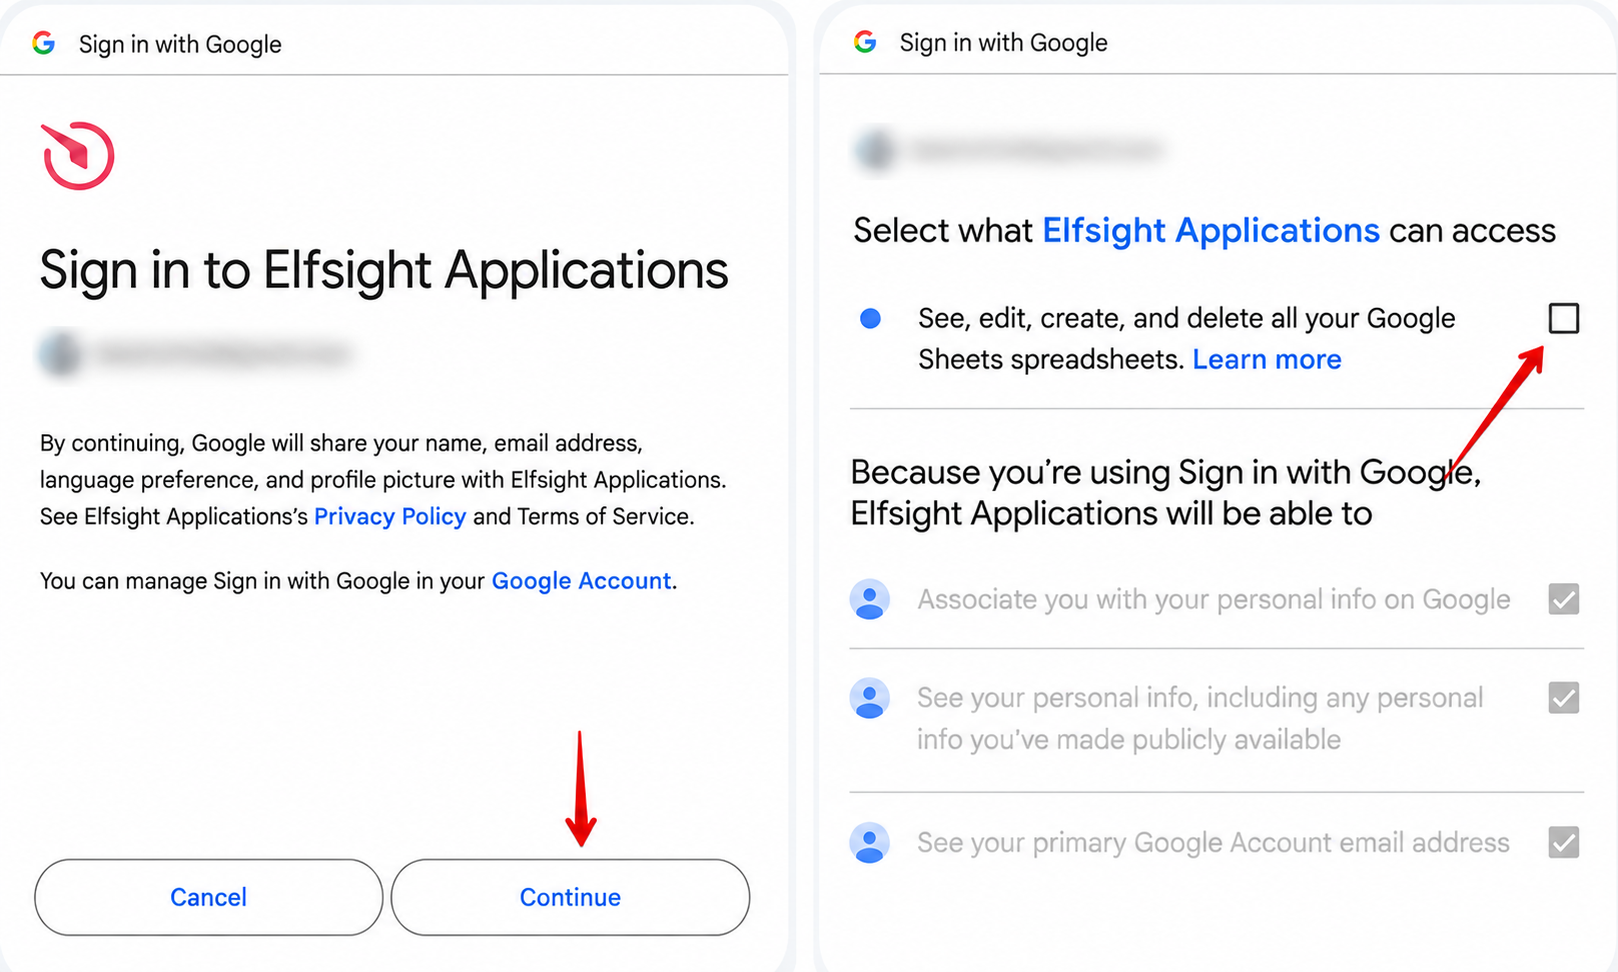
Grant Elfsight the necessary permissions:
 Once you're connected to Google Sheets, you will be able to view your Subscription Form submissions by clicking View your Spreadsheet:
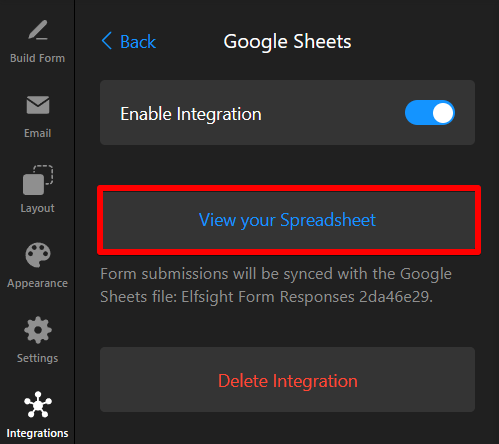

Zapier
To forward submissions to Zapier:
- 1
-
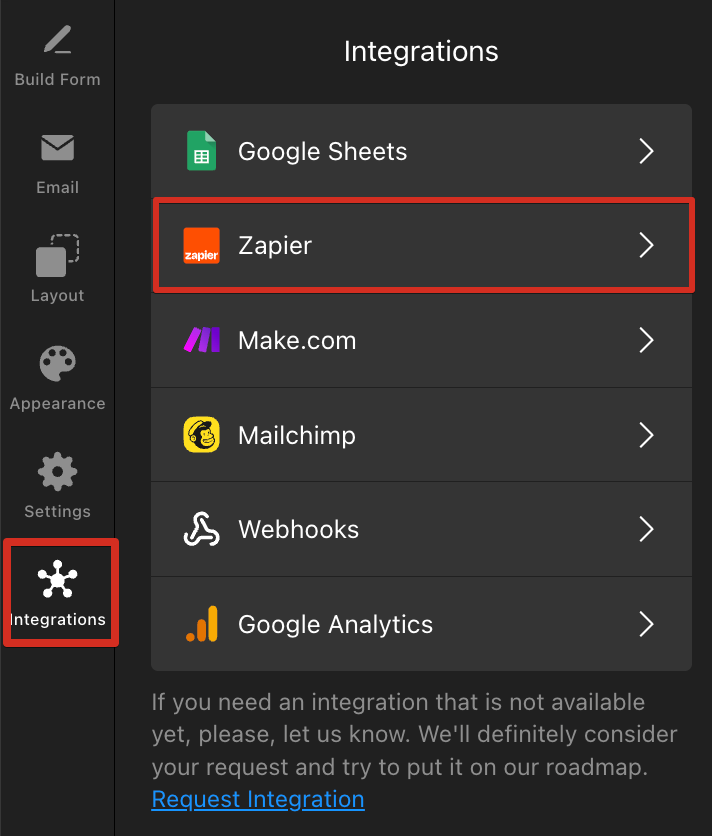
Go to the Integrations tab → select Zapier:
- 2
-
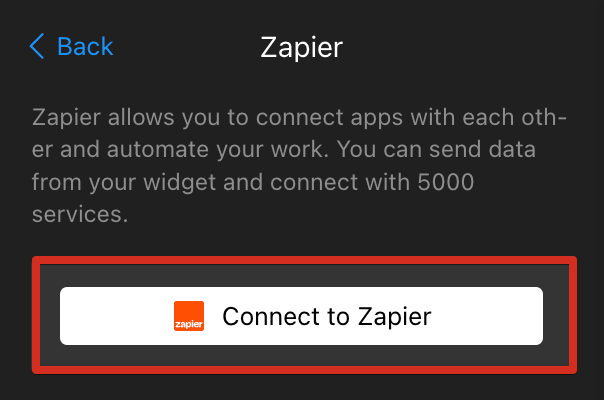
Click Connect to Zapier:
- 3
-
Copy the token from the Zapier Connection Token field (you will need to enter it on the Zapier side when setting up the integration). Next, click on the Go to Zapier button:

For more detailed instructions on how to connect your widget to Zapier, follow this guide: How to Integrate Your Form Widget with Zapier.

Make.com
To forward submissions to Make.com:
- 1
-
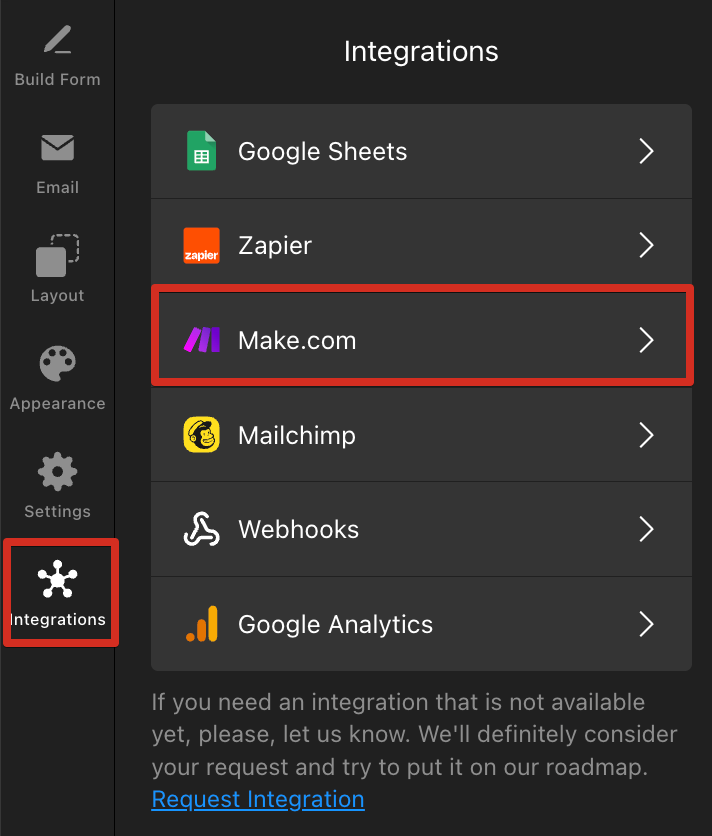
Go to the Integrations tab → choose Make.com:
- 2
-
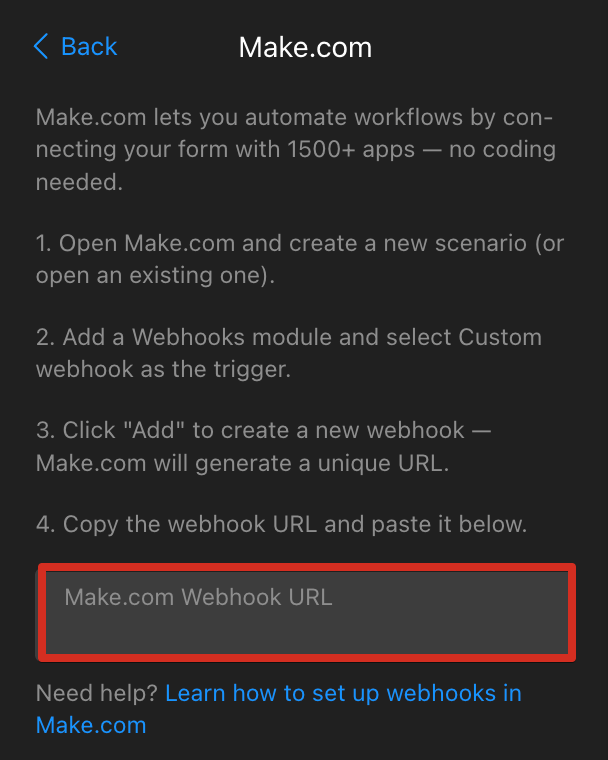
Follow the instructions to copy your webhook link from Make.com and paste it into the Make.com Webhook URL field:
For detailed instructions on connecting your widget to Make.com, see this guide: How to Integrate Your Form Widget with Make.com.
Mailchimp
To send your submissions to Mailchimp:
- 1
-
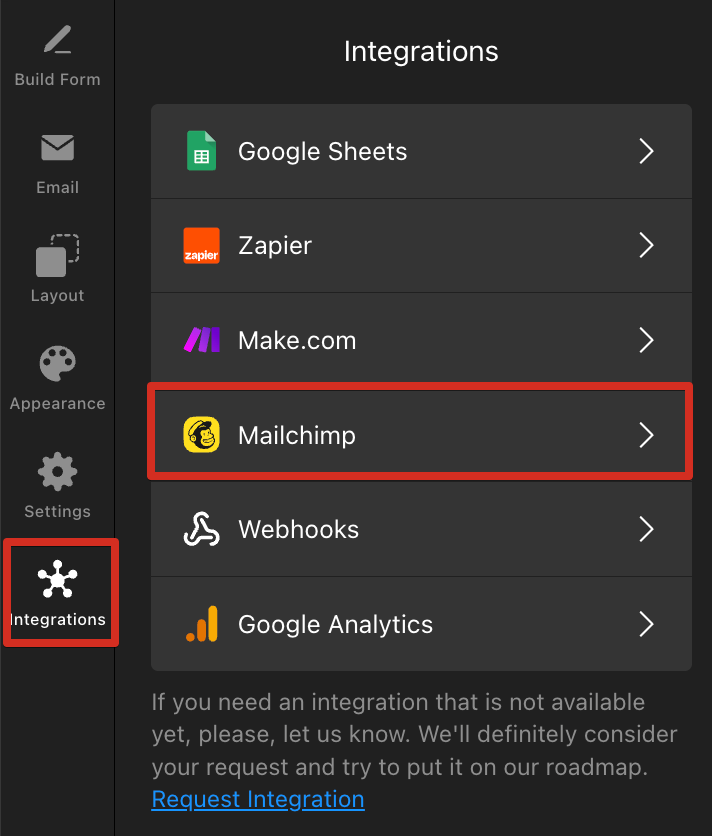
Go to the Integrations tab → select Mailchimp:
- 2
-
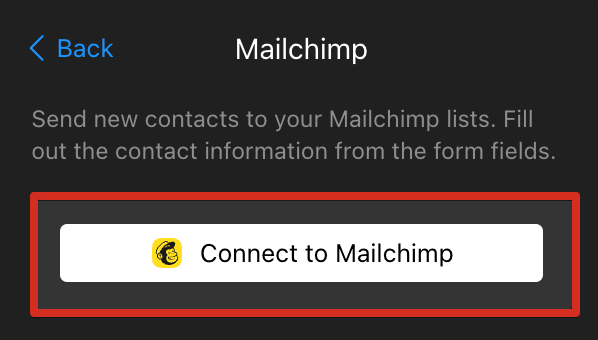
Click Connect to Mailchimp:
- 3
-
Log into your Mailchimp account and allow the widget to access your account by clicking Allow in the next authorization window:
 You will find the submissions in Audience → All Contacts in your Mailchimp account:
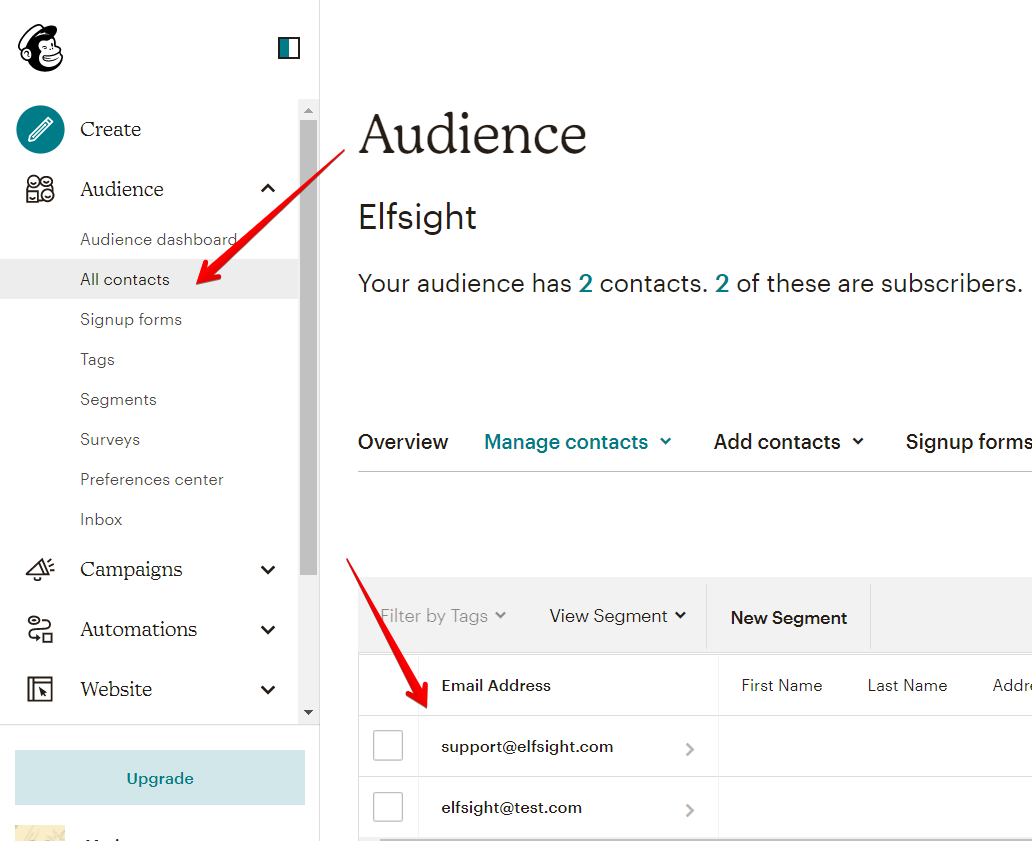
 You will find the submissions in Audience → All Contacts in your Mailchimp account:
 Webhooks
With webhooks, you can send your form submission data to any URL, making it simple to integrate with other apps and services. To forward submissions via webhooks:
- 1
-
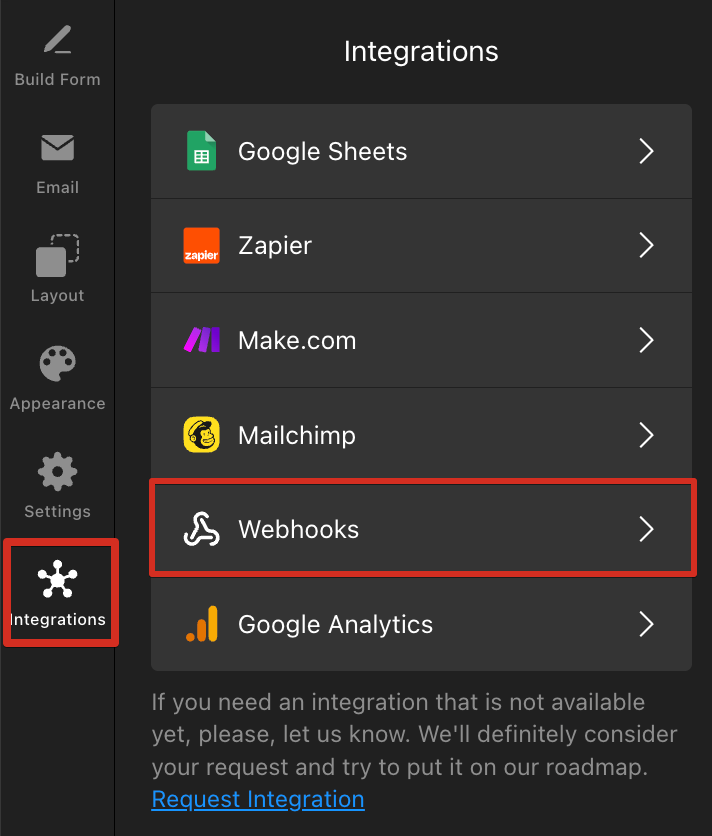
Go to the Integrations tab → select Webhooks:
- 2
-
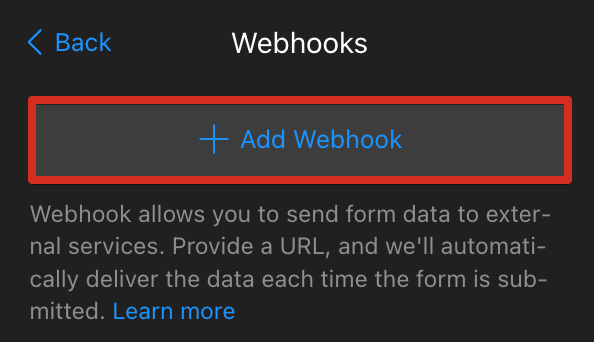
Click ➕Add Webhook:
- 3
-
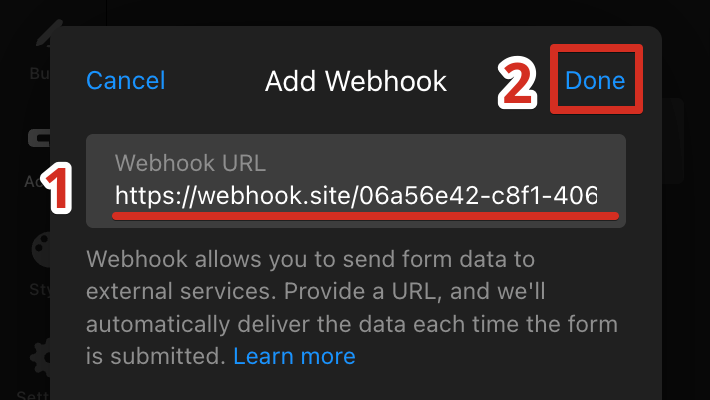
Enter the webhook URL where you want to receive submissions and click Done:
You can learn more about Webhooks integration and how to set it up in this guide: Using Webhooks in Your Form Widget.
Don’t forget to click Publish in your widget editor to apply the integration changes to your live website.
We hope this article was helpful! If you have any questions or run into any difficulties, feel free to contact our Support Team 😊