Using Webhooks in Your Elfsight Form Widget
Want to enhance data handling for your Elfsight Form widget using webhooks? This guide will walk you through the process, showing you how to automatically send form submission data.
A webhook enables one application to send real-time data to another by making an HTTP POST request when a specific event occurs. With webhooks, you can send your form submission data to any URL, making it simple to integrate with other apps and services.
In this article
Setting Up Webhooks
To add webhook URLs for your form submissions, follow these steps:
- 1
-
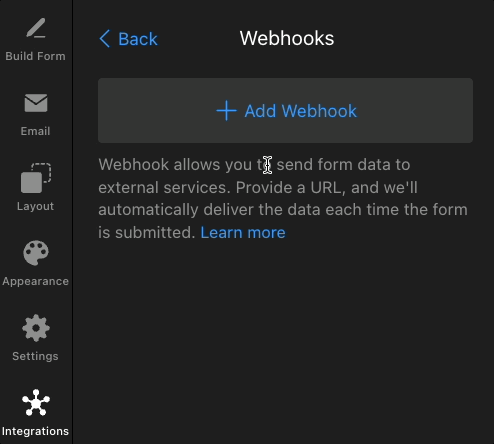
In your widget editor, go to the Integrations tab and click Webhooks:

- 2
-
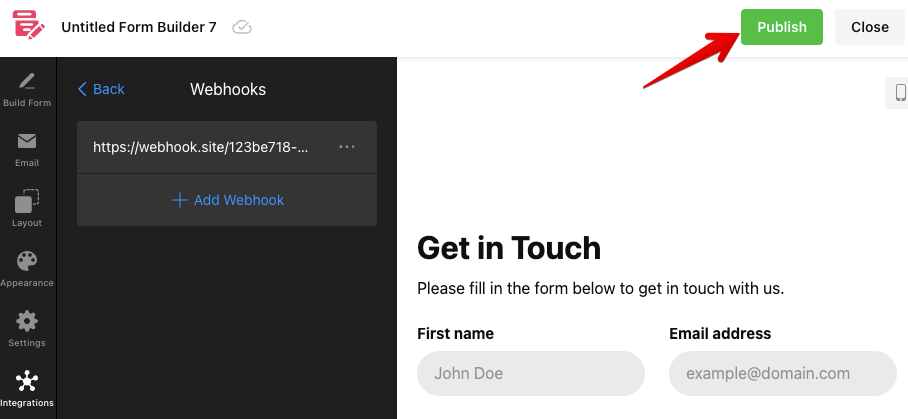
Add one or more webhook URLs where you want the submission data sent:
Don’t have a webhook URL for testing yet? Use a free service like webhook.site. Copy your unique URL, and add it to the widget to check submission results. - 3
-
Publish your widget to enable the Webhook integration:


That’s it for the setup on the Elfsight side! 🎉 Let’s take a closer look at how webhooks work and what results you can expect.
How Webhooks Work
After adding your webhook URL(s), the widget will automatically send submission data once a form is filled out.
The data will be in JSON format within the request body. Here’s an example of what the JSON payload may look like:
[
  {
    "id": "m9hhh2rh",
    "name": "Short Text",
    "value": "test",
    "type": "shortText"
  },
  {
    "id": "62ce755ce75ab",
    "name": "Date",
    "value": "24.09.2025",
    "type": "date"
  },
  {
    "id": "4149d3e64c8d",
    "name": "Choice",
    "value": "Option 1",
    "type": "choice"
  }
]
id– the unique identifier of the field.name– the field label.value– the value entered by the user.type– the type of the form field.
For instance, after submitting a form with details such as name, email, phone, date, choice/dropdown options, and a star rating scale as shown below:

The data will appear in the following structure:

Success! These results indicate that your webhooks are set up correctly. You can now seamlessly use your form submission data in any integrations and automations.
We hope this article was helpful! If you have any questions or need assistance, feel free to contact our Support Team — we're happy to help! 🙌