Get Google Maps API Key: Step 3 – Add Key to Widget
Setting up your Google Maps widget involves three simple steps. You're currently on:
- Step 1 – Create API Key & Enable Billing
- Step 2 – Enable APIs & Restrict Key
- 👉 Step 3 – Add Key to Widget
When using our Google Maps widget, you'll be asked to add your Google API Key. This guide will show you exactly where to insert it and get your widget up and running. 🚀
- 1
-
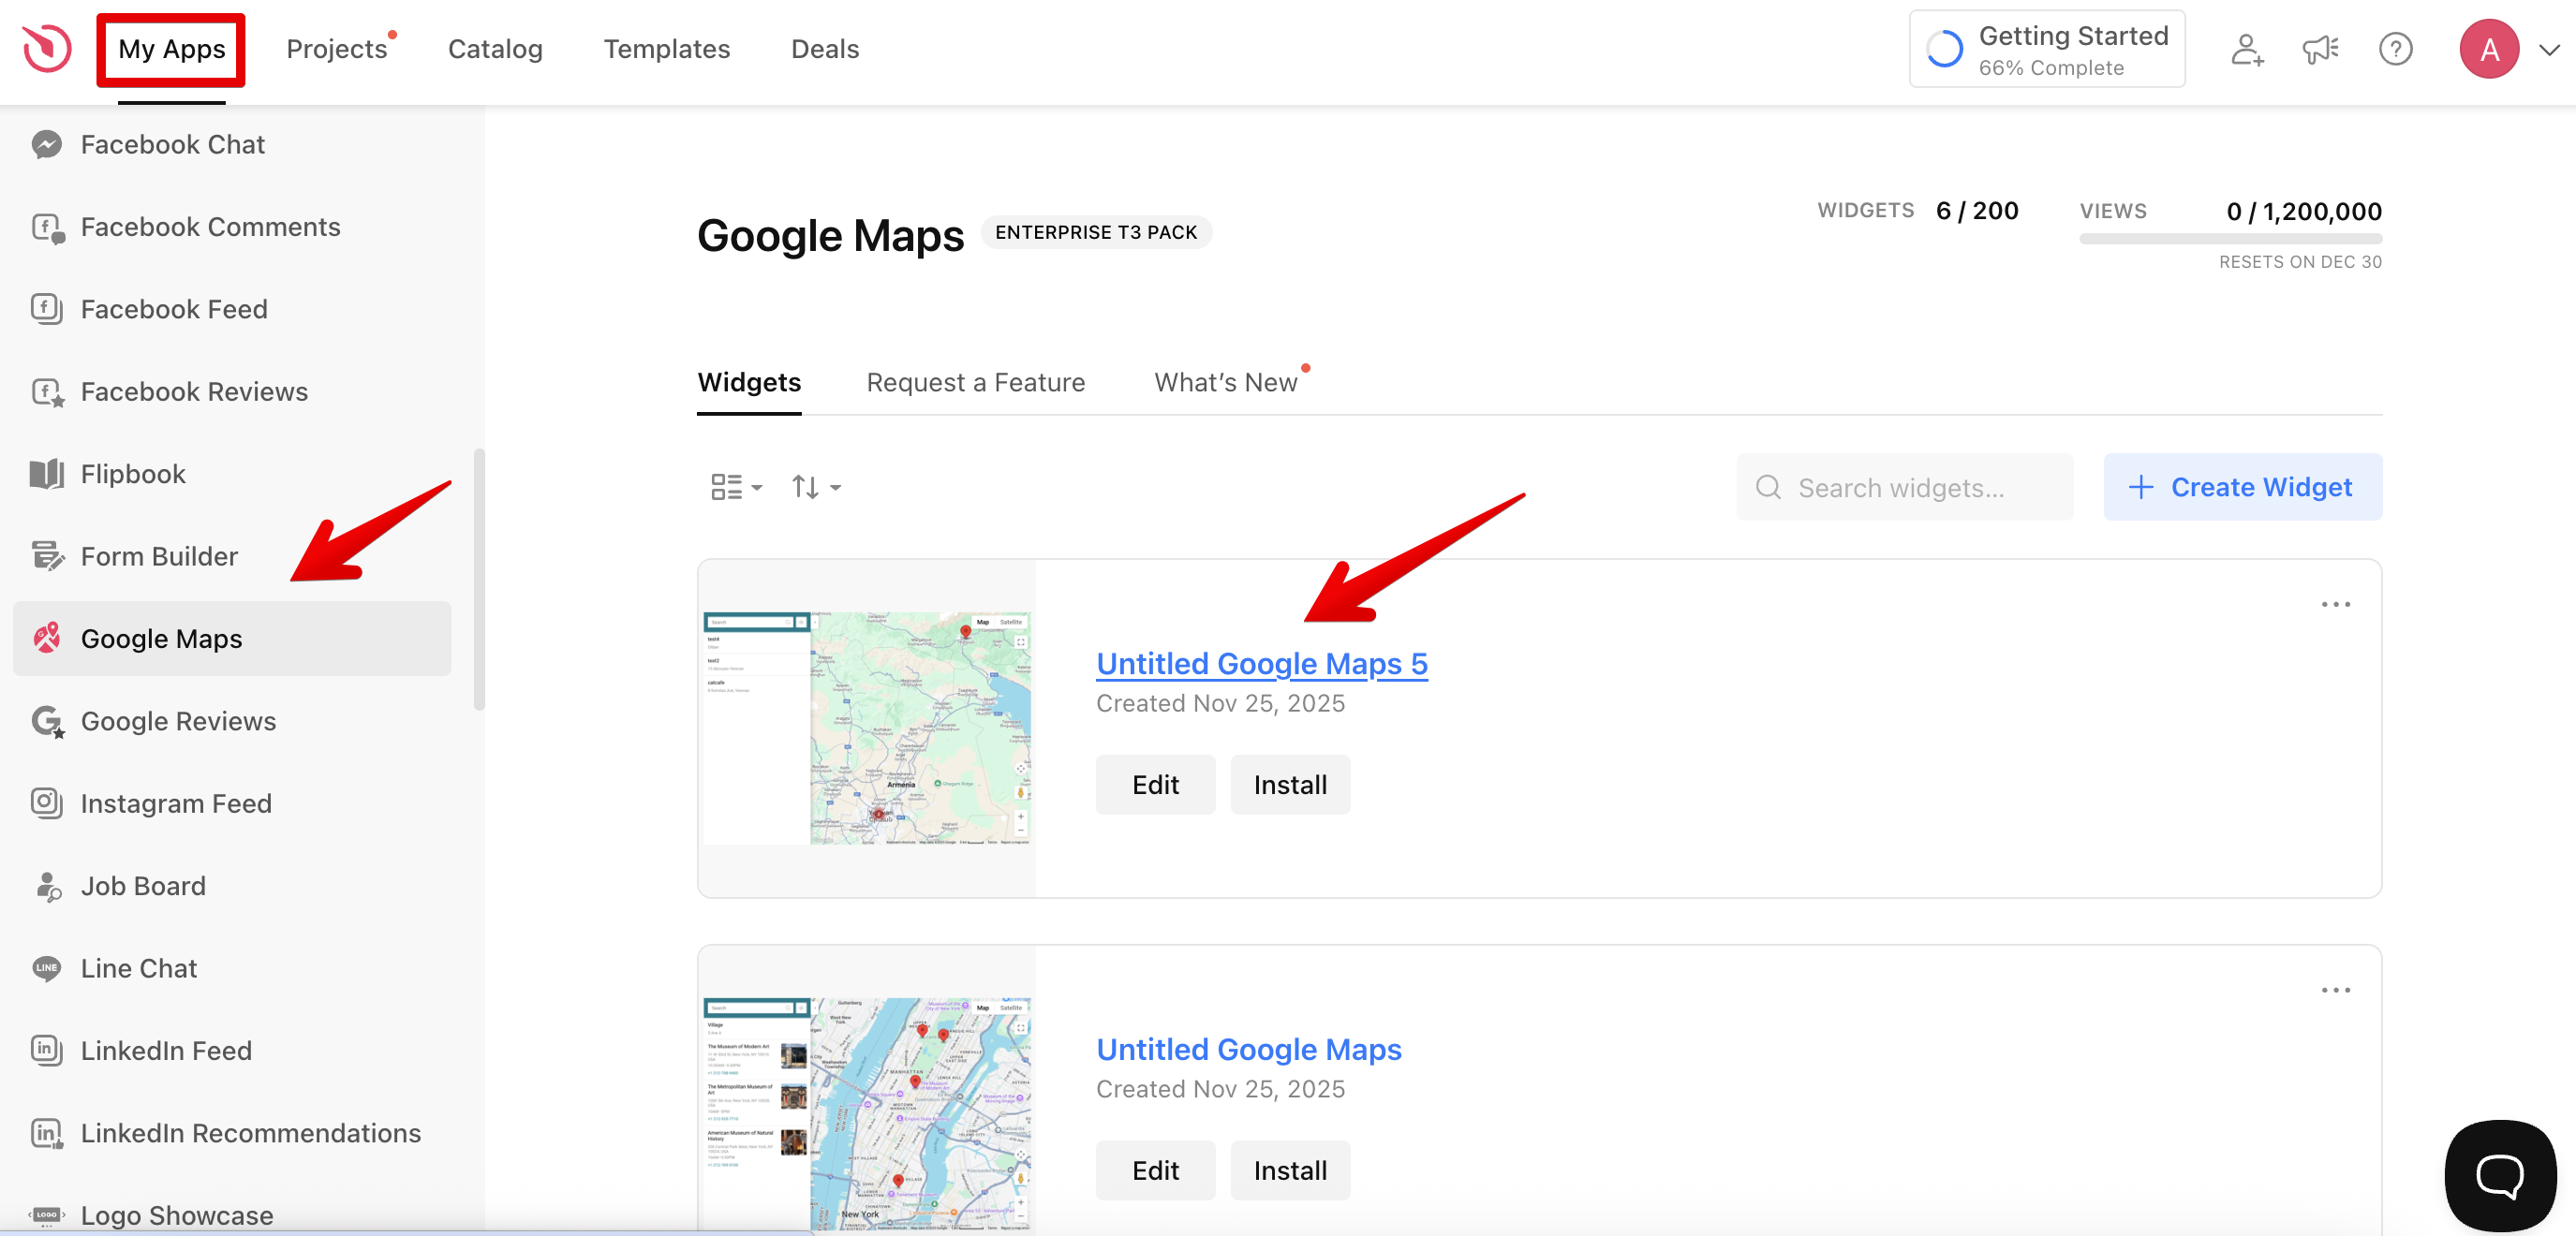
In your Dashboard, open the Google Maps widget where you want to add the API key:
- 2
-
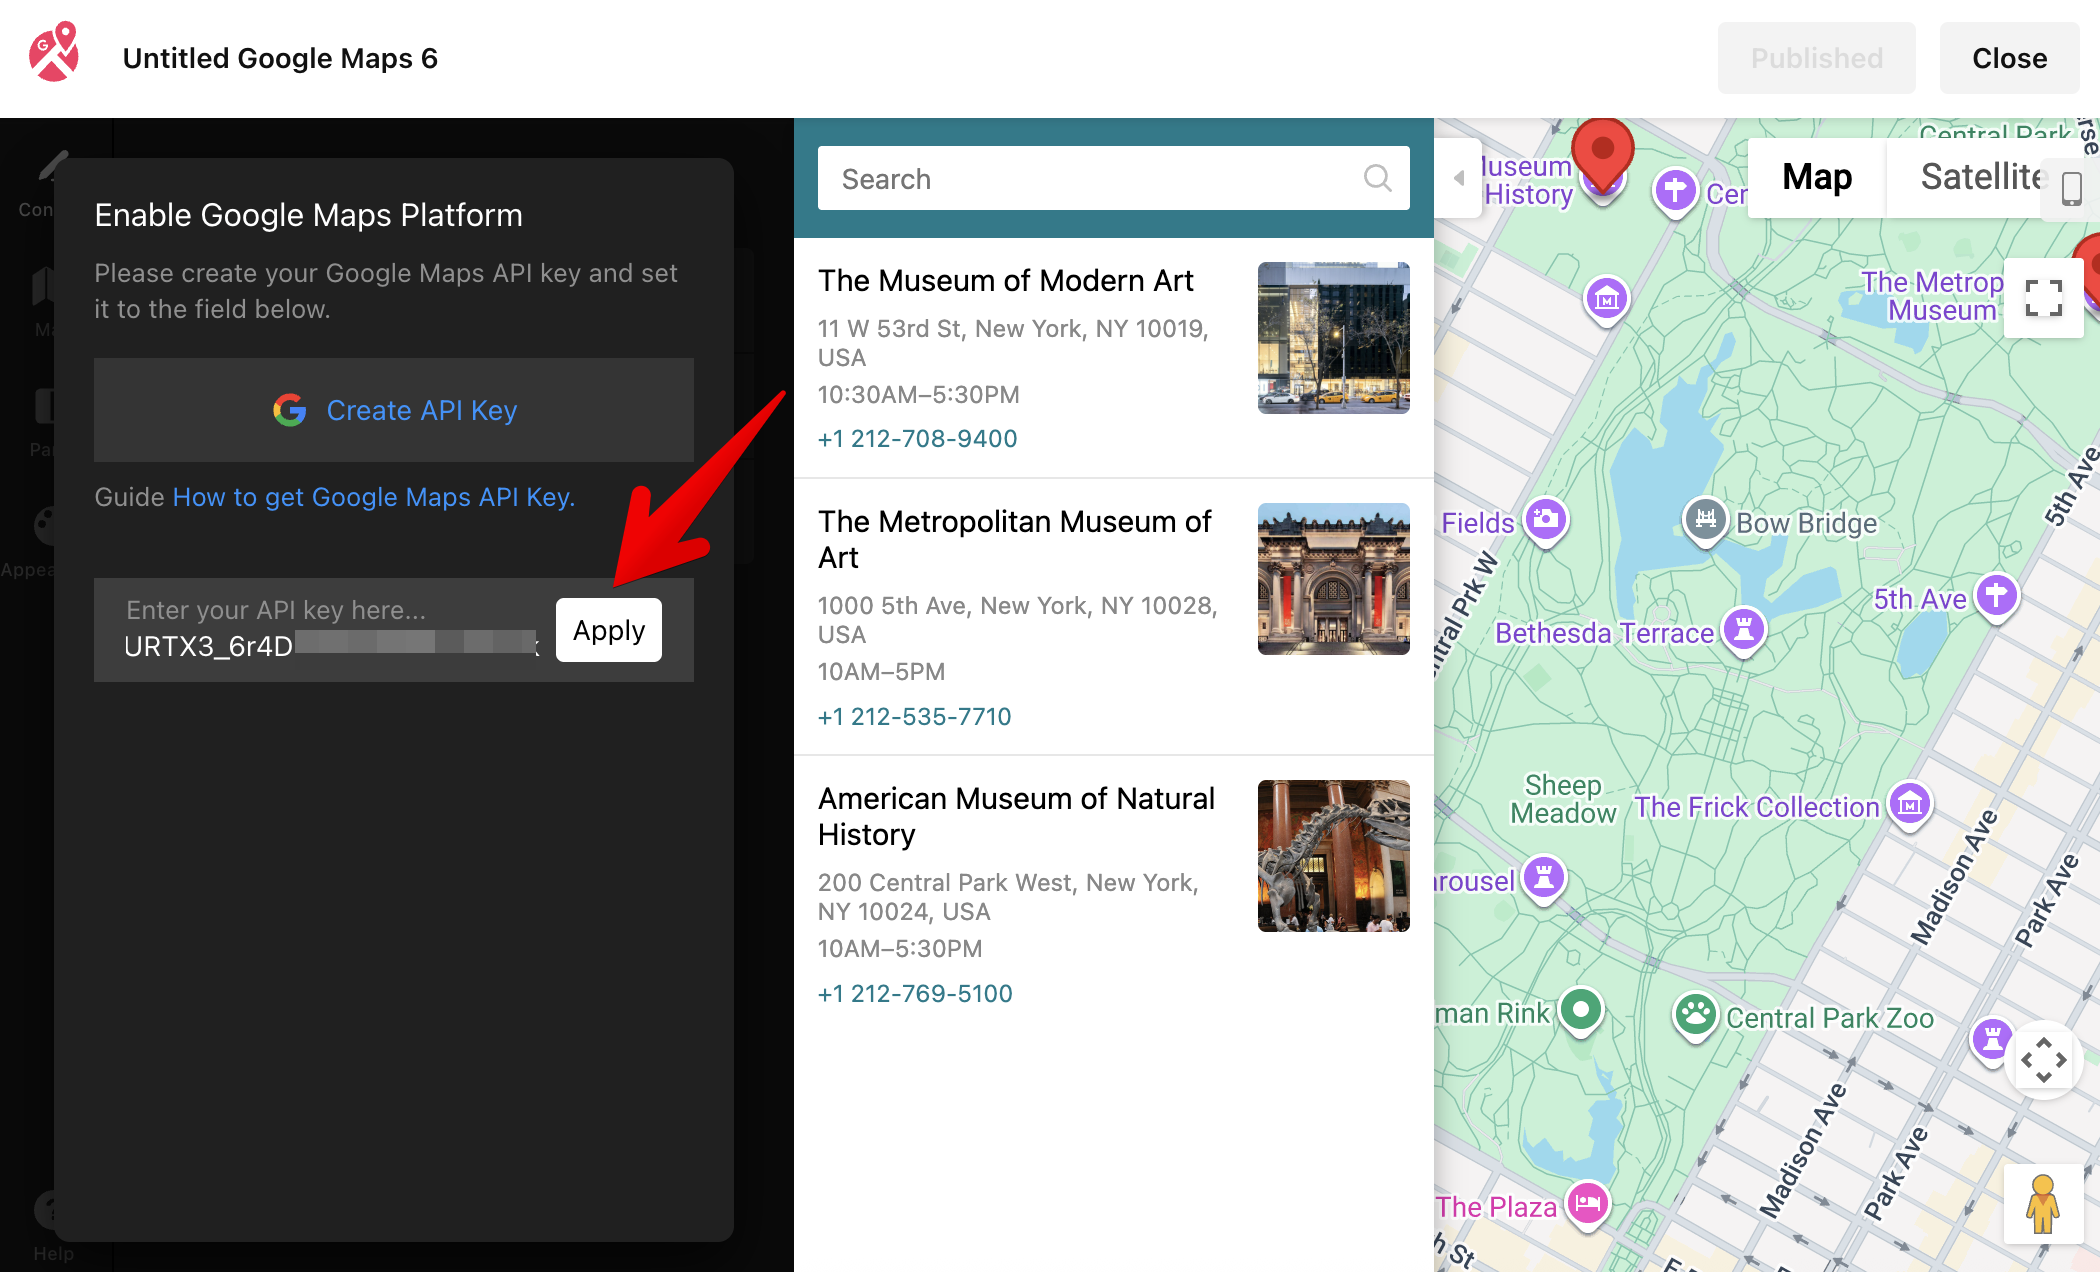
In the widget editor, paste your API key and click Apply:
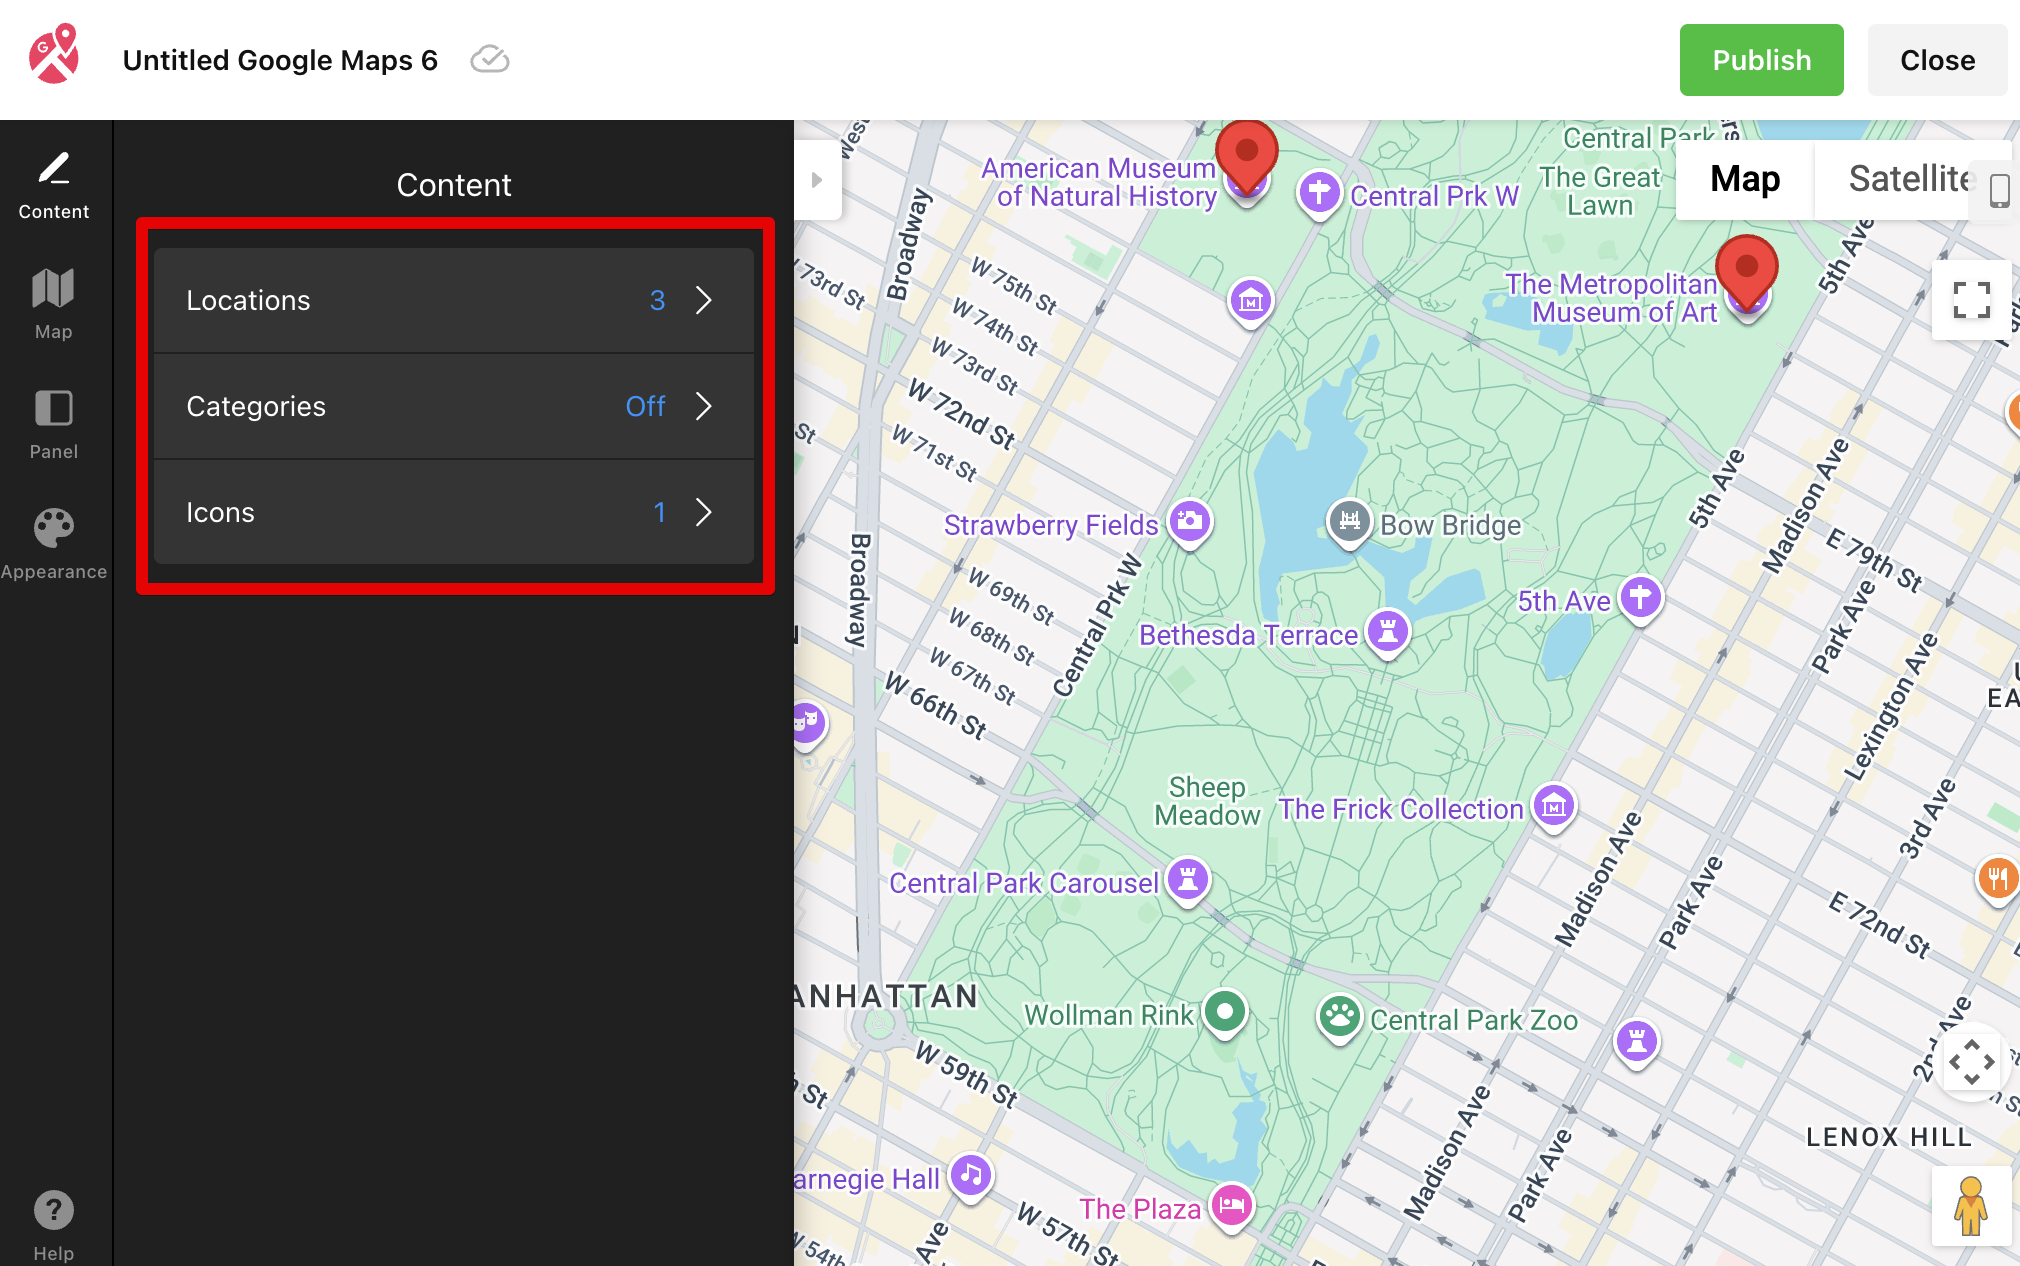
You can test the Google Maps widget in demo mode without an API key. However, once you save your widget and log in or create an account, adding a valid API key will be required. Now you can edit the content of your widget:


You’re all set! 🎉 Your Google Maps widget is now ready to customize and use.
If you're still having trouble getting your map to work, check out Common Errors You May Face with Google Maps or reach out to our Support Team. We're always here to help!