Configuring Your First Elfsight Widget
Ready to add an Elfsight widget to your website? Creating your first widget is quick and easy. Watch our video guide or follow the steps below to get started! 🚀
In this article
Create Your Widget
New to Elfsight
On the Elfsight homepage, click Explore Widgets. Choose the widget you’d like to use (for example, Instagram Feed). Scroll to the demo editor, select a template you like, and click Continue with this template to proceed:
Already Have an Account
Log in to your Elfsight Dashboard and go to the Catalog tab. Select the app you need (e.g., Instagram Feed) to open its editor. Choose a template and click Continue with this template:
Customize and Install
Inside the editor, you can upload your content (where required), adjust the design, and fine‑tune settings. Any changes you make will instantly appear in the preview.
Once you're happy with the look of your widget, click Add to website for free (if new to Elfsight) or Publish (if you're logged in): 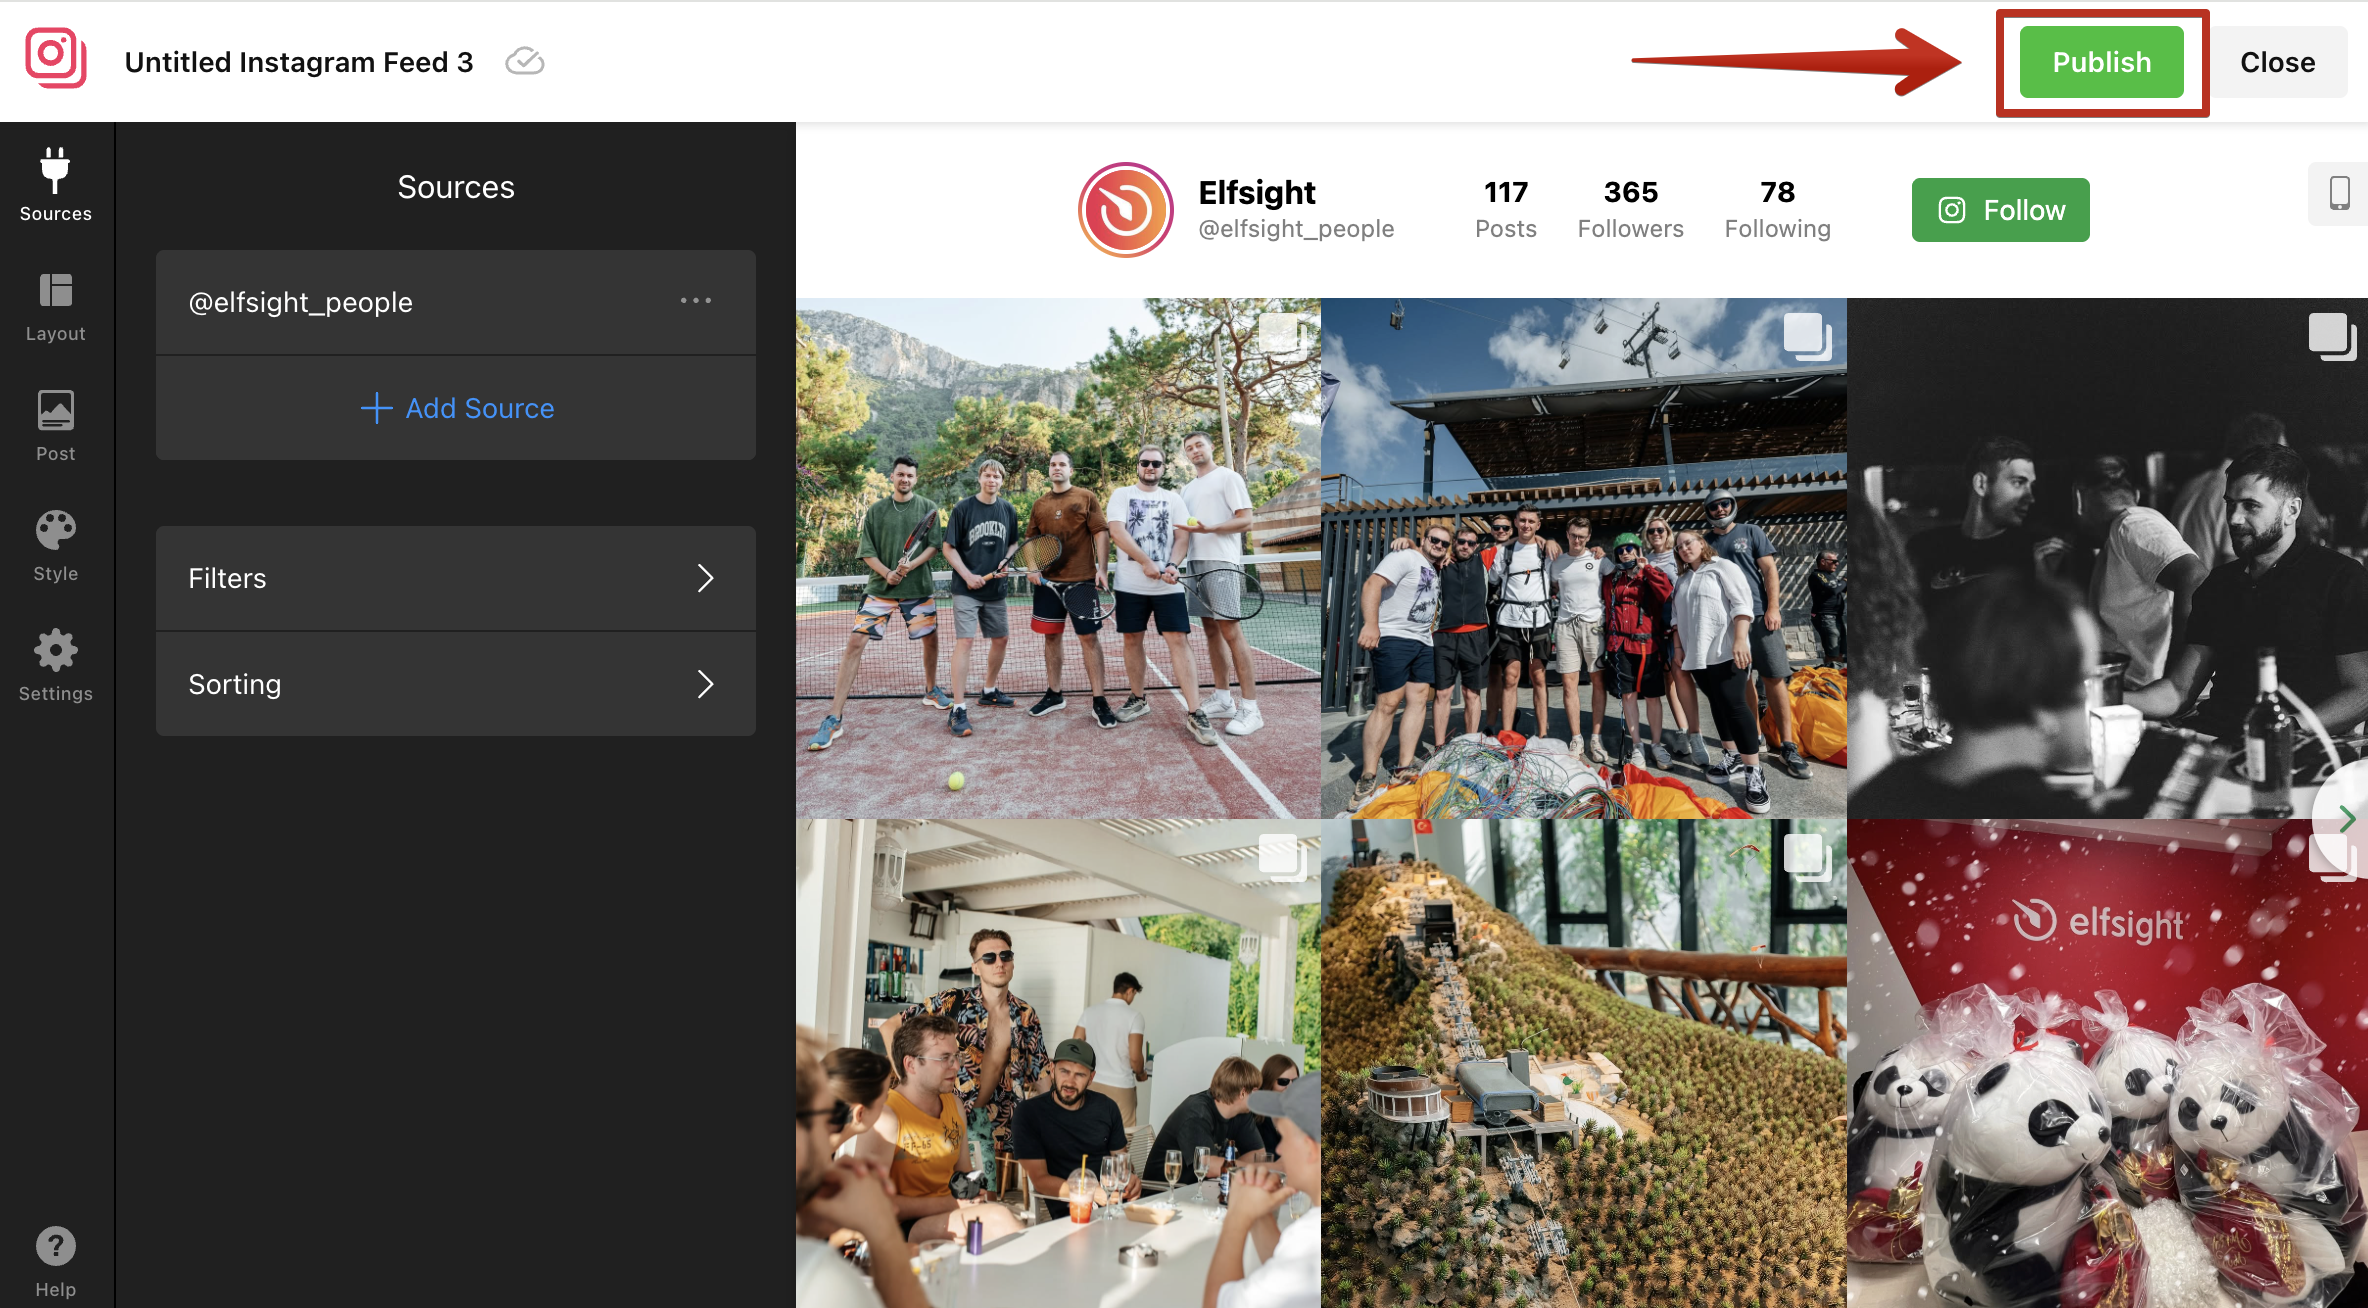
Finally, follow our Installation Tutorials by Platform (CMS) to embed the widget on your site. And if you run into any difficulties, our team will be happy to install the widget for you at no cost! Just request installation, and we'll take care of the setup.
All set! Your widget is live, installed, and ready to delight your visitors.👏