Triggering Your Popup Widget on Element Click
Want your Popup widget to appear only when a visitor clicks a specific element on your site, like a button, image, or text block? You can easily achieve this by linking the widget to an element ID on your page.
Steps to set up the trigger
1. Find the Trigger Element ID
To trigger your Popup widget on click, you first need the ID of the element that should open it.
An element ID is a unique identifier assigned to some elements on your page, like buttons or banners. Here's what it may look like in your page code:
# symbol, for example: div#subscribe-button. If you can't find an ID right away, try inspecting a parent or nearby clickable element instead.
Follow these steps to find the element ID:
- 1
-
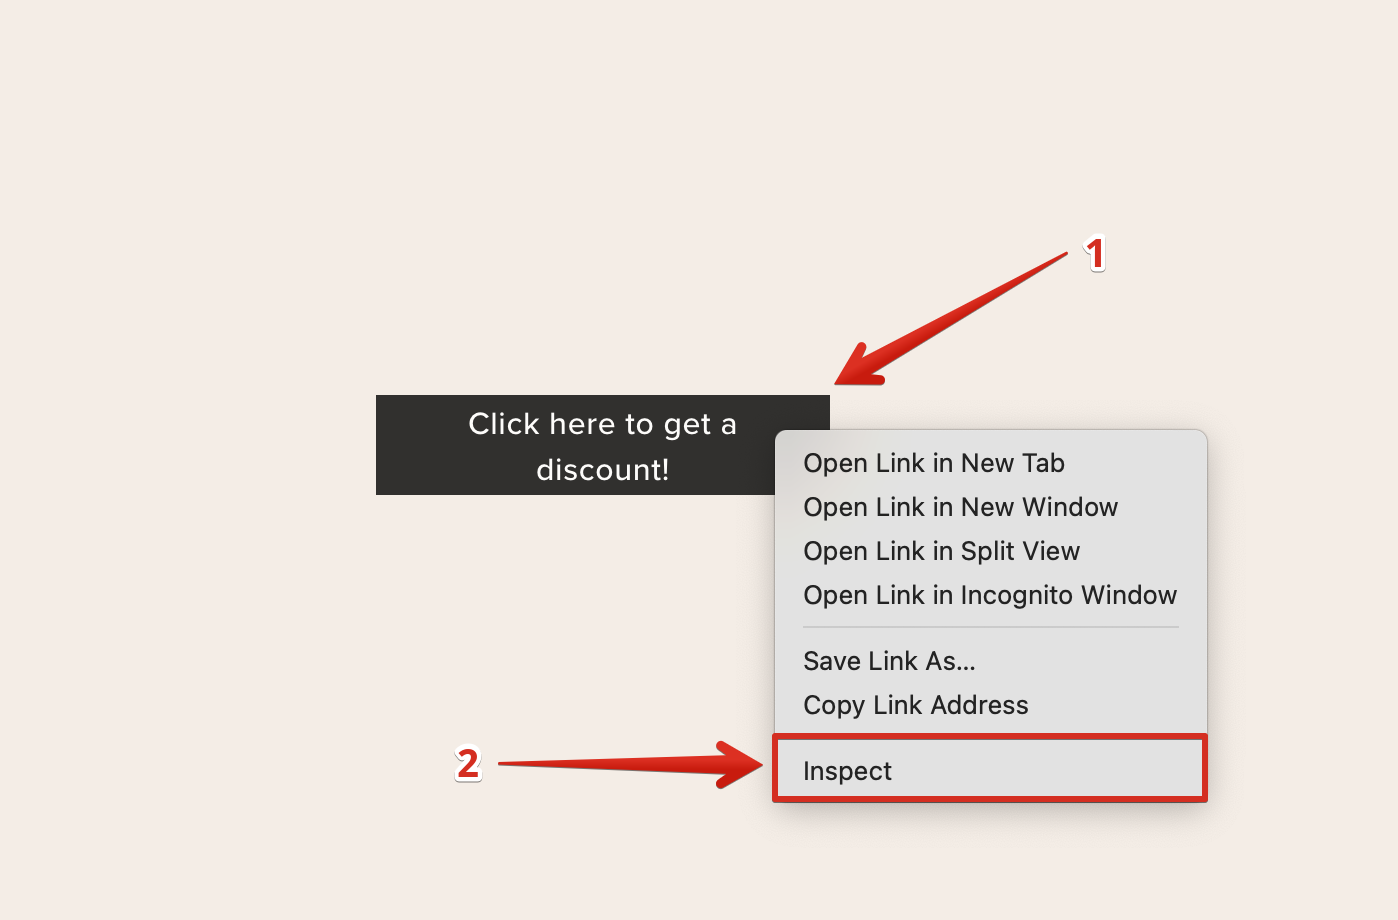
Open the page inspector
Right-click the page element that should trigger your Popup and select Inspect:
- 2
-
Select the trigger element
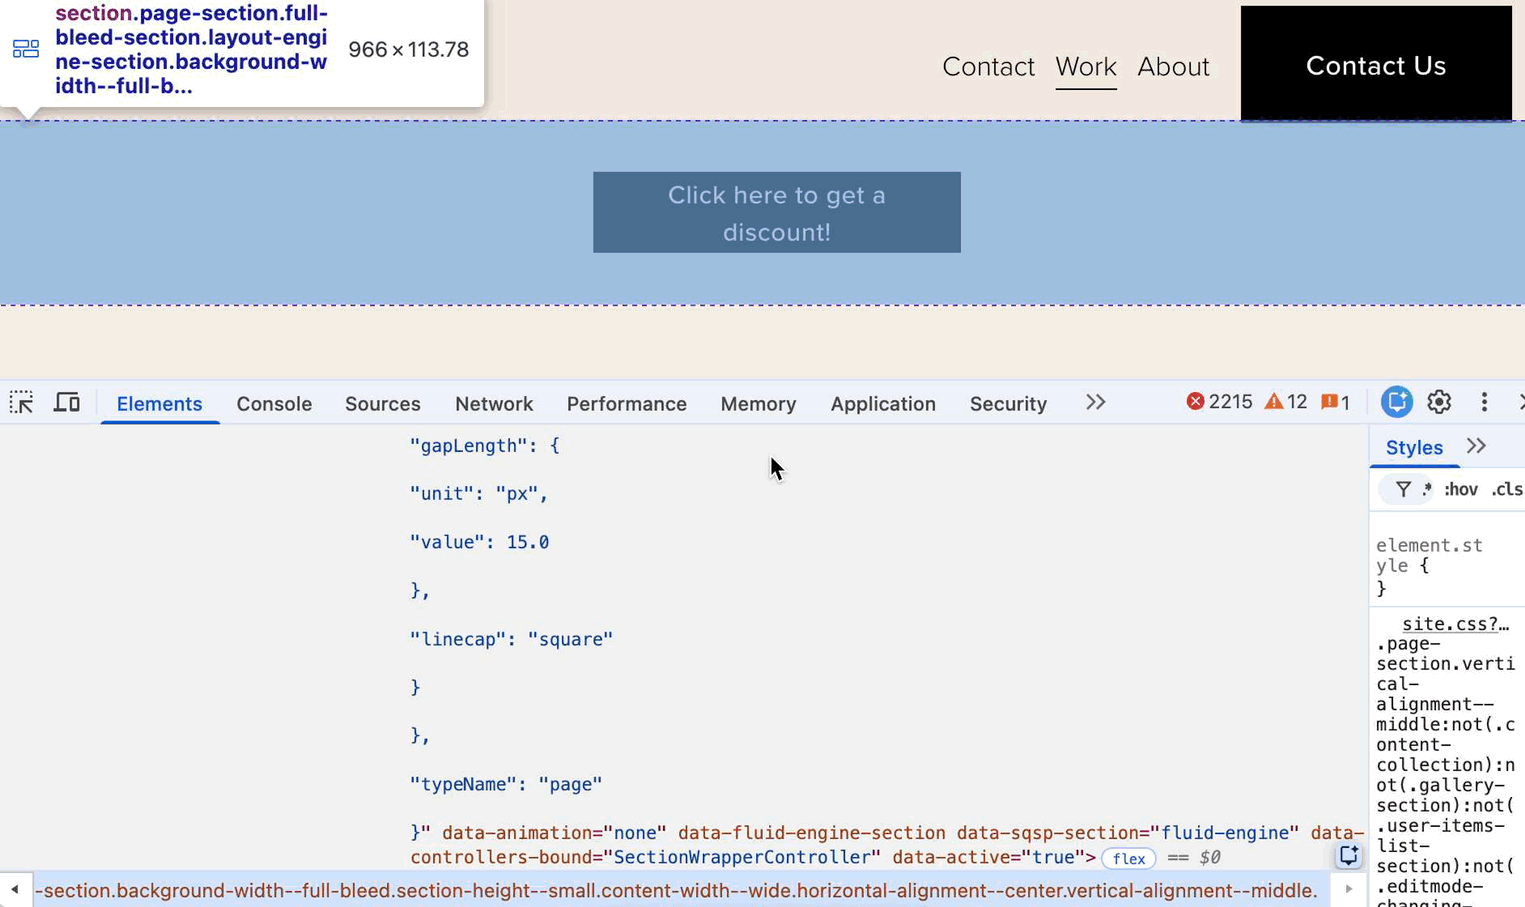
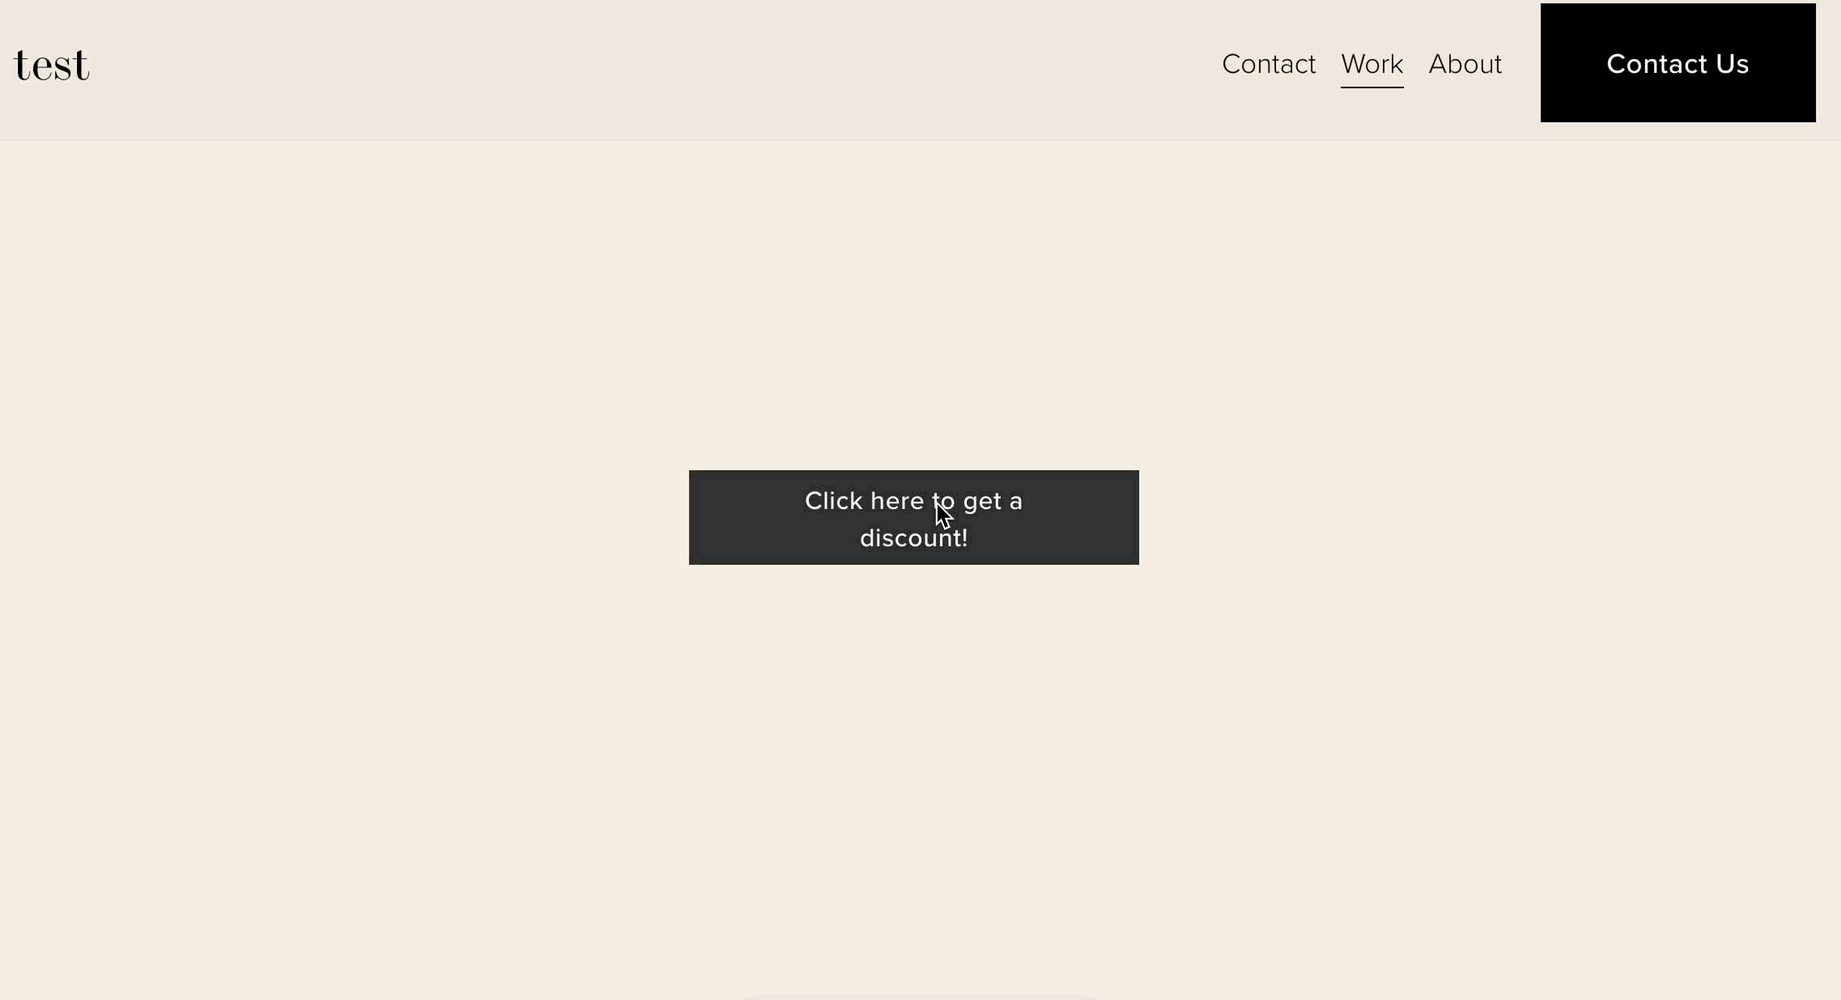
Use the arrow ↖ in the upper-left corner of the console to inspect the element that should open your Popup widget.
In our example, we selected the Click here to get a discount! button:
- 3
-
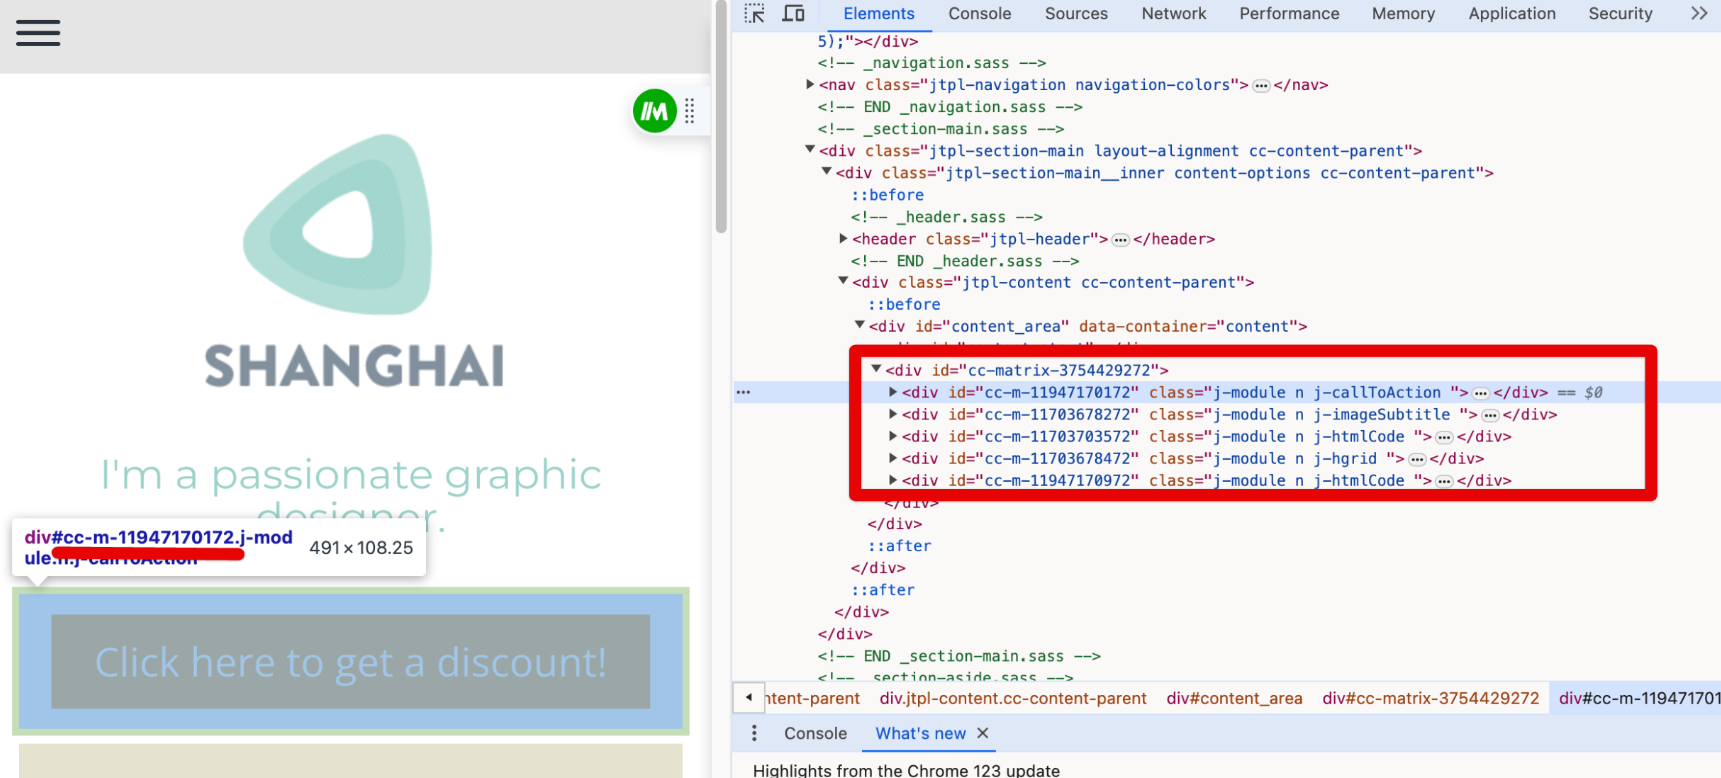
Copy the element ID
Find the
id="..."attribute in the highlighted code and copy only the value inside the quotes: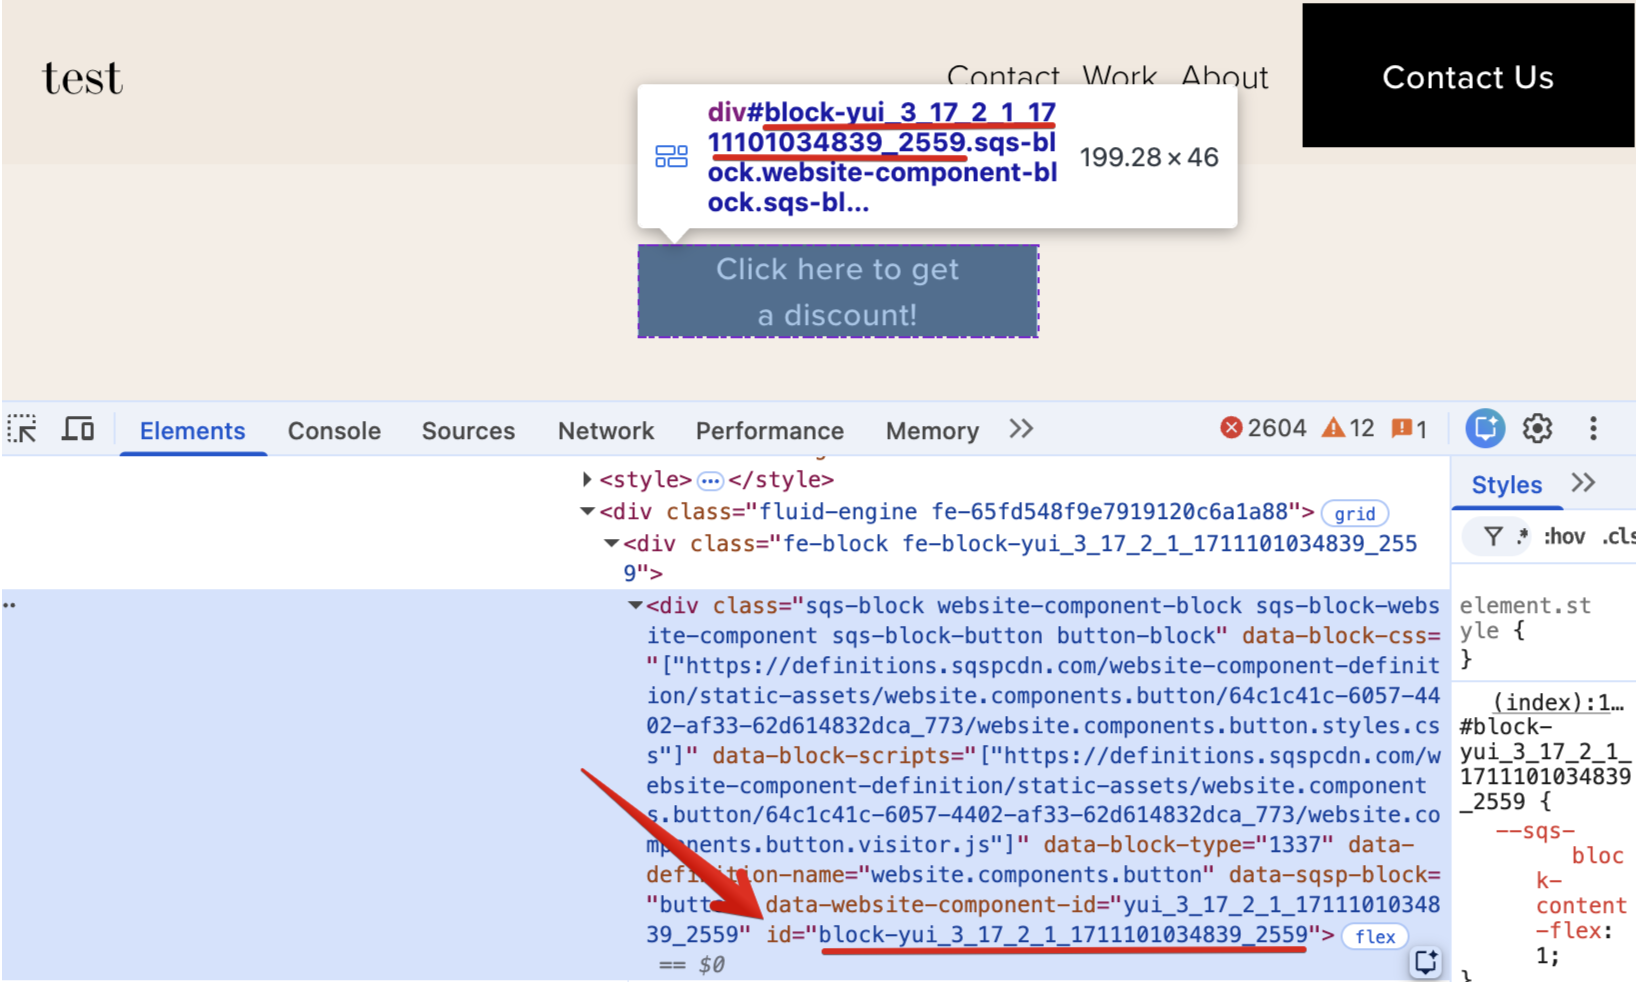
If you're struggling to find the correct element ID, browser extensions or built-in website editor tools may help. For example, some Squarespace users find extensions like Squarespace ID Finder useful.
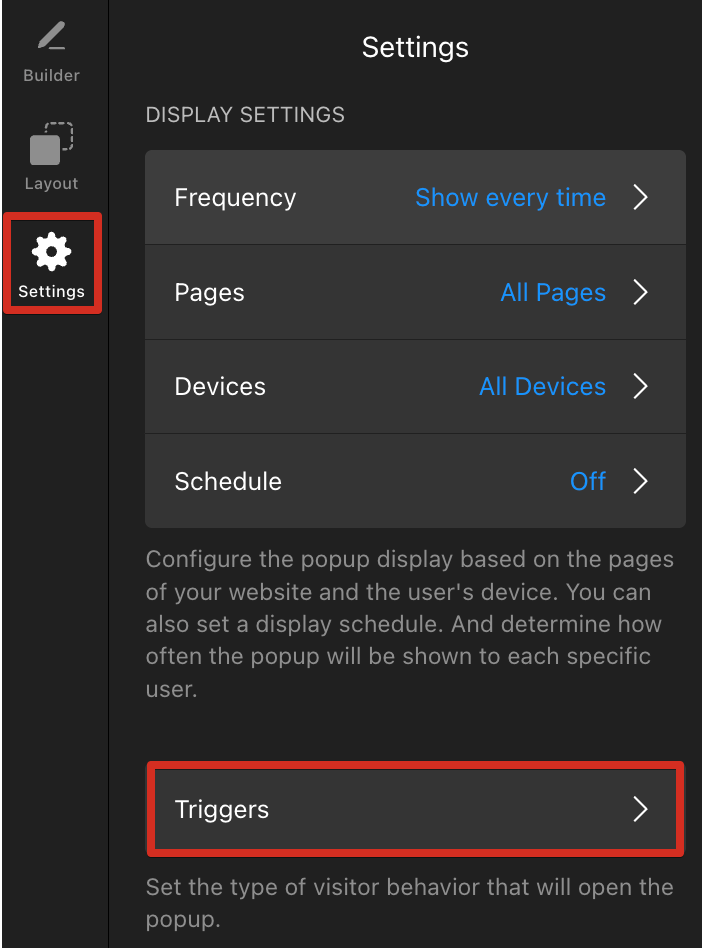
2. Connect the Popup Widget to the Element
Now that you have the element ID, let's add it to the On Click trigger in the widget editor:
- 1
-
Open the Popup widget editor
In the widget editor, go to Settings → Triggers:
- 2
-
Enable the On Click trigger
Enable the On Click trigger and paste the copied ID into the HTML Element ID field:
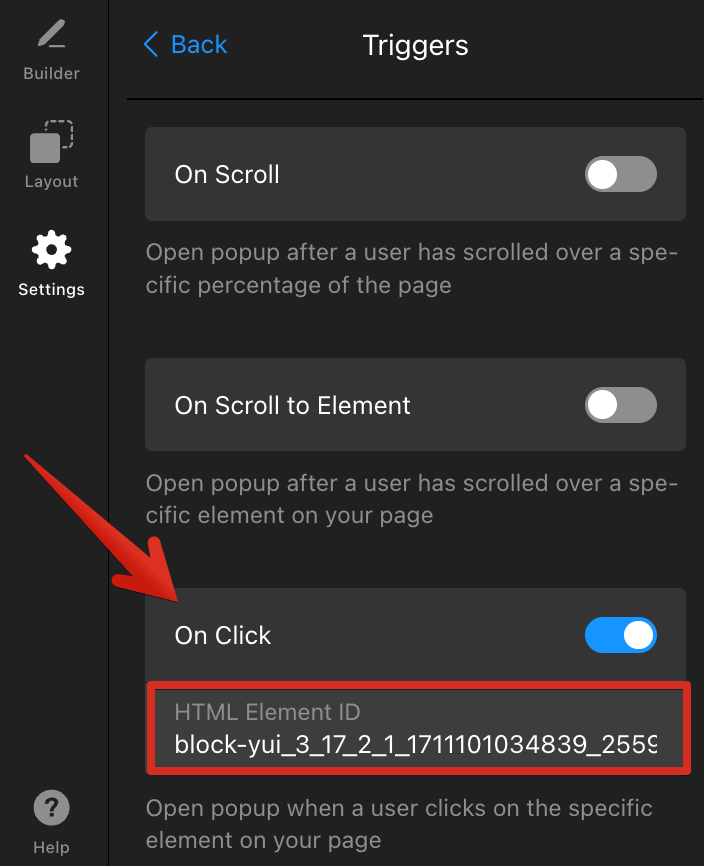
⚠️ Important: If multiple Popup triggers are enabled, the widget will appear when the first trigger condition is met. Learn more here: Using Triggers in Your Popup Widget. - 3
-
Publish the changes
Click Publish in the top right corner to make the changes live. Your Popup widget will now appear when the selected element is clicked:
If you need help finding the correct element ID or setting up the trigger, feel free to contact our Support team — we'll be happy to help 😊