
How to Add a Custom Icon to Your Google Maps Widget
If you are using our Google Maps widget, you may need to add custom location icons instead of the default ones. This article explains how to upload your own icon to the widget.
- 1
-
In the widget editor, go to the Content tab and select Icons:

- 2
-
Click Add Icon to create a new item:

- 3
-
Click Add again to choose the icon from the library or upload it from your computer:
 Here you can also enter the Name of your icon and set its Custom Size:
- 4
-
Now go back to the Content tab → Locations:

- 5
-
Choose the location you'd like to set the custom icon for and select your icon from the Icon dropdown list:


 Here you can also enter the Name of your icon and set its Custom Size:


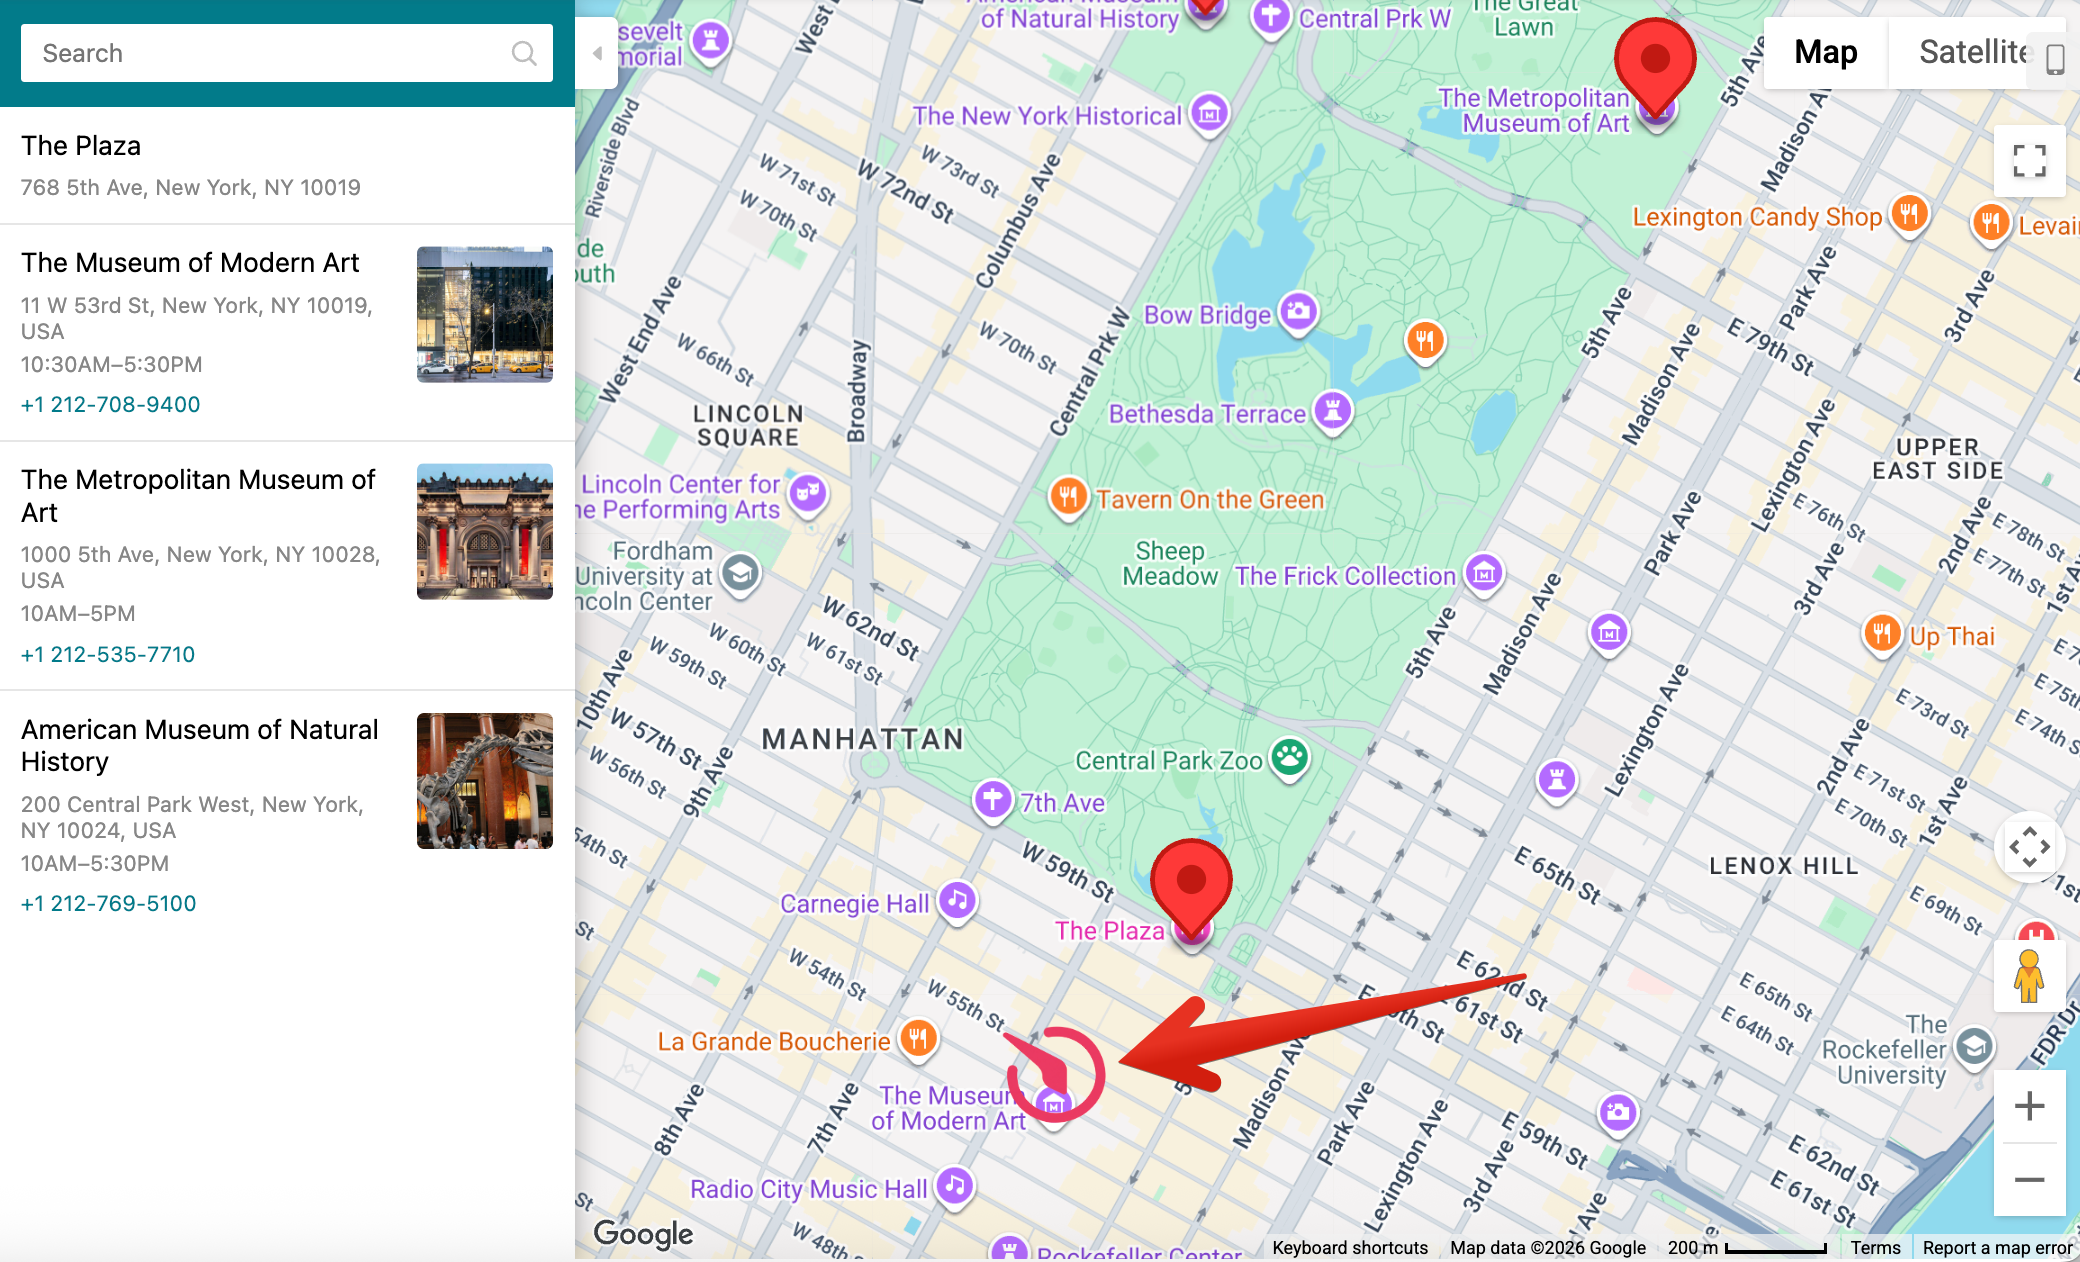
That's it! You've successfully added a custom icon for your location:
We hope this guide was helpful! If you have questions, feel free to reach out to our Support Team — we’re always here to assist 🙌