Setting Up Custom Translations in Website Translator
Set up custom translations in your Website Translator widget to control how specific words and phrases appear in different languages. You can easily do this using the Google Sheets integration. Let’s get started! 🚀
In this article
Connecting Google Sheets
Follow these steps to connect your Website Translator widget to Google Sheets and enable custom translations:
- 1
-
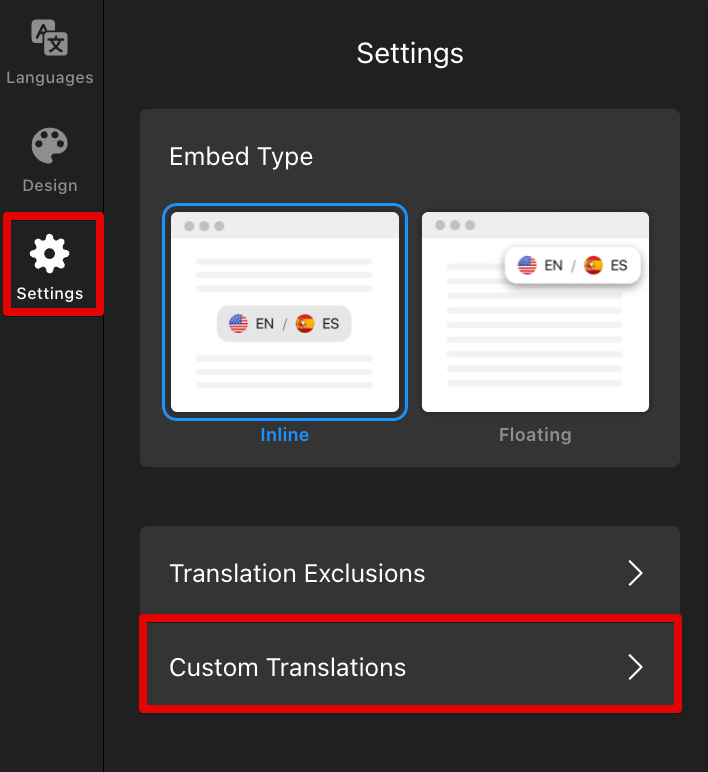
Open the Settings tab in your widget editor and click Custom Translations:
- 2
-
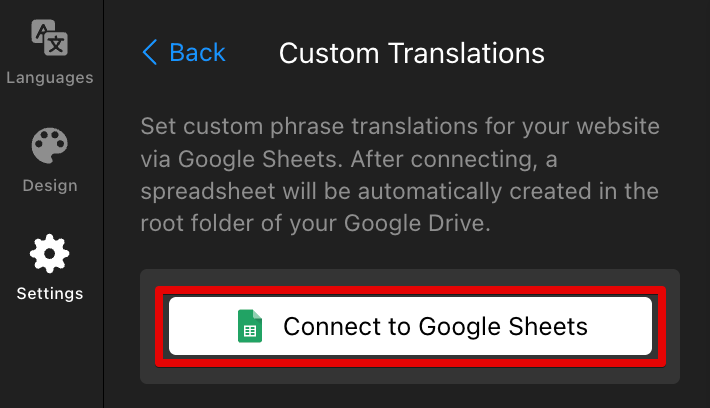
Click the Connect to Google Sheets button:
- 3
-
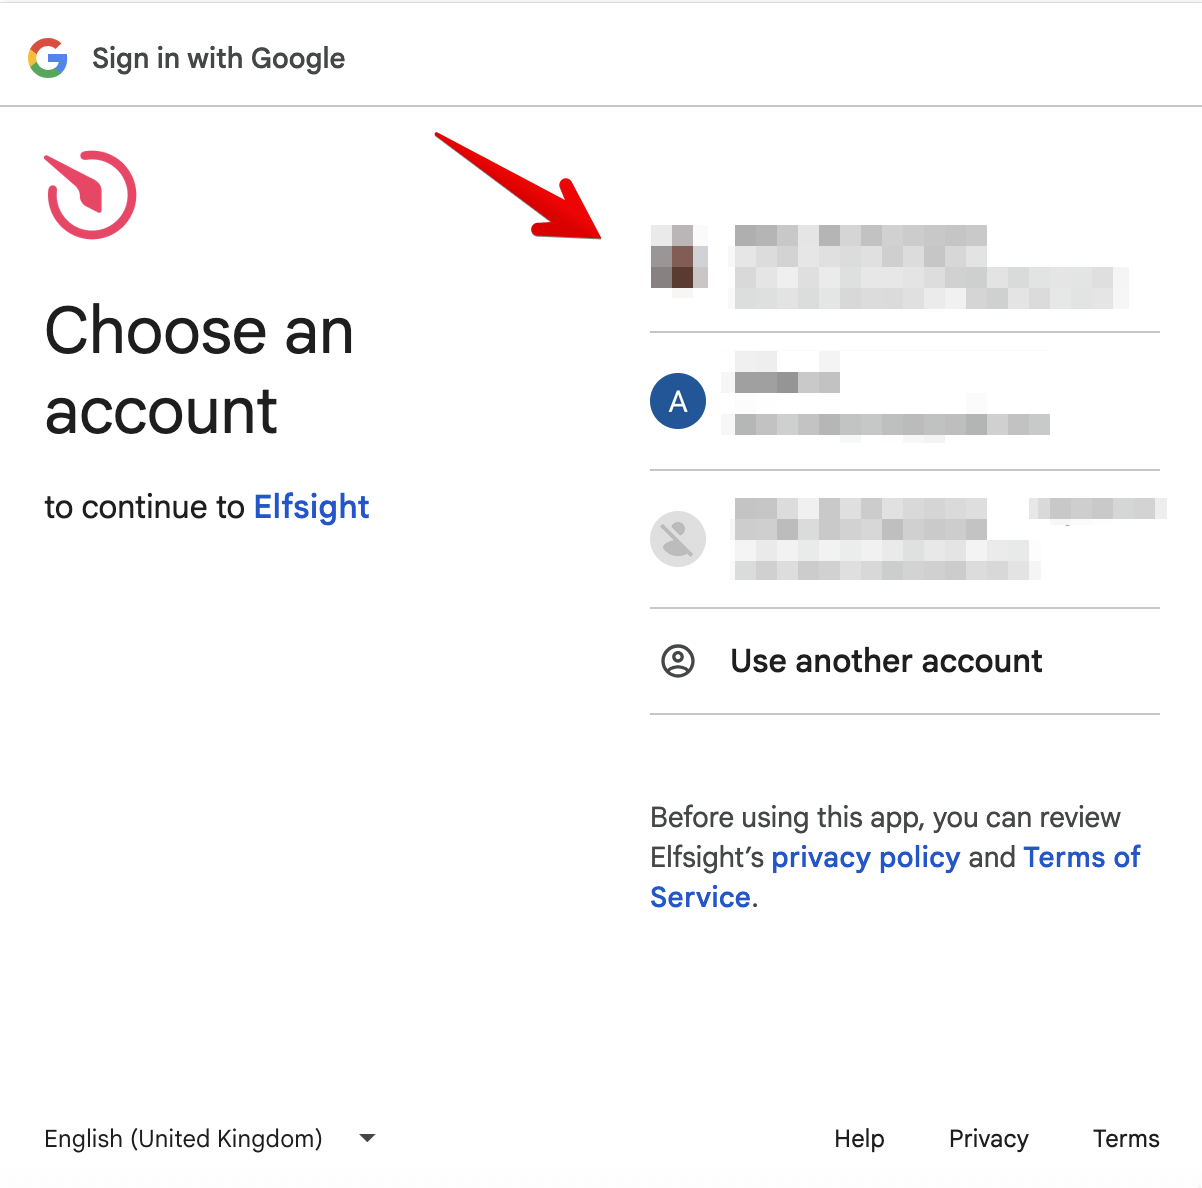
In the pop-up window, choose the Google account you want to connect and click Continue:
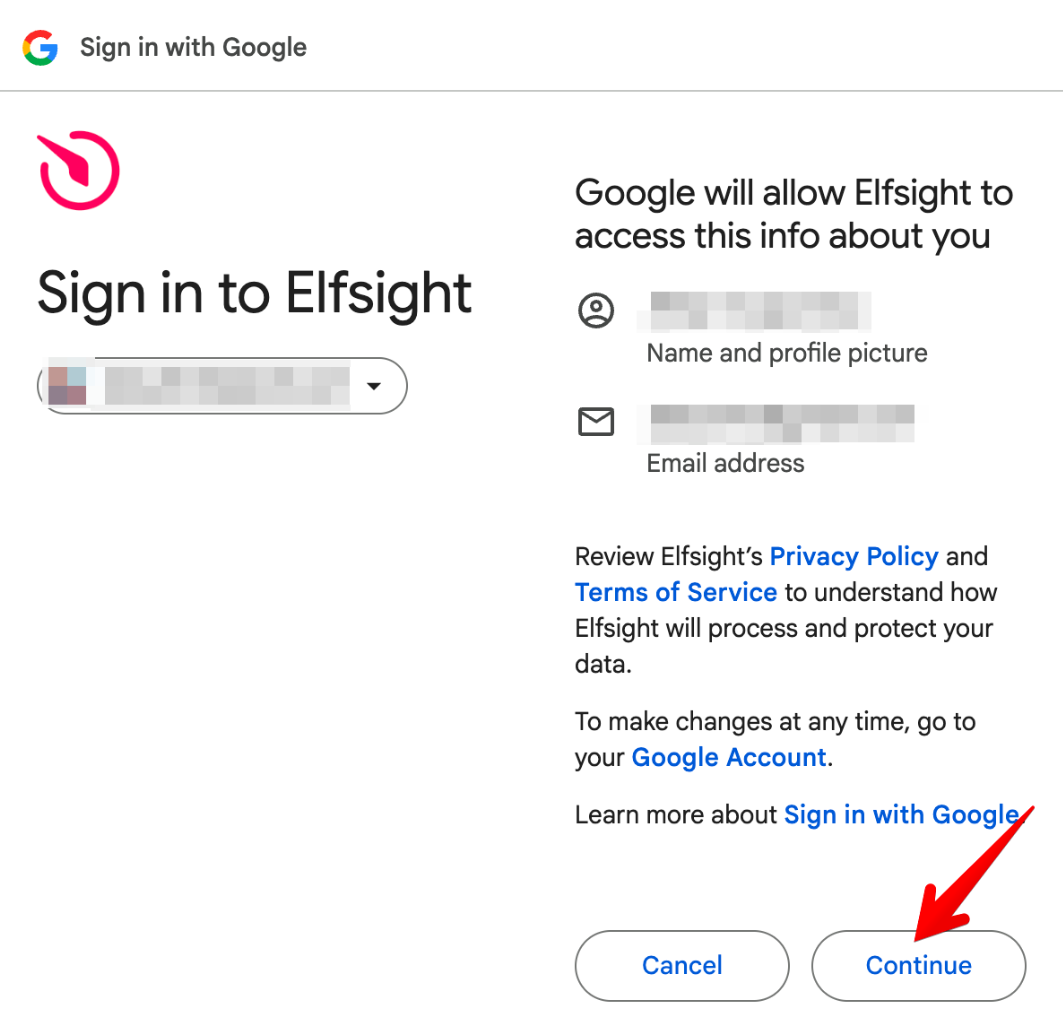 Tick the checkbox to grant the required permissions and click Continue:
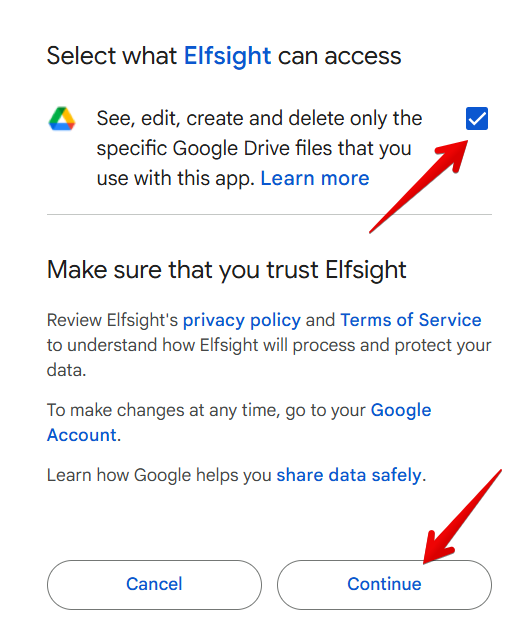
- 4
-
Click Publish in the widget editor to complete the connection.
After that, any updates in Google Sheets will be applied automatically — no need to publish the changes again.


All set! Your Google Sheets integration is now up and running.
Adding Custom Translations
Once connected, a Google Sheet file will be automatically created in your Google Drive. To open and customize it, click Edit Translations in the widget editor: 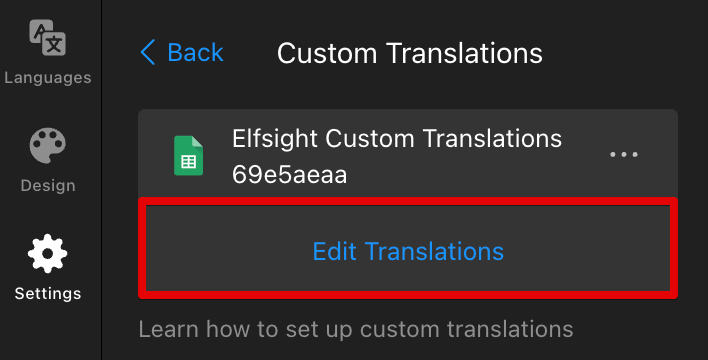
You’ll see a file with the following structure:
- Original phrase — the text you want to translate manually.
- English (EN-US), Spanish (ES-ES), etc. — the languages currently added to your widget.
- Welcome — an example showing translations across different languages.

Add your own phrases in the next available rows and enter translations for each language. Leave a cell empty if you don’t want to override the default translation: 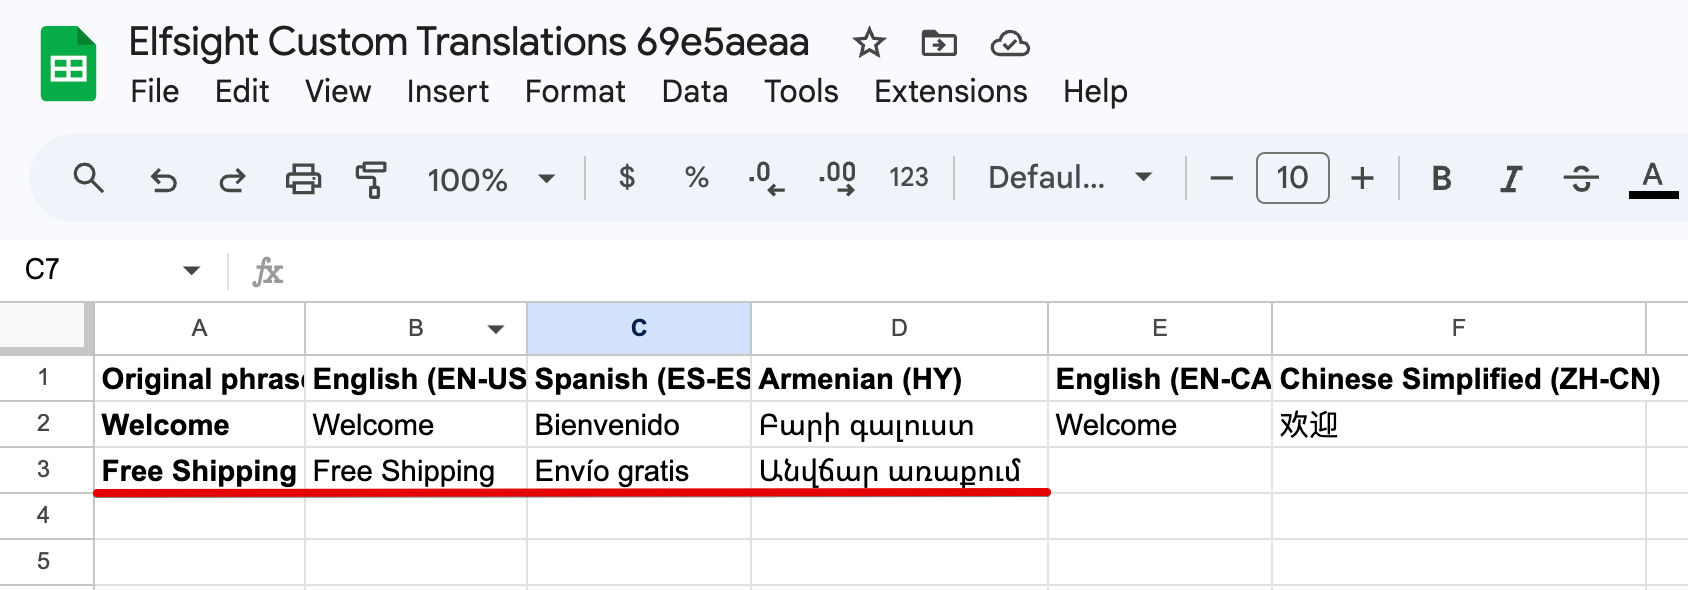
That’s it! Your custom translations will now appear in the widget based on the selected language.
Disconnecting Google Sheets
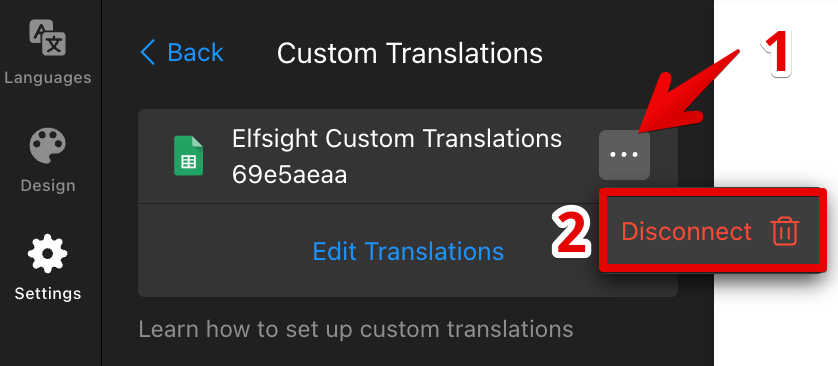
If you no longer need custom translations, you can disconnect the integration at any time by clicking the three-dots menu next to your file and selecting Disconnect:
Now you know how to add custom translations to your Website Translator widget! 🎉 If you need help, feel free to contact our Support team — we’ll be happy to assist.