Adding Payment Link to Event Calendar
If you are using our Event Calendar widget to showcase upcoming events, you might want to lead visitors to a checkout page for ticket purchases. Let’s walk you through how to do it! ✨
Here's a step-by-step guide on how to add a payment link to your widget.
- 1
-
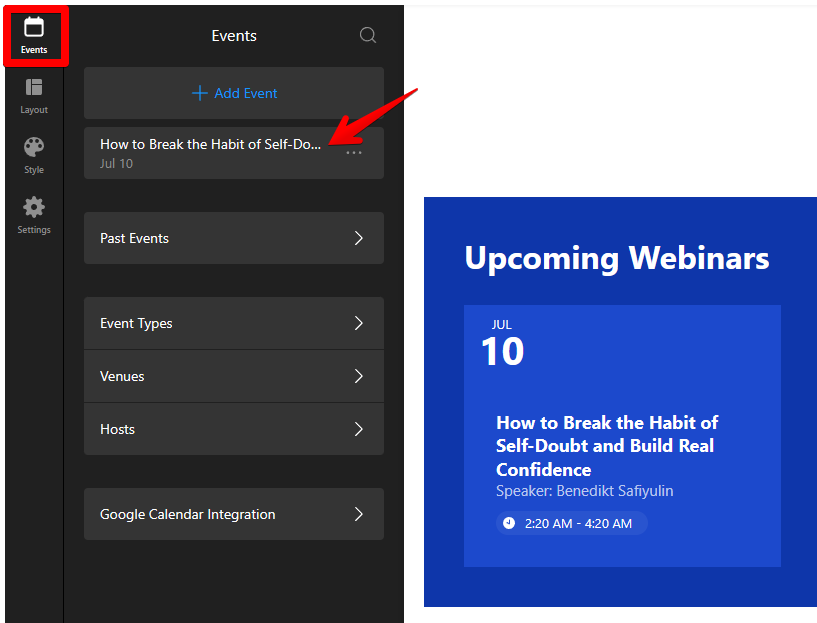
Go to the Events tab in your widget settings and select an event:
- 2
-
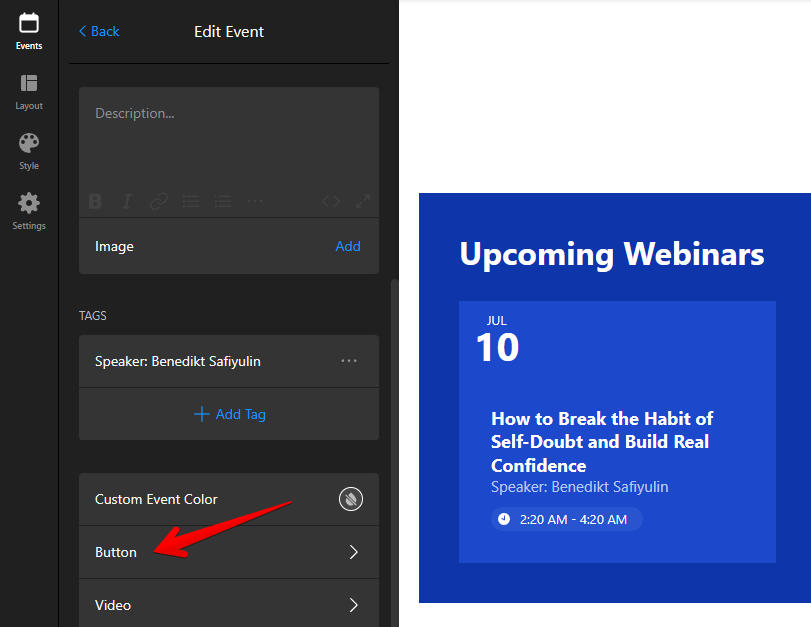
Scroll down and click on the Button section:
- 3
-
Enable the Show Button toggle to display a clickable button for the event. You can then add the button link, rename your button, or add a caption if needed:
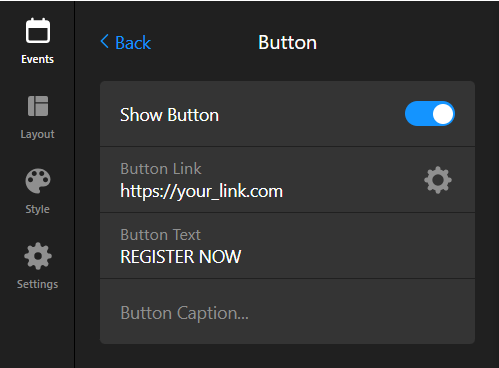
You can insert the payment link directly into the Button Link field, or click the gear icon to paste it into the URL field. If you want the link to open in a new tab, just toggle on Open Link in a New Tab.
For a more detailed walkthrough, check out this screencast:


That’s it! 🎉 You've successfully added a payment link to your Event Calendar.
If you have any questions or need help, feel free to contact our Support Team. We’re happy to assist you!