Image upload guidelines for your Banner widget
This article provides useful tips for uploading images to your Banner widget. By choosing the right size, format, and resolution, you can create a visually appealing experience. Let’s explore the best practices for using this widget!
In this article
Supported Image Formats
The Banner widget supports several image formats. The following formats are suggested:
| .jpeg | .png | .svg | .gif | .webp |
Recommended Image Size, Resolution, and Dimensions
Here are some general tips for optimizing your images:
- Optimal Resolution: Full HD (1920 x 1080 px) is ideal for most uses.
- Maximum Resolution: Quad HD (2560 x 1440 px) can be used for higher quality needs.
- Mobile Consideration: Lower resolutions can be enough for mobile devices, improving page load speed and saving data.
- File Size: We suggest keeping image file sizes under 1 MB for faster loading. Smaller files also improve the user experience on your site.
In the Banner widget, there are two options for uploading images: background image and image block. Let's take a look at each of them.
Background Image
The background image can be uploaded on the Builder tab → Background by selecting Image:

When using background images, make sure the image ratio (e.g., 2:1) matches the widget's Width and Height (785 x 400 px) in the Layout settings. This means your image should have the same proportions as the layout:

For example, if you want a square image (200 x 200 px) in your widget, upload a square image. If you choose a vertical layout (785 px wide and 400 px high), use a vertical image with the same proportions. This way, the image won’t be cropped and will look good in the widget.
Image Block Elements
You can add an image block to your Banner by going to the Builder tab, clicking +Add Element, and selecting Image Block. Then, add your image using either a direct link or by uploading a file, and choose your preferred layout for the image block.
Once added, the image block will appear on top of the Banner background:

We recommend uploading images in the desired proportions. For instance, if you want a square image (1:1 aspect ratio), upload an image with dimensions like 200 x 200 px or 300 x 300 px. This is important because you can’t crop uploaded images in the widget. In the widget editor, you can only resize an image (make it smaller or bigger) by adjusting the Width of the widget or by changing the Image Area/Scale in the Image Layout settings:

Alt Tags Support
The Banner widget supports Alt Tags – they enhance accessibility and SEO by adding descriptive text. A background image should not have an alt text because it is a visual element only. However, an Image Block is part of the widget's content, so you can specify an alt text for it in the widget. Here’s how you can add an Alt Tag:
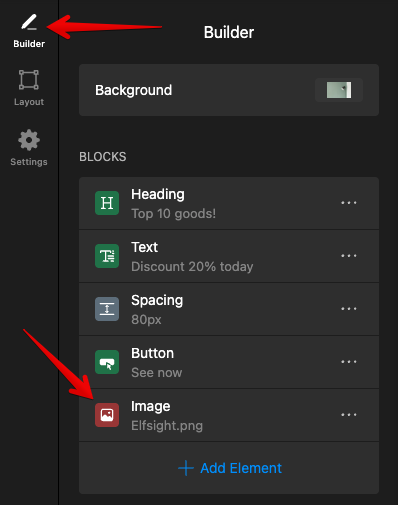
- Click on the added Image block in the Builder tab:
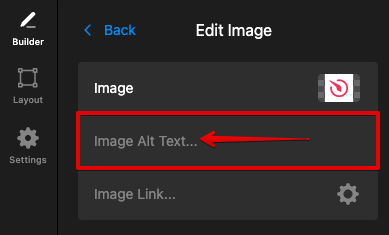
- Enter your desired text in the Image Alt Text field:
We hope these tips help you optimize your image uploads for the Banner widget! 🚀
FAQ
Can I edit images after they have been uploaded?
Direct editing like cropping isn’t possible.
How can I optimize my images for faster loading times?
To optimize your images for faster loading, consider compressing them using tools like Kraken.io, Squoosh.app, or ImageCompressor.com.
Will the widget automatically resize images to fit different screen sizes?
Yes, our widgets are responsive and automatically resize images to fit various screen sizes seamlessly.
Is it possible to use images from external sources or URLs?
Currently, only direct uploads are supported for Background images. However, external links or URLs can be used for Image Blocks.